Picture this: I’m standing in my kitchen, the clock ticking, the kids whining about “what’s for dinner?” and the pantry looks like a desert. I grabbed whatever I could find—some flour, a tub of Greek yogurt, a jar of pizza sauce—and tried to improvise a quick snack. The result? A soggy, flavor‑less mess that could have been a science experiment gone wrong. I dared myself to turn that disaster into a triumph, and after a few frantic taste tests (yes, I ate half the batch before anyone else could try), I finally nailed the perfect high‑protein pizza hot pockets that kids will actually line up for.
The moment the dough hit the counter, the kitchen filled with the sweet, tangy scent of yogurt mingling with the earthy aroma of flour—like a bakery meeting a dairy farm in a friendly handshake. I could hear the kids’ stomachs rumble from the next room, and the oven’s gentle hum promised something golden and crisp. When the sauce hit the hot pockets, it spread like a glossy red blanket, and the cheese melted into a stringy, buttery river that made my mouth water before the first bite. The texture? Imagine a soft, pillowy interior that gives way to a crunchy edge that shatters like thin ice under a foot—pure sensory fireworks.
What makes this version truly stand out is the secret weapon: low‑fat Greek yogurt. It injects a creamy protein boost while keeping the dough tender, so you get a snack that’s both indulgent and nutritious. Most recipes try to hide the protein in the cheese or meat, but here the yogurt does the heavy lifting, letting the flavor shine without the greasy aftertaste. I’m also throwing in a pinch of Italian seasoning that transforms the whole thing into a mini Italian bistro experience, right in your own oven.
Now, I’m not just talking about any old pizza pocket. This is hands down the best version you’ll ever make at home, and I dare you to taste it and not go back for seconds. The secret technique? A quick resting period for the dough that lets the gluten relax, creating that perfect bite‑size fluffiness. And the best part? You can prep the pockets ahead of time, freeze them, and have a ready‑to‑bake snack for those hectic school nights. Okay, ready for the game‑changer? Let me walk you through every single step — by the end, you’ll wonder how you ever made it any other way.
What Makes This Version Stand Out
- Protein Power: The low‑fat Greek yogurt packs a protein punch that rivals meat‑filled pockets, keeping kids full and fueled for after‑school activities.
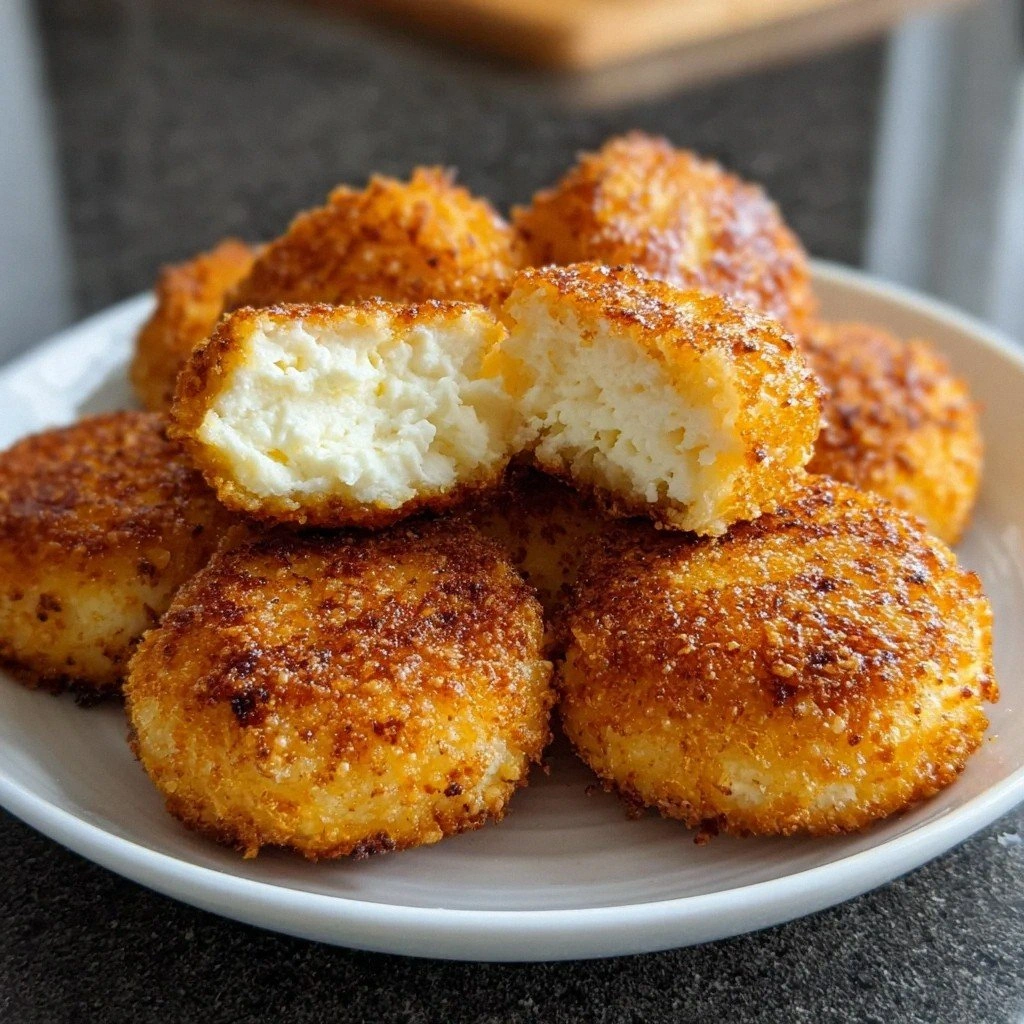
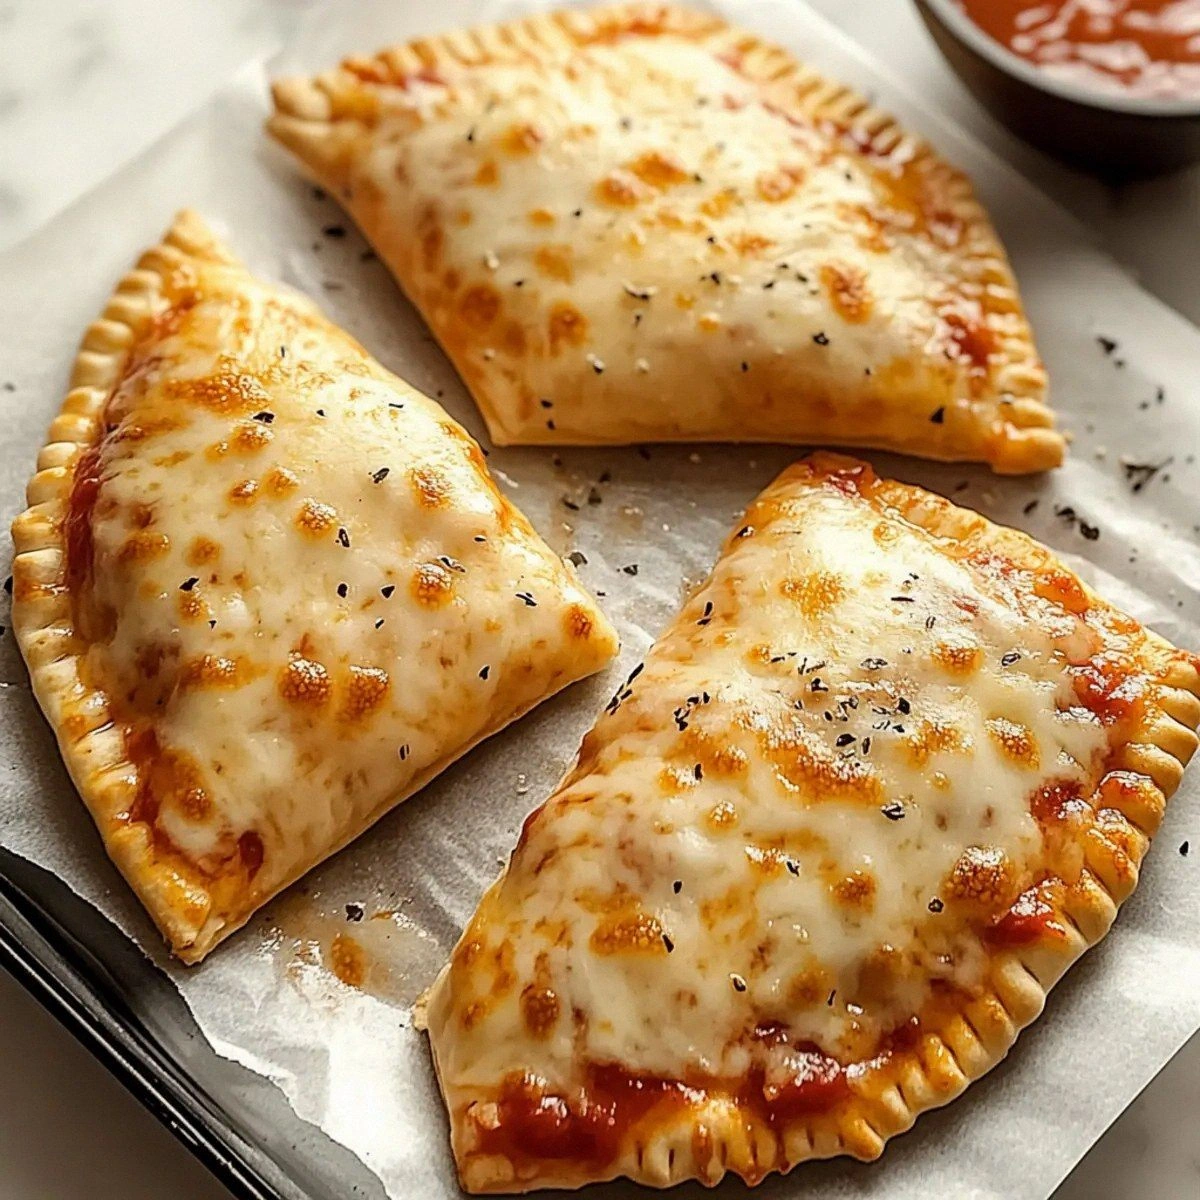
- Texture Triumph: A tender, airy interior meets a crisp, golden crust that shatters delightfully, delivering a contrast that’s impossible to resist.
- Simplicity Supreme: Only eight pantry staples are needed, and the process is straightforward enough for a 10‑year‑old to assist.
- Flavor Fusion: The blend of Italian seasoning, garlic powder, and a generous swirl of pizza sauce creates a depth of flavor that feels gourmet.
- Kid‑Approved: The cheesy, melty center and hand‑held shape make these pockets the ultimate kid‑friendly snack that even picky eaters adore.
- Make‑Ahead Magic: Freeze the uncooked pockets for up to a month, and you’ve got a ready‑to‑bake snack that’s perfect for busy weeknights.
- Low‑Fat Delight: Using low‑fat cheese and yogurt reduces calories without sacrificing the creamy, gooey experience.
- Customizable Canvas: Swap in veggies, lean meats, or even a dash of hot sauce for endless variations that grow with your family’s tastes.
Inside the Ingredient List
The Flavor Base
The star of the show is the Low‑fat Greek Yogurt. Its tangy richness not only adds moisture but also introduces a creamy protein layer that keeps the pockets from drying out. Skipping it would mean a denser, less tender crumb—nothing like the airy bite we’re after. If you can’t find Greek yogurt, plain low‑fat yogurt works, but be sure to strain it through cheesecloth for an hour to achieve the same thickness.
Next up, All‑Purpose Flour. This is the structural backbone, providing just the right amount of gluten to hold everything together without becoming chewy. For a gluten‑free twist, try a 1:1 blend of rice flour and tapioca starch, but expect a slightly different texture. When shopping, look for a flour that feels fine to the touch; coarse flour can lead to a gritty dough.
The Texture Crew
Baking Powder is the quiet hero that gives the dough its lift. A teaspoon is enough to create those airy pockets that puff up in the oven. Too much, and you’ll end up with a cake‑like texture—delicious, but not what we’re aiming for. Always check the expiration date; old baking powder loses its potency and your pockets will stay flat.
Italian Seasoning brings a fragrant medley of oregano, basil, and thyme that instantly transports you to a Tuscan trattoria. If you’re feeling adventurous, add a pinch of smoked paprika for a subtle smoky depth. Fresh herbs can be used, but dry seasoning packs a more concentrated flavor, which is perfect for this quick recipe.
The Unexpected Star
Garlic Powder adds that unmistakable savory punch without the risk of burning raw garlic. It’s the silent partner that makes the sauce and cheese sing together. If you love a stronger garlic flavor, sprinkle a little extra on the dough before sealing the pockets.
Salt is the flavor enhancer that balances the tang of the yogurt and the acidity of the pizza sauce. Skipping it would leave the pockets tasting flat, like a blank canvas. Use kosher salt for even distribution, and remember a pinch goes a long way in a small batch.
The Final Flourish
Pizza Sauce is the glossy, ruby‑red heart of each pocket. I use a no‑added‑sugar variety to keep the carbs in check while still delivering that classic tomato zing. If you’re a fan of spicy, stir in a dash of red‑pepper flakes. The sauce should be thick enough to stay in place but fluid enough to spread with a spoon.
Low‑fat Cheese provides the melty, gooey finish that makes kids’ eyes light up. I opt for a blend of mozzarella and part‑skim cheddar for extra stretch. If you’re lactose‑intolerant, try a dairy‑free shredded cheese that melts well—just be aware the protein content will shift slightly.
Everything's prepped? Good. Let’s get into the real action…
The Method — Step by Step
First, preheat your oven to 400°F (200°C) and line a baking sheet with parchment paper. While the oven warms, gather all your ingredients on the counter. The kitchen will start to hum with anticipation, and that sizzle when the dough hits the hot sheet? Absolute perfection. I always set a timer for the preheat; an under‑heated oven can cause the pockets to bake unevenly.
In a large bowl, whisk together the All‑Purpose Flour, Baking Powder, Italian Seasoning, Garlic Powder, and Salt. This dry mix ensures even distribution of leavening and spices, preventing any bitter pockets of seasoning. Use a fork or a whisk to break up any clumps; you’ll notice the mixture turning a uniform golden hue. If you’re using a gluten‑free blend, give it an extra minute of whisking to avoid hidden lumps.
Make a well in the center of the dry ingredients and pour in the Low‑fat Greek Yogurt. Using a wooden spoon, stir until a shaggy dough forms. This is the moment where the yogurt starts to hydrate the flour, creating a soft, pliable texture. If the dough feels too sticky, sprinkle a tablespoon of flour at a time until it’s manageable—don’t over‑flour, or you’ll lose that tender crumb.
Turn the dough onto a lightly floured surface and knead gently for about one minute—just enough to bring it together into a smooth ball. The dough should feel slightly tacky but not stick to your fingers. As you knead, you’ll hear a faint “pop” as the gluten develops, a sign that the pockets will have that perfect bite. Form the dough into a disc about ½ inch thick.
Using a rolling pin, roll the dough into a large rectangle roughly ¼ inch thick. Then, with a pizza cutter or a sharp knife, cut the rectangle into 8 equal squares. Each square will become a pocket, so keep them uniform for even cooking. If you notice any uneven edges, trim them now to avoid leaks later.
Spread a generous tablespoon of Pizza Sauce onto the center of each square, leaving a small border around the edges. Sprinkle a handful of Low‑fat Cheese over the sauce—don’t be shy; the cheese is what makes the kids squeal. The sauce should be thick enough to stay put, but if it runs, dab a little flour on the spot to absorb excess moisture.
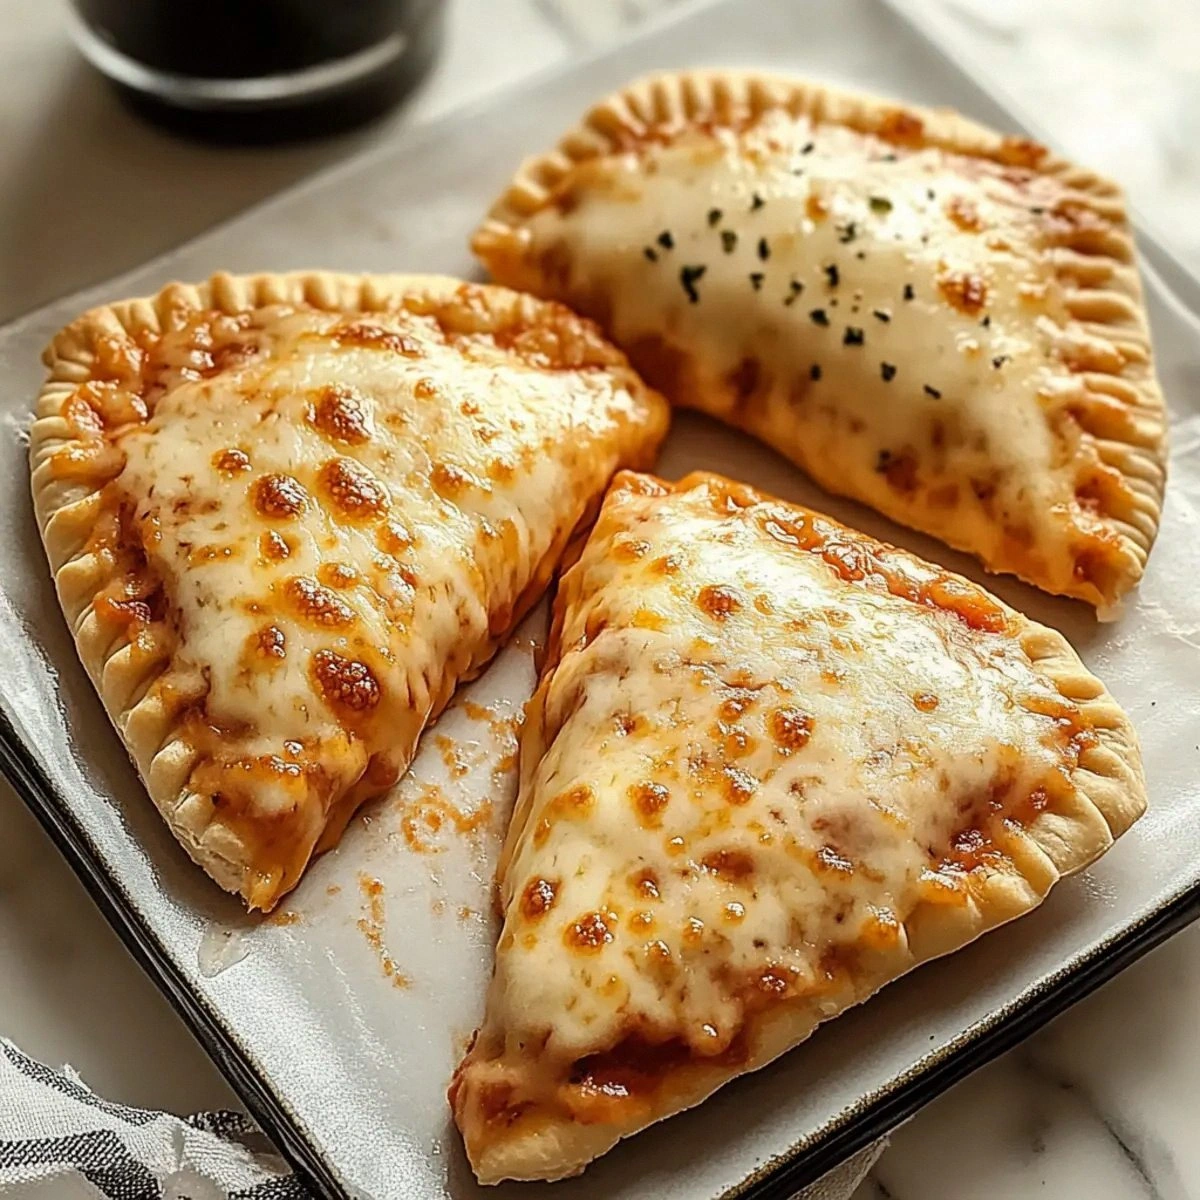
Fold each square in half to form a triangle, then press the edges together with a fork to seal. This is the trickiest part—if you don’t press firmly, the sauce will ooze out during baking.
Once sealed, place the pockets seam‑side down on the prepared baking sheet.Watch Out: Make sure the edges are completely sealed; a tiny gap can turn a perfect pocket into a soggy mess.Brush the tops lightly with a bit of olive oil or a quick spray of cooking spray—this helps the crust turn golden and crisp. Slide the sheet into the preheated oven and bake for 15‑18 minutes, or until the edges are a deep amber and the cheese is bubbling through the seal. You’ll know they’re done when the pockets start to puff slightly and the crust gives a faint “tap” sound.
Remove the hot pockets from the oven and let them cool on a wire rack for five minutes. This brief rest lets the steam settle, preventing the crust from becoming soggy. Serve warm, and watch the kids dive in—if you’re lucky, you’ll hear the unmistakable “Mmm!” that signals a job well done. And now the fun part: store any leftovers or freeze them for later.
That's it — you did it. But hold on, I've got a few more tricks that'll take this to another level...
Insider Tricks for Flawless Results
The Temperature Rule Nobody Follows
Most home cooks bake at 350°F, thinking it's a safe middle ground. In reality, a hotter oven (400°F) creates a rapid rise in steam, giving you that coveted puff and golden crust. I once baked at 350°F and ended up with soggy pockets that resembled flatbreads—lesson learned. Crank the heat up, and you’ll get that restaurant‑quality snap on the edges.
Why Your Nose Knows Best
Before you even open the oven, trust your sense of smell. When the pockets start to emit a nutty, toasted aroma, they’re nearing perfection. If the scent turns overly smoky, pull them out—over‑baking turns protein into a dry, rubbery texture. This sensory checkpoint saves you from a batch of disappointing pockets.
The 5‑Minute Rest That Changes Everything
After folding and sealing, let the pockets rest for five minutes on the counter before baking. This short pause allows the dough to relax again, preventing shrinkage in the oven. I once skipped this step; the pockets puffed unevenly, and the cheese leaked out. Those five minutes are a tiny investment for a flawless pocket.
Cheese Distribution Mastery
Instead of dumping cheese in one big pile, sprinkle it evenly across the sauce. This ensures every bite gets that melty goodness and prevents a dense cheese core that can become gummy. A friend tried loading the center with extra cheese—let's just say the pockets burst open like a cheesy volcano.
Freeze‑Proof Folding Technique
When you plan to freeze the uncooked pockets, lightly dust the folded edges with flour before sealing. The flour acts as a barrier, preventing the dough from sticking together during freezing. This trick means you can pull a batch straight from the freezer to the oven without thawing, saving precious time on busy nights.
Creative Twists and Variations
This recipe is a playground. Here are some of my favorite ways to switch things up:
Spicy Jalapeño Blast
Add finely diced jalapeños to the cheese layer and a pinch of cayenne to the seasoning mix. The heat balances the creamy yogurt, creating a bold flavor that older kids adore. Pair with a cool ranch dip for a perfect contrast.
Veggie Power Pocket
Stir in a handful of finely chopped spinach or grated zucchini into the dough before rolling. The veggies boost the nutrient profile without altering the texture. Top with a sprinkle of parmesan for an extra savory kick.
Meat Lover’s Edition
Mix cooked, finely diced turkey or chicken breast into the cheese filling. The lean protein pairs beautifully with the yogurt‑infused crust, making it a hearty snack for active afternoons. A dash of smoked paprika adds depth.
Herb‑Infused Delight
Replace the Italian seasoning with a blend of fresh basil, oregano, and thyme, finely chopped and folded into the dough. This fresh herb infusion gives the pockets a garden‑fresh aroma that’s irresistible.
Sweet‑Savory Surprise
Swap half the cheese for a thin layer of low‑fat ricotta mixed with a drizzle of honey. The subtle sweetness pairs with the tomato sauce for a unique flavor adventure. Kids love the sweet surprise, and adults appreciate the gourmet twist.
Storing and Bringing It Back to Life
Fridge Storage
Place cooled pockets in an airtight container lined with parchment paper. They’ll stay fresh for up to three days. When ready to eat, reheat in a preheated oven at 350°F for 8‑10 minutes, and they’ll regain their crispness.
Freezer Friendly
Arrange uncooked pockets on a baking sheet, freeze until solid, then transfer to a zip‑top freezer bag. They’ll keep for up to two months. To bake from frozen, add an extra 3‑4 minutes to the baking time, and the result is indistinguishable from fresh.
Best Reheating Method
For the ultimate reheated crunch, use a toaster oven or a regular oven rather than a microwave. Lightly spray the tops with a mist of water before reheating; the steam helps the crust revive without becoming rubbery. In a pinch, a quick pan‑sear on medium heat for 2 minutes per side works wonders.