I was standing in my kitchen, staring at a half‑baked batch of cookies that had somehow turned into a flat, sad pancake of dough. The smell of melted butter was promising, but the texture was a nightmare—like trying to eat a rubber band that had been left out in the sun. I swear, I dared a friend to taste the first bite and she immediately asked for a second, which made me realize that something magical was happening despite the disaster. That moment sparked a fierce determination: I would not let a simple misstep ruin the cookie dreams of my entire neighborhood.
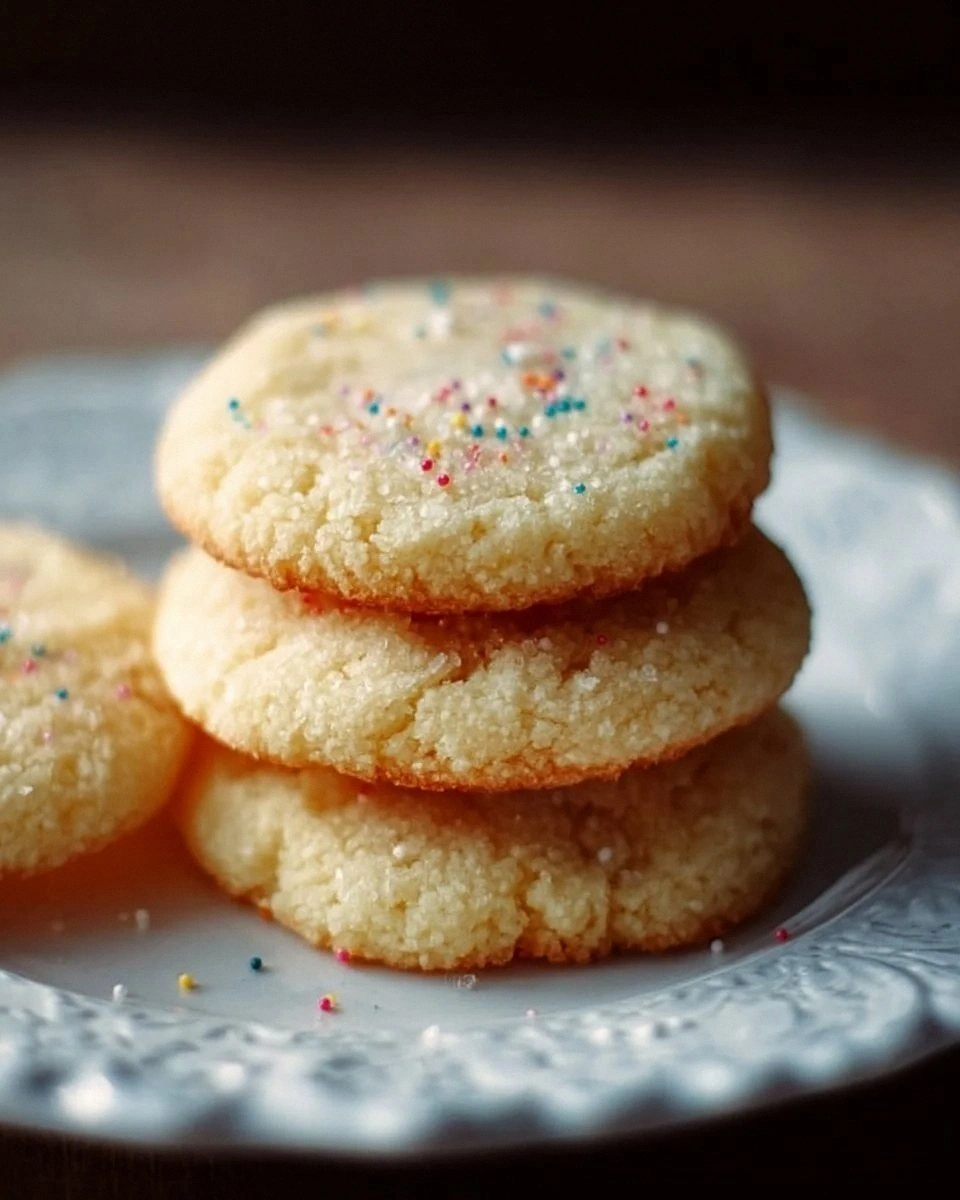
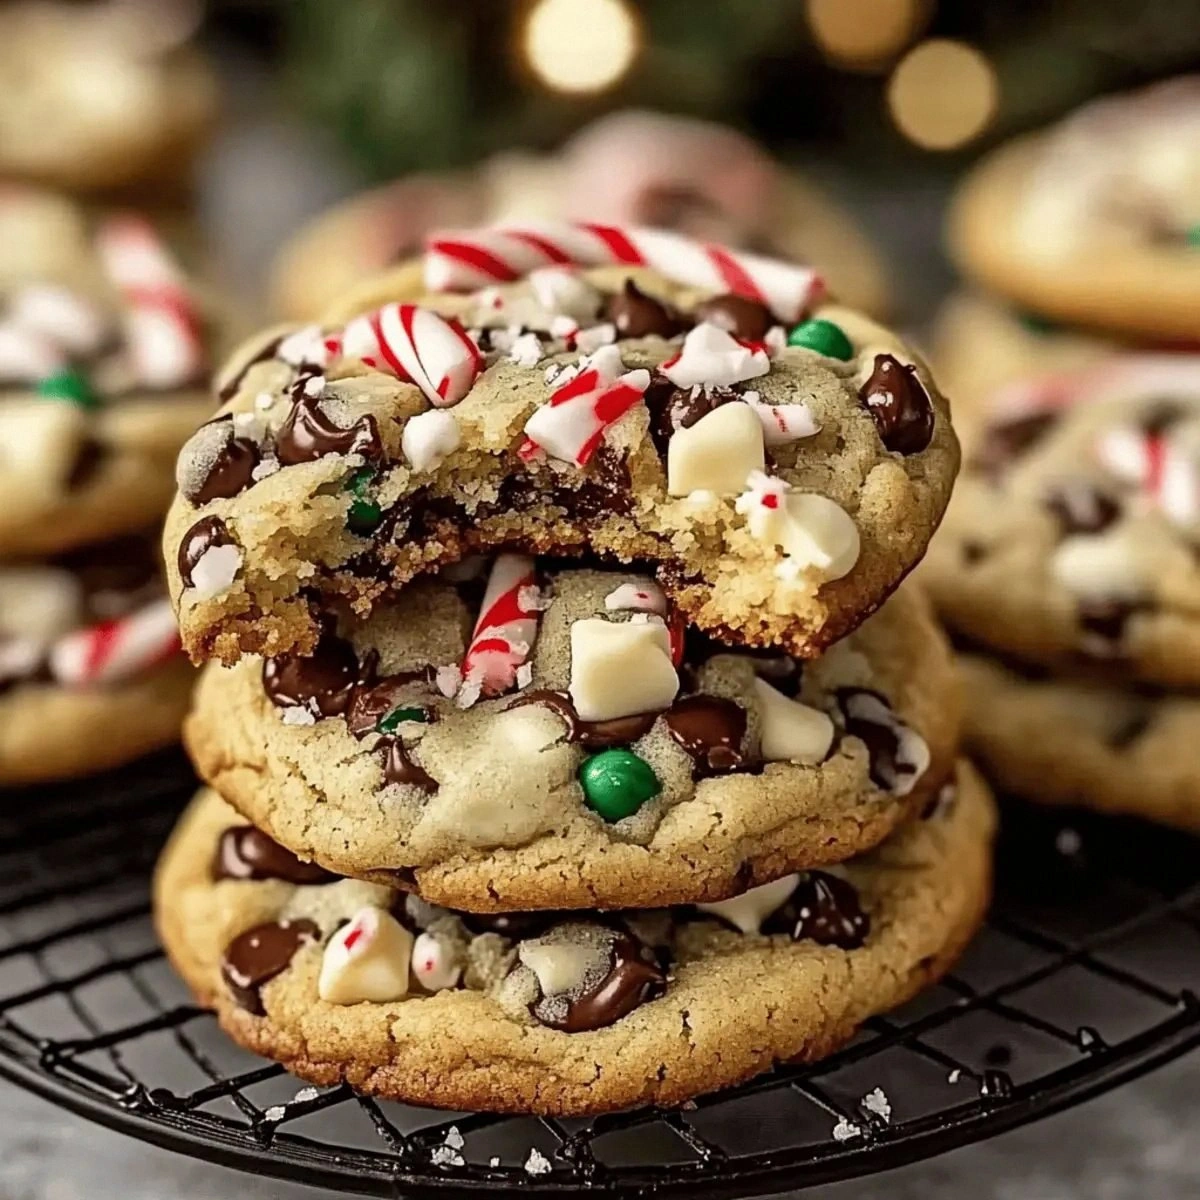
Fast forward a few frantic evenings of trial and error, and I finally cracked the code for a cookie that feels like stepping into a winter wonderland while still delivering the classic comfort of a chocolate chip cookie. Imagine the buttery crunch of a traditional cookie, the molten pockets of semi‑sweet chocolate, and a sudden burst of peppermint that tingles your palate like a fresh snowfall. The secret? A swirl of melted white chocolate that creates a glossy ribbon through the dough, and crushed candy canes that add a crackly, minty surprise in every bite.
Most recipes get the balance of sweet and mint completely wrong—either they drown the chocolate in a sea of peppermint or they forget the mint altogether, leaving you with a bland cookie that feels like a missed opportunity. This version, however, uses just enough peppermint to lift the flavors without overpowering the chocolate, and the addition of a white‑chocolate drizzle gives it that festive sparkle you only see in high‑end bakeries. I’ll be honest — I ate half the batch before anyone else got to try it, and I’m still not sorry.
You might be thinking, “Isn’t peppermint just for the holidays?” Not at all. This cookie is perfect year‑round, whether you’re craving a cozy winter treat or a bright, refreshing snack on a summer afternoon. Picture yourself pulling these out of the oven, the whole kitchen smelling like a candy‑cane factory meets a chocolate shop, and the first bite melting on your tongue with a snap of minty crunch. Okay, ready for the game‑changer? Let me walk you through every single step — by the end, you’ll wonder how you ever made it any other way.
What Makes This Version Stand Out
- Flavor Fusion: The marriage of semi‑sweet chocolate and peppermint creates a harmonious contrast that’s both nostalgic and novel, delivering a taste that feels like a holiday miracle any day of the year.
- Texture Symphony: Crispy edges give way to a chewy center, while the crushed candy canes add a satisfying crunch that pops like fireworks in your mouth.
- Simplicity Meets Sophistication: With just a handful of pantry staples and a couple of special touches, you get bakery‑level results without a PhD in pastry science.
- Visual Wow Factor: The white‑chocolate drizzle creates a marbled effect that looks stunning on a plate, making these cookies Instagram‑ready at first glance.
- Crowd‑Pleaser: Whether you’re feeding picky kids or sophisticated adults, the balanced sweet‑mint profile wins over every palate, and I dare you to taste this and not go back for seconds.
- Make‑Ahead Magic: The dough can be frozen for up to a month, meaning you can always have a stash ready for impromptu gatherings or late‑night cravings.
- Ingredient Quality: Using real butter, high‑quality chocolate, and fresh candy canes ensures each bite is rich, buttery, and unmistakably fresh.
- Cooking Method: A low‑and‑slow bake at 350°F yields perfectly set cookies that stay soft inside, avoiding the dreaded over‑browned edges that ruin the experience.
Inside the Ingredient List
The Flavor Base
Unsalted butter is the backbone of any great cookie, providing richness and a tender crumb. Using butter at room temperature ensures it creams evenly with the sugars, creating tiny air pockets that later expand during baking. If you swap butter for margarine, expect a slightly greasy texture and a loss of that buttery aroma that makes the cookie feel like a hug. Pro tip: Choose a European‑style butter with at least 82% fat for the most luxurious mouthfeel.
The Sweet Duo
Brown sugar brings moisture and a deep caramel note, while granulated sugar adds crispness to the edges. Together they create a balanced sweetness that doesn’t overwhelm the peppermint. If you’re watching sugar, you can reduce the granulated portion by a quarter, but the cookies will lose some of their signature snap. Look for dark brown sugar with a rich molasses flavor for the best depth.
The Texture Crew
Eggs act as binders and leaveners, giving the cookies structure and a subtle lift. The two large eggs in this recipe are crucial; using one will make the dough too dry, while three will cause excessive spreading. Vanilla extract adds a fragrant undertone that rounds out the mint’s sharpness. If you’re feeling adventurous, a splash of almond extract can add a nutty nuance without clashing.
The Unexpected Star
Crushed candy canes are the secret weapon that delivers that crisp peppermint snap. They’re not just for decoration; they melt slightly, releasing peppermint oil that infuses the dough. If you can’t find candy canes, crushed peppermint bark works just as well, though it adds a chocolatey layer. Be sure to crush them with a rolling pin to get a mix of fine dust and larger shards for texture variety.
The Final Flourish
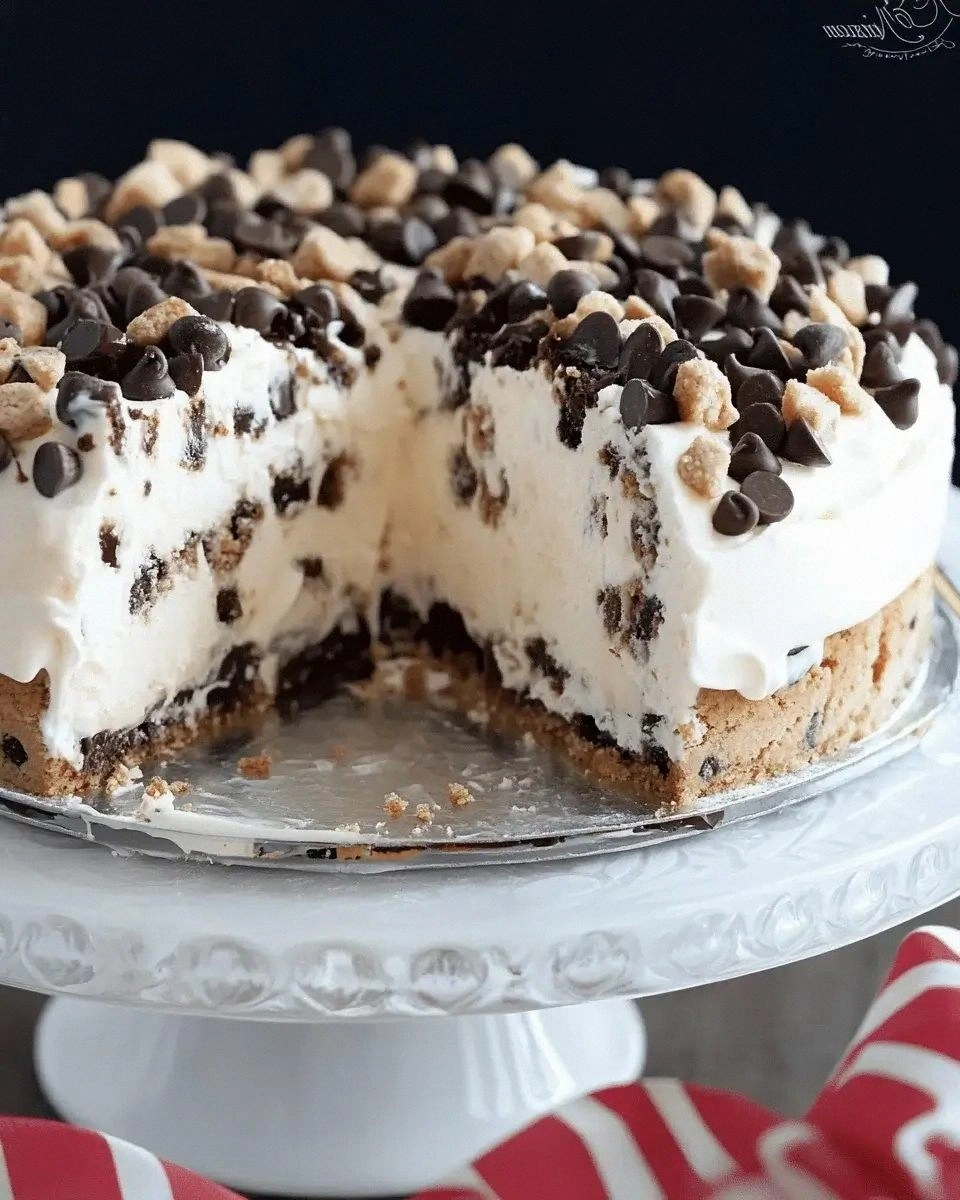
White chocolate chips and the melted white chocolate drizzle provide a sweet, buttery contrast that softens the peppermint’s bite. The drizzle also creates a beautiful marbled look that makes these cookies look as good as they taste. If you prefer a darker aesthetic, swap the white chocolate for dark chocolate and add a sprinkle of sea salt for a sweet‑salty twist. When selecting white chocolate, choose one with real cocoa butter, not just vegetable oil, for a glossy finish.
Everything's prepped? Good. Let's get into the real action...
The Method — Step by Step
Start by preheating your oven to 350°F (175°C) and lining two baking sheets with parchment paper. While the oven warms, give your butter a quick glance—if it’s too soft, it will blend too easily and cause the cookies to spread thin. The goal is a creamy, pale yellow mixture that looks like a cloud ready to burst with flavor. This is the moment of truth: the butter must be just soft enough to incorporate the sugars without turning liquid.
In a large mixing bowl, combine the 3/4 cup unsalted butter, 1 cup brown sugar, and 1/2 cup granulated sugar. Using a handheld mixer on medium speed, beat until the mixture is light, fluffy, and a shade lighter than the butter started—think “sunrise on a summer morning.” Scrape the sides regularly; the sugar loves to hide in the corners. When the mixture looks like a silky caramel, you’re ready for the next step.
Add the two large eggs one at a time, letting each incorporate fully before adding the next. Follow with 2 teaspoons of vanilla extract. The batter will thicken briefly, then smooth out again—this is the texture you want. If you notice the mixture curdling, keep beating for an extra 30 seconds; the emulsifiers in the egg will bring it back together.
In a separate bowl, whisk together 2 cups all‑purpose flour, 1 teaspoon baking soda, and 1/2 teaspoon salt. Whisking ensures the leavening is evenly distributed, preventing any bitter pockets of soda. Gently fold the dry ingredients into the wet mixture, using a spatula to avoid over‑mixing. Over‑mixing can develop gluten, making the cookies tough instead of tender.
Now comes the fun part: stir in 1 cup semi‑sweet chocolate chips, 1/2 cup white chocolate chips, and 1/2 cup crushed candy canes. The candy canes should be folded in just enough to be evenly dispersed; you don’t want them sinking to the bottom. As the green specks swirl through the dough, you’ll notice a faint peppermint aroma—this is the signal that the magic is happening.
In a small microwave‑safe bowl, melt 1/4 cup white chocolate in 20‑second bursts, stirring between each burst until smooth. Drizzle the melted white chocolate over the dough in a zig‑zag pattern, then use a knife or skewer to swirl it through, creating a marble effect. This step is pure visual magic; the glossy ribbons will freeze into beautiful veins as the cookies bake.
Cover the bowl with plastic wrap and chill the dough for at least 30 minutes, or up to 2 hours if you have the patience. Chilling solidifies the fat, which means the cookies will hold their shape better on the sheet. If you’re short on time, a quick 10‑minute chill in the freezer will also work—just don’t let it freeze solid.
Scoop the dough onto the prepared baking sheets using a 2‑inch cookie scoop, spacing them about 2 inches apart. The dough should be slightly rounded; if it flattens too much, gently press it back into a ball. Bake for 12‑14 minutes, or until the edges are golden brown and the centers still look a touch soft. The cookies will continue to set as they cool, so pull them out at the perfect moment.
Allow the cookies to cool on the sheet for 5 minutes before transferring them to a wire rack. This short rest lets the bottom firm up while the top stays chewy. As they cool, the peppermint aroma intensifies, and the white‑chocolate drizzle hardens into a delicate shell. Serve warm, or store in an airtight container for later indulgence.
That's it — you did it. But hold on, I've got a few more tricks that'll take this to another level...
Insider Tricks for Flawless Results
The Temperature Rule Nobody Follows
Most home bakers set the oven to the exact temperature the recipe calls for, but the real secret is to let the oven preheat an extra 10 minutes beyond the dial. This creates a slight temperature surge that gives the cookies a quick initial rise, forming that coveted crisp edge while keeping the center soft. I once baked a batch at a steady 350°F and they turned out flat; after adding the extra preheat, they puffed up like tiny clouds. Trust the heat, and you’ll get that professional‑grade texture every time.
Why Your Nose Knows Best
Visual cues are great, but the real indicator that your cookies are done is the scent. When the buttery aroma turns nutty and you catch a faint hint of caramel, it means the Maillard reaction is in full swing. If you wait until you see deep brown spots, you’ll overshoot and end up crunchy rather than chewy. So keep your nose close to the oven door—if you smell that toasty perfume, pull them out.
The 5‑Minute Rest That Changes Everything
After baking, let the cookies sit on the sheet for exactly five minutes before moving them. This short rest lets the residual heat finish the cooking process and the sugars to settle, preventing a crumbly texture. A friend once skipped this step and found the cookies fell apart when she tried to stack them. The five‑minute pause is the difference between a cookie that crumbles and one that holds together like a perfect little brick.
The Secret of the Candy Cane Crunch
If you want the peppermint crunch to stay crisp, add the crushed candy canes after the dough has rested but before the final chill. This way the canes don’t melt into the dough, preserving their snap. I tried mixing them in earlier and they turned into a mushy green speck that lost all texture. Timing is everything; add them at the last minute for that satisfying crunch.
The Double‑Drizzle Technique
For an extra wow factor, drizzle a second thin layer of melted white chocolate right after the cookies have cooled for 10 minutes. The second drizzle sets into a delicate glaze that adds a glossy finish and a subtle sweet note that balances the peppermint. It’s a tiny step that makes the cookies look like they belong in a patisserie window. Give it a try, and watch your friends’ eyes widen.
Creative Twists and Variations
This recipe is a playground. Here are some of my favorite ways to switch things up:
Double‑Mint Delight
Swap the crushed candy canes for a blend of crushed peppermint bark and a dash of peppermint extract. The result is an intensified mint flavor that’s perfect for a holiday party where you want to wow the crowd.
Nutty Peppermint Crunch
Add ½ cup chopped toasted pecans or walnuts to the dough. The nuts bring an earthy richness that complements the mint and chocolate, creating a sophisticated flavor profile for adult gatherings.
Mocha Mint Fusion
Replace half of the semi‑sweet chocolate chips with dark chocolate chips and add 1 tablespoon of instant coffee granules. The coffee deepens the chocolate notes and pairs beautifully with the peppermint’s brightness.
White‑Chocolate Raspberry Swirl
Fold in ¼ cup freeze‑dried raspberry pieces and drizzle raspberry coulis over the finished cookies. The tart berries cut through the sweetness, offering a fresh twist that’s perfect for spring brunches.
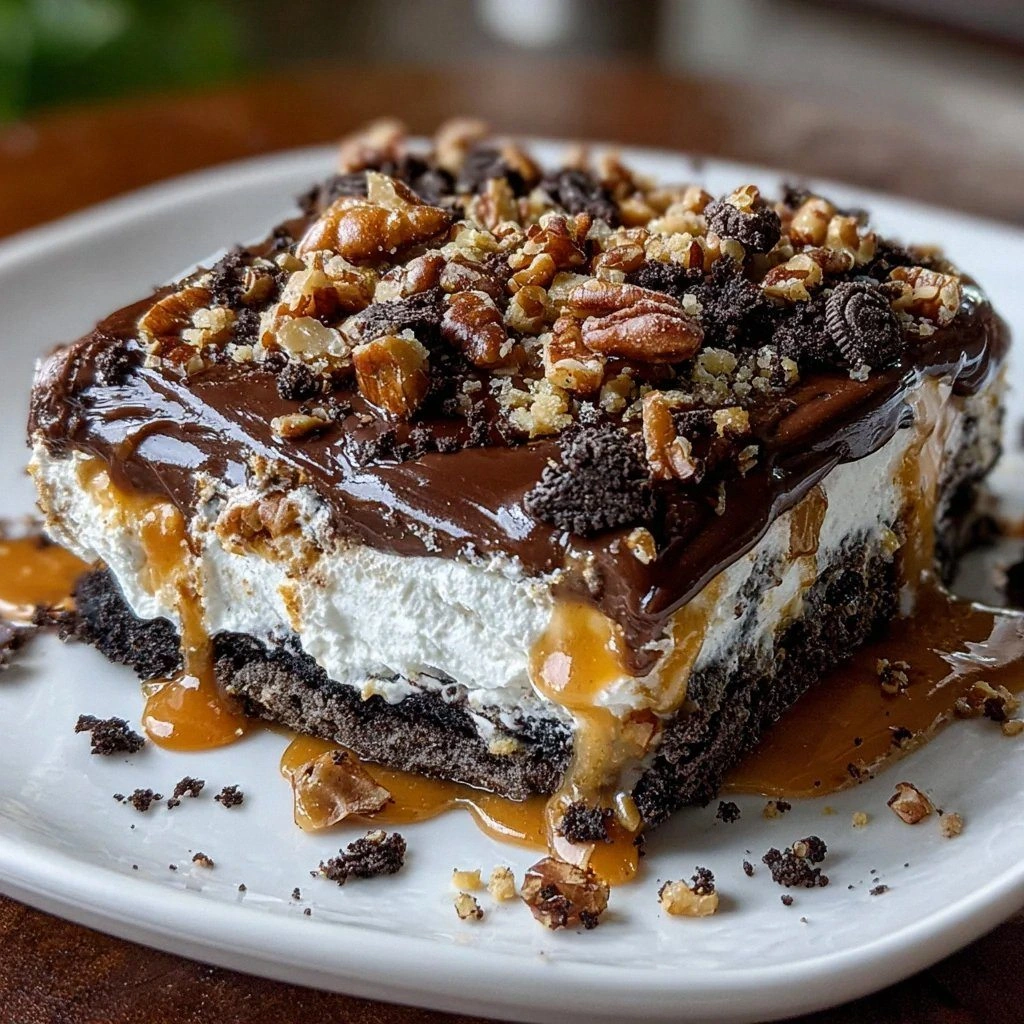
Salted Caramel Peppermint
Add ¼ cup caramel bits and sprinkle flaky sea salt on top before baking. The salty caramel pockets melt into gooey pockets that balance the mint, delivering a complex sweet‑salty experience.
Storing and Bringing It Back to Life
Fridge Storage
Place the cooled cookies in an airtight container with a paper towel at the bottom to absorb excess moisture. Store them in the refrigerator for up to a week; the chill keeps the peppermint from fading and the cookies stay pleasantly soft.
Freezer Friendly
Layer cookies between sheets of parchment paper and seal the container or zip‑lock bag. They freeze beautifully for up to three months. When you’re ready to indulge, let them thaw at room temperature for 15 minutes, then give them a quick 3‑minute warm‑up in a 300°F oven to revive the crisp edges.
Best Reheating Method
To bring a day‑old cookie back to life, place it on a microwave‑safe plate, add a tiny splash (about 1 teaspoon) of water beside it, and microwave for 10‑12 seconds. The steam created re‑hydrates the interior while the outer edge regains its bite. This trick works like a charm for any baked good that’s lost its mojo.