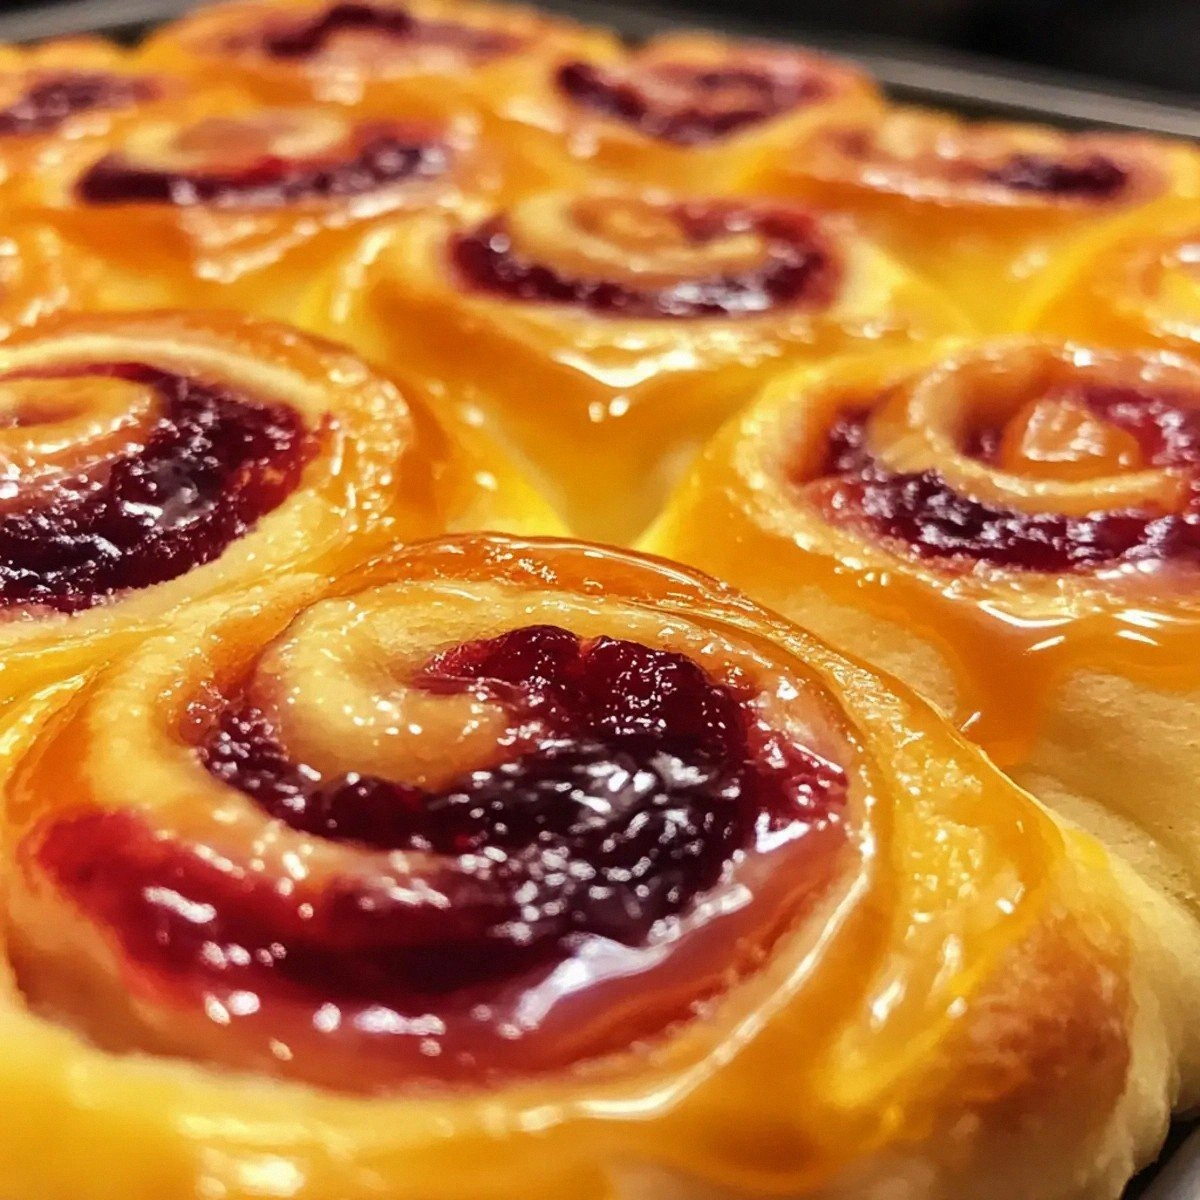
I was in the middle of a rainy Sunday binge‑watching marathon when my roommate dared me to make a dessert that would survive the ultimate taste‑test: a blindfolded panel of five friends, each armed with a fork and a skeptical palate. I grabbed the first thing I could find in the pantry—cocoa, flour, and a bottle of coconut oil—only to realize I’d completely forgotten the eggs. Panic? Nope. I dove headfirst into the world of vegan baking, and after a few trial runs that left my kitchen smelling like a chocolate‑filled dream, I finally nailed a brownie that was so moist it practically wept. This is the result, and trust me, it’s hands down the best version you’ll ever make at home.
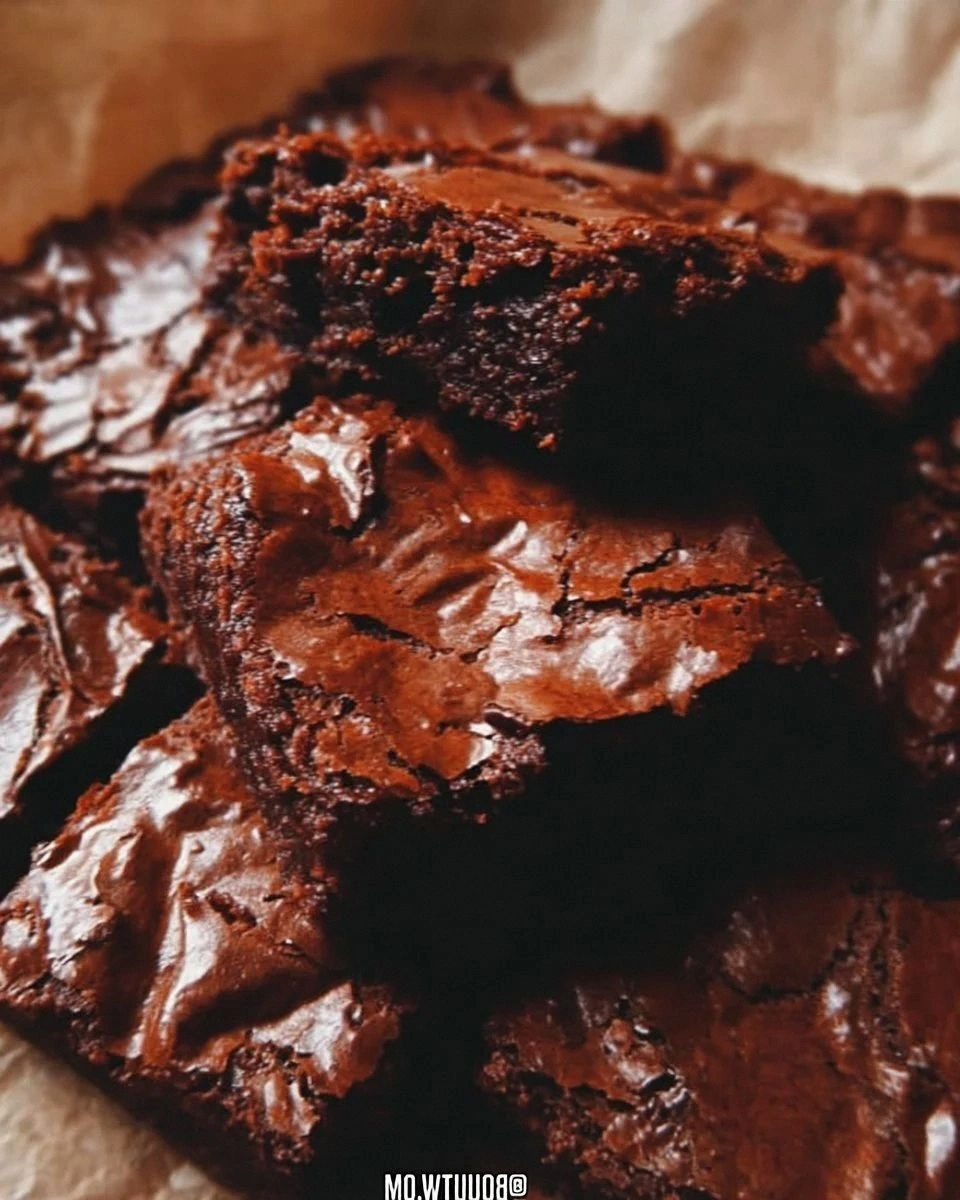
Picture this: the oven door swings open, a warm, glossy dome of chocolate rises, and the air is instantly saturated with a scent that whispers “comfort” and shouts “indulgence.” The edges are crisp, the center is fudgy, and when you break a piece, the crack echoes like a tiny fireworks show, sending a cascade of glossy crumbs onto your plate. You can hear the faint crackle of the crust as you lift the brownie, feel the slight give under your fork, and taste a depth of cocoa that feels like it was sourced from a secret stash of the finest beans. It’s a full‑sensory experience that makes you forget you’re eating something plant‑based.
Most vegan brownie recipes get this completely wrong. They either end up dry as a desert or so oily they slide off the plate. The secret? A precise balance of oil, milk, and cocoa, plus a tiny trick that most bakers overlook: a short, high‑heat blast at the beginning of baking to set the crust, followed by a gentle finish that keeps the interior silky. I’ll be honest—I ate half the batch before anyone else got to try it, because I couldn’t resist that first warm bite. I dare you to taste this and not go back for seconds.
Okay, ready for the game‑changer? Let me walk you through every single step — by the end, you’ll wonder how you ever made it any other way. Stay with me here — this is worth it.
What Makes This Version Stand Out
- Fudgy Core: The combination of melted coconut oil and almond milk creates a glossy, melt‑in‑your‑mouth center that rivals any dairy‑laden brownie.
- Crunchy Edge: A brief high‑heat start gives the perimeter a crisp snap that shatters like thin ice, adding texture contrast.
- Simple Pantry Staples: No exotic flours or obscure binders—just everyday ingredients you probably already have.
- Vegan Chocolate Chips: Tiny pockets of melty chocolate that burst with each bite, turning every square into a mini surprise.
- Balanced Sweetness: The sugar level is calibrated to let the cocoa shine without becoming cloyingly sweet.
- Make‑Ahead Friendly: These brownies keep beautifully for days, and they even improve after a night in the fridge.
- All‑Day Energy Boost: With a modest protein punch from the cocoa and almond milk, they’re a satisfying snack that won’t crash your blood sugar.
Inside the Ingredient List
The Flavor Base
The unsweetened cocoa powder is the heart of any good brownie. It brings a deep, almost bitter chocolate note that balances the sugar and prevents the final product from tasting like candy. If you skip the cocoa, you’ll lose that signature fudgy depth and end up with a bland, cake‑like texture. For a richer flavor, consider using a Dutch‑processed cocoa, which has a smoother, less acidic profile. When selecting cocoa, look for a dark, glossy powder with a faint chocolate aroma—cheap cocoa can taste metallic.
The Texture Crew
All‑purpose flour provides the structural backbone, giving the brownies just enough body to hold together without becoming dense. The 1 cup measurement is crucial; too much flour will make them cakey, too little will cause them to spread thin and dry out. Granulated sugar not only sweetens but also contributes to the crisp edge when it caramelizes. If you prefer a less granular texture, you can swap half the granulated sugar for coconut sugar, which adds a caramel undertone.
The Unexpected Star
Coconut oil (or any neutral vegetable oil) is the secret moisture keeper. Its high smoke point means it can handle the initial hot blast without burning, and it solidifies into a buttery texture once cooled. If you’re allergic to coconut, canola or sunflower oil work just as well, but you’ll miss the subtle tropical hint that adds a unique dimension. Remember: melt the oil gently; overheating can create a metallic aftertaste.
The Final Flourish
Almond milk brings a creamy, nutty undertone while keeping the batter liquid enough for that fudgy interior. It also helps the cocoa dissolve evenly, preventing clumps. If you’re avoiding nuts, oat milk is a fantastic alternative that adds a slight sweetness. Finally, the vanilla extract ties everything together, acting like a conductor that harmonizes the flavors. A splash of espresso powder can amplify the chocolate depth without making the brownies taste coffee‑y.
Everything's prepped? Good. Let's get into the real action...
The Method — Step by Step
Preheat your oven to 350°F (175°C). While the oven warms up, line an 8‑inch square pan with parchment paper, letting the edges overhang for easy removal later. This step is crucial because a properly heated oven creates that initial burst of steam, which lifts the batter and sets the crust. I always set a timer for the preheat so I don’t lose track while I’m mixing. That sizzle when the batter hits the hot pan? Absolute perfection.
In a large bowl, whisk together the flour, cocoa powder, baking powder, and salt. This dry blend ensures the cocoa is evenly distributed, preventing any bitter pockets. If you see clumps, sift the mixture twice; it’s a small extra effort that pays off in texture. The aroma of cocoa hitting the bowl is already a teaser of what’s to come.
In a separate saucepan, gently melt the coconut oil over low heat. Once melted, remove from the stove and stir in the almond milk and vanilla extract. The oil should be warm, not hot—think of a summer day’s gentle breeze, not a scorching desert sun. This mixture is the liquid heart of the brownies, and it will coat the dry ingredients like velvet.
Combine the wet and dry mixtures, stirring just until you see a smooth, glossy batter. Over‑mixing is the enemy; it can develop gluten in the flour, leading to a tougher crumb. I like to use a silicone spatula, folding from the center outward, and then give the bowl a quick turn to ensure everything is incorporated. The batter should be thick enough to hold its shape but still pourable.
Kitchen Hack: Add the vegan chocolate chips at the very end of mixing to keep them from melting into the batter; they’ll stay as delightful pockets.Fold in the chocolate chips, distributing them evenly. This is the fun part—watch those dark specks swirl through the brown sea of batter. If you’re feeling adventurous, toss in a handful of toasted walnuts for crunch. The batter is now ready for the pan.
Pour the batter into the prepared pan, smoothing the top with the back of a spoon. For an extra glossy finish, tap the pan gently on the counter three times; this releases air bubbles that could create unwanted holes. The surface should look smooth, almost like a chocolate mirror.
Slide the pan into the oven and bake for 12 minutes at 350°F, then lower the temperature to 325°F and continue for another 15‑18 minutes. This two‑stage baking creates a crisp edge while preserving a fudgy middle. Around the 12‑minute mark, you’ll notice the edges pulling slightly away from the pan—this is your cue to reduce the heat.
Watch Out: Opening the oven door too early can cause the brownies to collapse; trust the timer and resist the urge to peek.When the top looks set and a toothpick inserted into the center comes out with just a few moist crumbs, remove the pan. The brownies will continue to set as they cool, so resist the temptation to cut them immediately. Let them rest for 10 minutes in the pan; this short pause lets the flavors meld and the texture firm up just enough for clean slices.
Lift the brownies out using the parchment overhang, place them on a cooling rack, and slice into squares. The first cut should reveal a glossy, crackly top with a dense, fudgy interior. Serve warm with a scoop of vegan vanilla ice cream, or let them cool completely for a firmer bite. And now the fun part—watch your friends devour them while you bask in the glory of your masterpiece.
That's it — you did it. But hold on, I've got a few more tricks that'll take this to another level...
Insider Tricks for Flawless Results
The Temperature Rule Nobody Follows
Most home bakers bake brownies at a constant temperature, but the secret to that perfect contrast between crust and center is a two‑phase bake. Start hot, then lower the heat. This technique creates steam early on, which expands the batter, then gently sets the interior without over‑drying. A friend once tried the constant‑temp method and ended up with a rubbery middle—let’s just say it didn’t win any awards.
Why Your Nose Knows Best
Your sense of smell is a more reliable indicator of doneness than any timer. When the edges start to emit a toasted, slightly nutty aroma, you’re approaching the perfect moment. If you smell a faint burnt scent, pull the pan out immediately; the brownies will finish cooking in the residual heat.
The 5‑Minute Rest That Changes Everything
Allowing the brownies to rest for five minutes after removing them from the oven lets the internal steam redistribute, preventing a gummy center. This pause also makes cutting cleaner—no more crumbling pieces that fall apart on the plate. I always set a timer for this rest; it’s the difference between “good” and “legendary.”
Chocolate Chip Distribution Mastery
To avoid all the chips sinking to the bottom, toss them in a tiny amount of flour before folding them in. The flour creates a light coating that keeps the chips suspended throughout the batter. This hack ensures every bite delivers that melty surprise you crave.
The Cool‑Down Flip
If you’re in a rush, you can flip the pan onto a cooling rack for a quicker cool‑down. Just be gentle—support the pan with a spatula to prevent the brownies from sliding off. This method speeds up the cutting process without sacrificing texture.
Creative Twists and Variations
This recipe is a playground. Here are some of my favorite ways to switch things up:
Espresso‑Infused Fudge
Add 1 tablespoon of instant espresso powder to the dry ingredients. The coffee amplifies the chocolate’s depth, creating a mocha‑like experience that’s perfect for brunch or an after‑dinner treat.
Berry Burst
Fold in ½ cup of freeze‑dried raspberries or blueberries after adding the chocolate chips. The berries introduce a subtle tartness that cuts through the richness, and they look gorgeous against the dark background.
Nutty Crunch
Swap half the chocolate chips for chopped toasted pecans or hazelnuts. The nuts add a buttery crunch and a nutty aroma that complements the cocoa beautifully.
Spiced Holiday
Stir in ½ teaspoon of ground cinnamon, a pinch of nutmeg, and a dash of clove for a warm, festive twist. This version is perfect for the holiday season and pairs well with a dollop of vegan whipped cream.
White Chocolate Swirl
Melt ¼ cup of vegan white chocolate and swirl it into the batter before baking. The pale ribbons create a beautiful visual contrast and a sweet, creamy counterpoint to the dark chocolate base.
Storing and Bringing It Back to Life
Fridge Storage
Place the cooled brownies in an airtight container and store them in the refrigerator for up to 5 days. The chilled environment keeps the fudgy interior firm while preserving the glossy crust. Before serving, let them sit at room temperature for 15 minutes to regain their soft texture.
Freezer Friendly
Wrap the entire pan tightly in plastic wrap, then add a foil layer and freeze for up to 3 months. When you’re ready to enjoy, thaw overnight in the fridge, then warm individual squares in the microwave for 20‑30 seconds. Add a tiny splash of almond milk before reheating to steam them back to perfection.
Best Reheating Method
For the ultimate warm‑and‑gooey experience, preheat your oven to 300°F (150°C), place the brownies on a baking sheet, and heat for 8‑10 minutes. This gentle reheating revives the fudgy center without drying out the edges. Serve immediately with a drizzle of maple syrup for an extra touch of decadence.