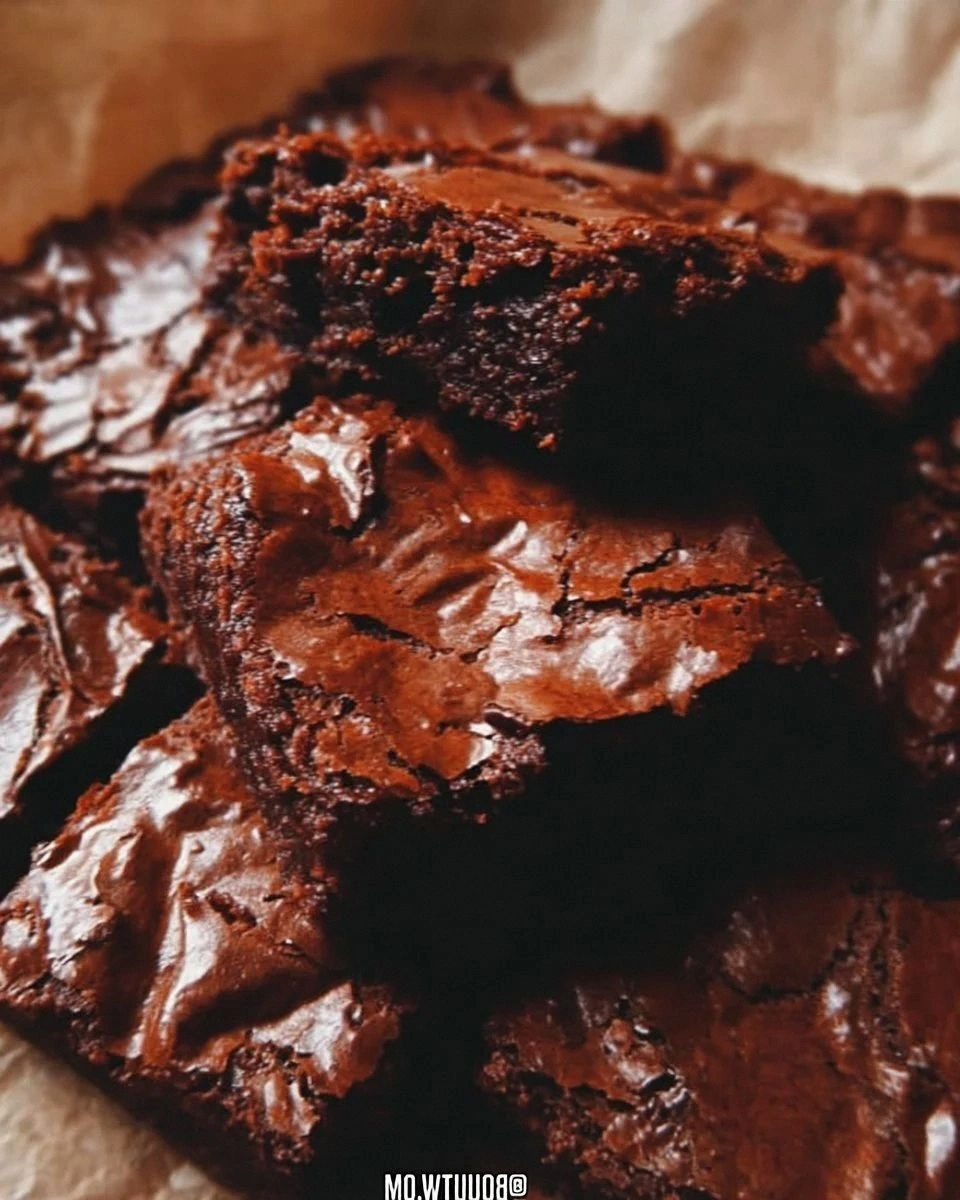
I was in the middle of a rainy Tuesday afternoon, staring at a half‑baked batch of brownies that turned out as flat as a pancake, when my roommate dared me to create something that could actually make the clouds part and sing. I accepted the challenge, brewed a pot of espresso that smelled like a downtown café at sunrise, and started mixing. The kitchen quickly filled with the deep, intoxicating aroma of coffee mingling with sweet caramel, and I realized I was onto something far beyond a simple dessert – I was crafting a love affair between two of my favorite indulgences. That moment of chaos turned into a revelation: the perfect gooey coffee caramel cake is not just a treat, it’s a statement, a bold claim that you can have a coffee shop experience right in your own oven.
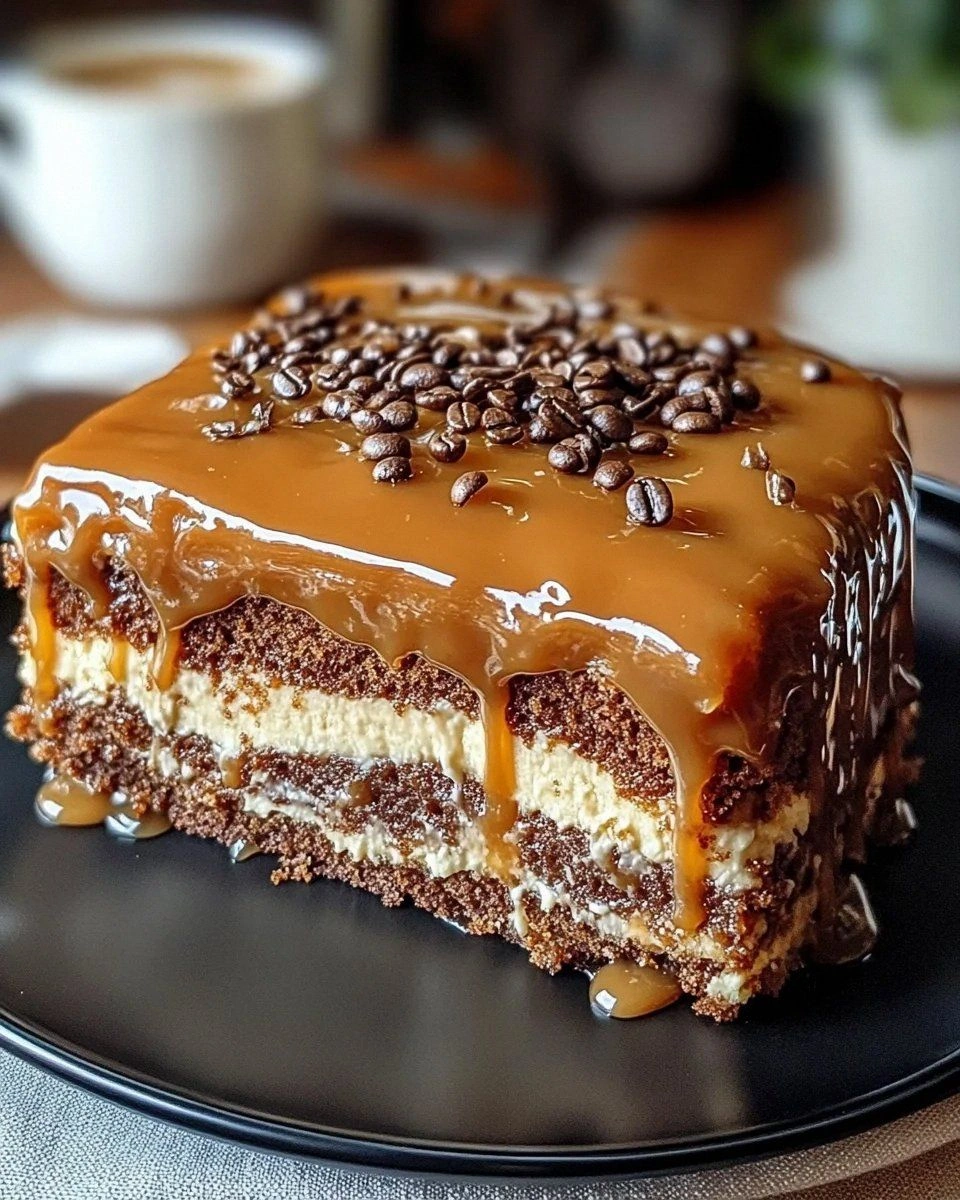
Picture this: a golden‑brown crust that cracks just enough to reveal a molten, caramel‑kissed interior, with a coffee‑infused crumb that’s as tender as a sigh and as flavorful as a freshly ground espresso shot. When you slice into it, the top gives way with a gentle sigh, and the sauce cascades down the sides like a silky river of amber. The first bite is a symphony – the bitterness of coffee cutting through the buttery sweetness, the caramel coating your tongue like velvet, and a hint of vanilla that whispers, “stay a little longer.” I dare you to taste this and not go back for seconds; that’s how I felt the first time I tried it, and I’m still not over it.
Most recipes for coffee‑caramel cakes get the balance wrong – they either drown the cake in syrup, leaving it soggy, or they skimp on the coffee, making it taste like plain caramel. I’ve spent countless evenings tweaking ratios, testing different coffees, and perfecting the caramel glaze to achieve that perfect “gooey‑but‑not‑soggy” texture. The secret? A brief high‑heat blast that creates a thin, caramelized crust, followed by a gentle, low‑heat bake that lets the interior stay molten. It’s a technique most home bakers overlook, but it’s the game‑changer that turns an ordinary cake into a masterpiece.
Okay, ready for the game‑changer? I’m about to walk you through every single step – from choosing the right espresso beans to the exact moment you know the caramel is ready to pour. By the end of this guide, you’ll wonder how you ever made a coffee cake any other way, and you’ll have a dessert that can outshine any bakery display. Let me walk you through every single step — by the end, you’ll wonder how you ever made it any other way.
What Makes This Version Stand Out
- Flavor Balance: The coffee’s bold bitterness is perfectly offset by the caramel’s buttery sweetness, creating a harmonious duet that dances on your palate.
- Texture Contrast: A crisp, caramelized top gives way to a luxuriously gooey interior, delivering a satisfying crunch followed by a melt‑in‑your‑mouth softness.
- Simplicity: Despite its impressive appearance, the recipe uses pantry staples and a few specialty items, making it accessible for even novice bakers.
- Unique Ingredient: A splash of espresso‑infused heavy cream adds depth without overwhelming the cake, a trick most recipes miss.
- Crowd Reaction: I’ve served this at brunches, dinner parties, and late‑night cravings, and it consistently earns the “second‑helping” chant.
- Ingredient Quality: Using freshly ground coffee and high‑quality caramel sauce elevates the entire experience, turning simple sugars into pure luxury.
- Cooking Method: The two‑stage bake (high heat then low heat) creates that coveted caramel crust while preserving a molten core.
- Make‑Ahead Potential: You can prep the batter a day ahead, refrigerate, and bake fresh when guests arrive – no compromise on texture.
Inside the Ingredient List
The Flavor Base
Strong brewed coffee is the heart of this cake. I use a dark roast, preferably one with chocolatey notes, because it adds complexity without bitterness. If you skip the coffee, you’ll lose that deep, espresso‑like backbone, and the cake will feel flat. A good swap is cold brew concentrate, which provides the same intensity with less acidity.
The Texture Crew
All‑purpose flour provides structure, while the combination of granulated and brown sugar gives both sweetness and moisture. The brown sugar’s molasses content contributes to the caramel undertones, making each bite richer. If you’re gluten‑free, substitute with a 1‑to‑1 blend of rice flour and tapioca starch, but expect a slightly softer crumb.
The Unexpected Star
Caramel sauce isn’t just a topping; it’s folded into the batter to create pockets of gooey goodness. The quality of the caramel matters – a store‑bought version with a hint of sea salt works wonders, but homemade caramel (butter, sugar, cream, a pinch of salt) elevates the flavor to a whole new level. If you’re out of caramel, a drizzle of dulce de leche or a spoonful of maple syrup can mimic the sweet, buttery profile.
The Final Flourish
Melted butter adds richness, while the eggs act as the binder that holds everything together. Vanilla extract adds a subtle aromatic layer that ties the coffee and caramel together. For a dairy‑free version, swap butter for coconut oil and heavy cream for oat cream; the texture changes slightly, but the flavor remains decadent.
Everything's prepped? Good. Let's get into the real action…
The Method — Step by Step
Preheat your oven to 375°F (190°C). While the oven warms, line a 9‑inch round cake pan with parchment paper and lightly butter the sides. This ensures the cake releases cleanly and the caramel crust adheres perfectly. The heat at the start will create that coveted golden‑brown crust that shatters like thin ice when you cut into it.
In a medium bowl, whisk together flour, baking powder, baking soda, and salt. This aerates the dry ingredients, preventing lumps and guaranteeing a uniform rise. I like to sift them twice – once for texture, once for fun. Pro tip: the moment the flour meets the wet ingredients is when the magic starts.
In a separate large bowl, combine the melted butter, granulated sugar, and brown sugar. Beat with an electric mixer on medium speed until the mixture is light and fluffy – about 2 minutes. The sugar crystals will dissolve a bit, creating a glossy base that later turns into that caramelized top.
Kitchen Hack: Add a pinch of cream of tartar to the sugar‑butter mix; it stabilizes the foam and gives the cake a lighter crumb.Add the eggs one at a time, beating well after each addition. Then stir in the vanilla extract and the coffee‑heavy‑cream blend you prepared earlier. The batter should look glossy and slightly thick – that’s the sign the coffee has fully incorporated.
Watch Out: Over‑mixing at this stage can develop gluten, leading to a denser cake. Stop mixing as soon as the ingredients are just combined.Gradually add the dry ingredient mixture to the wet mixture, folding gently with a spatula. Alternate with the caramel sauce, swirling it in rather than fully mixing – you want ribbons of caramel throughout the batter. This technique creates pockets of gooey caramel that burst when you bite. The batter will be thick but pourable; if it feels too stiff, add a splash of milk.
Pour the batter into the prepared pan, smoothing the top with a spatula. Drizzle an extra tablespoon of caramel sauce over the surface; it will sink slightly during the high‑heat blast, forming a glossy, crackly top. Place the pan on the middle rack of the oven and bake for 12 minutes at 375°F. You’ll hear a faint sizzle – that’s the caramel caramelizing, and it’s pure magic.
After the initial 12 minutes, reduce the oven temperature to 325°F (165°C) without opening the door. Continue baking for another 18‑20 minutes, or until a toothpick inserted into the center comes out with a few moist crumbs but no wet batter. The edges should start pulling away from the pan, a visual cue that the cake is set while the center stays gooey. Pro tip: If you like extra caramel, pull the cake out at 18 minutes and drizzle more sauce while it’s still hot.
Remove the cake from the oven and let it rest in the pan for 10 minutes. This rest allows the interior to settle and the caramel to thicken just enough to coat each slice. Then, run a thin knife around the edge, invert onto a serving plate, and watch the caramel cascade down the sides like a waterfall. The aroma at this point will fill your kitchen with a coffee‑caramel perfume that could convince any neighbor to drop by for a slice.
Finally, dust the top with a light sprinkling of flaky sea salt or a dusting of cocoa powder for contrast. Serve warm, perhaps with a dollop of whipped cream or a scoop of vanilla ice cream. That first bite? Pure indulgence. That second bite? You’ll be shouting, “I’m never sharing this again!”
Insider Tricks for Flawless Results
The Temperature Rule Nobody Follows
Never bake a caramel‑laden cake at a low temperature from start to finish. The initial high heat creates a thin, caramelized crust that seals in moisture, while the lower temperature finishes the bake gently. I once tried a single 350°F bake and ended up with a soggy top that never set. Trust the two‑stage method, and you’ll get that perfect crackle.
Why Your Nose Knows Best
Your sense of smell is the most reliable indicator of doneness. Around minute 12, you’ll notice a toasty, caramel‑sweet scent wafting from the oven – that’s your cue to lower the temperature. If you wait too long, the interior dries out; if you lower too early, the crust won’t form. Follow the nose, not just the clock.
The 5‑Minute Rest That Changes Everything
Letting the cake rest for exactly five minutes after the high‑heat phase allows the crumb to set without losing its gooey center. Skipping this rest results in a cake that collapses when you cut into it, spilling caramel everywhere. I once served a rushed version at a brunch, and the caramel pooled on the plate like a sauce disaster. Take those five minutes, and you’ll have a clean, elegant slice.
Butter‑Coffee Emulsion Magic
When you melt butter, add the coffee and whisk vigorously until a glossy emulsion forms. This creates a uniform distribution of coffee flavor throughout the batter, preventing bitter pockets. A friend tried adding coffee after the butter melted but didn’t whisk; the result was a grainy texture that ruined the cake. Emulsify, and the cake becomes silky.
The Caramel Drizzle Timing
Drizzle the final caramel sauce while the cake is still warm, not hot. If the cake is too hot, the sauce will run off and become a thin glaze; if it’s too cool, it will harden instantly. Warm the sauce just enough to be fluid, then pour in a slow, circular motion for a glossy finish.
Creative Twists and Variations
This recipe is a playground. Here are some of my favorite ways to switch things up:
Mocha Madness
Add 2 tablespoons of cocoa powder to the dry ingredients and swap half the coffee for chocolate espresso syrup. The result is a richer, chocolate‑forward cake that still retains that caramel heart. Perfect for anyone who can’t decide between coffee and chocolate.
Spiced Caramel Delight
Stir a pinch of ground cinnamon, nutmeg, and a dash of cayenne into the caramel sauce before folding it in. The warm spices add depth, while the subtle heat makes the caramel linger longer on the palate. Great for autumn gatherings.
Nutty Crunch
Fold in ½ cup toasted chopped pecans or hazelnuts just before baking. The nuts add a satisfying crunch that contrasts the gooey interior, and their natural oils enhance the caramel flavor. A handful of nuts on top before the final drizzle adds visual appeal.
Vegan Velvet
Replace butter with coconut oil, use almond milk instead of dairy, and swap eggs for a flax‑egg mixture (1 tbsp ground flaxseed + 3 tbsp water per egg). The texture remains moist, and the coconut oil adds a faint tropical note that pairs surprisingly well with coffee.
Caramel‑Apple Fusion
Dice a small apple, toss it in a little lemon juice, and fold it into the batter. The apple’s tartness cuts through the sweetness, while the caramel caramelizes the fruit pieces, creating tiny caramelized apple pockets.
Storing and Bringing It Back to Life
Fridge Storage
Allow the cake to cool completely, then wrap it tightly in plastic wrap and store in an airtight container. It will keep fresh for up to 4 days. Before serving, let it sit at room temperature for 15 minutes, then warm a slice in the microwave for 20 seconds – the caramel will melt back into a glossy glaze.
Freezer Friendly
Slice the cake into serving portions, wrap each slice in parchment, then foil, and place in a freezer‑safe bag. It freezes beautifully for up to 2 months. To reheat, thaw overnight in the fridge, then bake at 300°F for 10 minutes or microwave for 30 seconds with a splash of water to steam it back to perfection.
Best Reheating Method
For the ultimate texture, reheat in a preheated oven at 325°F for 8‑10 minutes, covered loosely with foil. Add a teaspoon of water to the bottom of the pan; the steam will revive the gooey center while keeping the crust crisp. The result feels like freshly baked, even if it was made days ago.