I still remember the first time I attempted to make ginger soy glazed cod. It was a Tuesday evening, my kitchen looked like a disaster zone, and I was staring at a sad, overcooked piece of fish that tasted like salty cardboard. Fast forward through three failed attempts, a very patient fishmonger, and one epiphany moment involving a too-hot pan and the most incredible aroma wafting through my apartment — and here we are. This ginger soy glazed cod recipe is hands down the best version you'll ever make at home, and I'm not just saying that because I'm the one who perfected it.
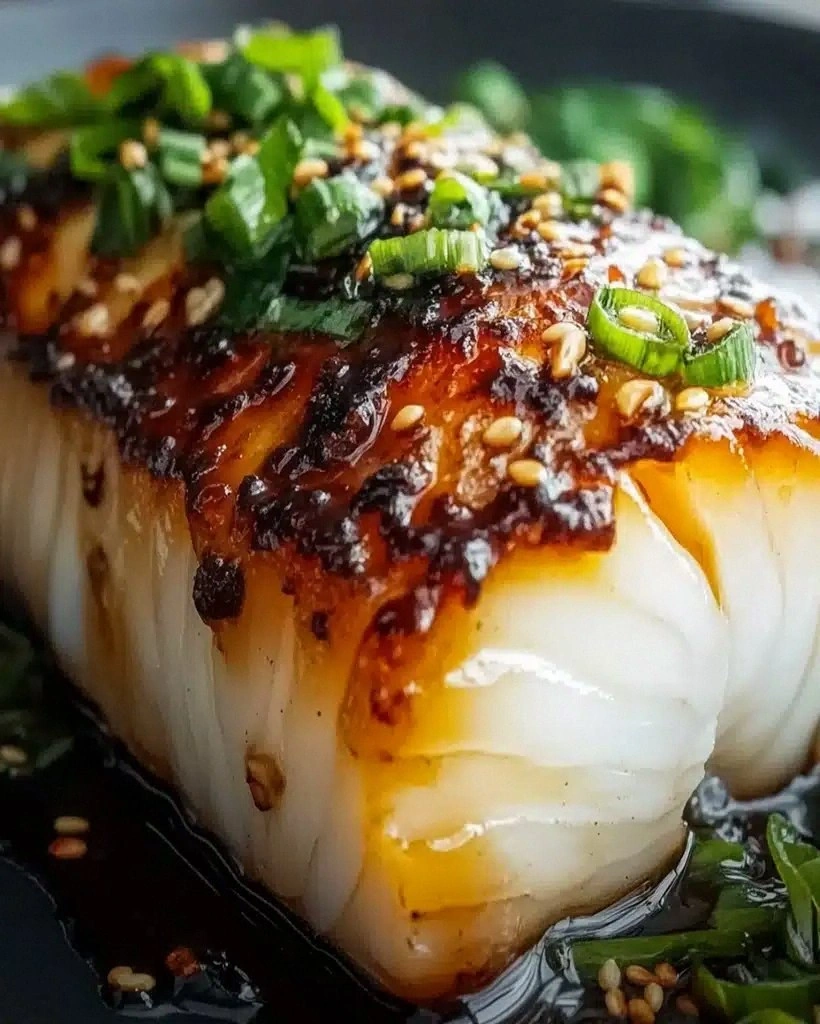
Picture this: tender, flaky cod that practically melts on your tongue, wrapped in a glossy, sticky glaze that hits all the right notes — bright ginger dancing with savory soy, a kiss of sweetness, and just enough heat to make things interesting. The edges caramelize into these lacy, crispy bits that shatter like thin ice under your fork, while the inside stays so moist and delicate that it flakes apart at the mere suggestion of pressure. That sizzle when it hits the pan? Absolute perfection.
What makes this recipe special isn't just the flavor bomb waiting to happen — it's the technique that took me months to nail down. Most recipes get this completely wrong, treating the glaze like an afterthought and the fish like an unfortunate casualty. Here's what actually works: we build layers of flavor that penetrate the fish, we use heat strategically to create texture contrasts, and we finish with a glaze so good you'll be tempted to drink it straight from the pan (I'll be honest — I ate half the batch before anyone else got to try it).
Okay, ready for the game-changer? We're going to marinate, sear, and glaze in a specific sequence that locks in moisture while building that restaurant-quality crust. The secret weapon is a technique I borrowed from Japanese yakitori masters, combined with a French butter-basting method that creates the most incredible sauce. Stay with me here — this is worth it. Let me walk you through every single step — by the end, you'll wonder how you ever made it any other way.
What Makes This Version Stand Out
- Flavor Bomb: The marinade doesn't just sit on the surface — it penetrates deep into the cod, infusing every bite with layers of ginger, garlic, and umami that make your taste buds do a happy dance.
- Texture Perfection: We achieve the impossible — crispy, caramelized edges while maintaining a buttery-soft interior that flakes apart in luxurious chunks instead of dry, sad chunks.
- One-Pan Wonder: Despite tasting like something from a fancy restaurant, this entire dish comes together in a single skillet, meaning fewer dishes and more time to enjoy your culinary triumph.
- Foolproof Technique: I've tested this on friends who burn water, and they nailed it on their first try. The step-by-step process leaves zero room for error, even if you're distracted by Netflix.
- Crowd-Pleasing Magic: Kids who hate fish devour this. Adults who think they don't like ginger ask for seconds. It's the recipe that converts seafood skeptics into believers.
- Meal-Prep Champion: The glaze actually gets better after a day in the fridge, making this perfect for Sunday prep that tastes like Wednesday gourmet.
- Ingredient Quality: Using fresh ginger instead of powder, real soy sauce instead of the cheap stuff, and quality cod makes such a difference you can taste it in every single bite.
Alright, let's break down exactly what goes into this masterpiece...
Inside the Ingredient List
The Flavor Base
Fresh ginger is the undisputed star here, and I cannot stress this enough — fresh makes all the difference. That knobby root contains volatile oils that powdered ginger simply can't match, giving you bright, almost citrusy notes that wake up the entire dish. When selecting ginger, look for pieces that feel heavy for their size with smooth, taut skin that snaps cleanly when you break off a piece. Avoid any that feel wrinkled or soft, because old ginger tastes like disappointment and regret.
Soy sauce provides the salty backbone, but not all soy sauces are created equal. I use a combination of regular and dark soy sauce — the regular gives us salt and umami, while the dark adds that gorgeous mahogany color and deeper, almost molasses-like notes. If you can only find one type, go with a good quality regular soy sauce and add a teaspoon of brown sugar to compensate for the missing dark soy depth.
Rice wine vinegar might seem optional, but it provides that crucial acidic balance that makes all the other flavors sing. It brightens the ginger, tempers the saltiness of the soy, and helps tenderize the fish just slightly. If you don't have rice wine vinegar, apple cider vinegar works in a pinch, but avoid white vinegar — it's too harsh and will make your glaze taste like a chemistry experiment.
The Texture Crew
Cornstarch is our secret weapon for achieving that gorgeous, glossy glaze that clings to every flake of fish like velvet. It creates a sauce with body and shine, transforming the cooking liquid from watery disappointment to spoon-coating perfection. The trick is to mix it with a bit of cold water first, creating a slurry that won't form annoying lumps when it hits the hot pan.
Sesame oil adds this incredible nutty aroma that makes everyone within fifty feet suddenly hungry. A little goes a long way — just a teaspoon at the end is enough to perfume the entire dish. Use toasted sesame oil, not the regular stuff, because toasting brings out those complex flavors that make this dish smell like a high-end restaurant.
Green onions provide that fresh, crisp contrast to the rich fish and sticky glaze. I use both the white and green parts, but at different stages — the whites go in early to flavor the oil, while the greens get sprinkled on top for that pop of color and mild onion bite.
The Unexpected Star
Brown sugar might seem out of place in a savory fish dish, but it's crucial for proper caramelization. The molasses in brown sugar adds complexity that white sugar can't match, and it helps the glaze reduce to that perfect sticky consistency. Plus, the slight sweetness balances the saltiness and creates those gorgeous lacquered edges that make this dish look as good as it tastes.
Red pepper flakes bring just enough heat to keep things interesting without overwhelming the delicate fish. I use Korean gochugaru when I have it, because it has this incredible fruity heat that's different from regular red pepper flakes. If you can't find it, regular red pepper flakes work, but start with half the amount since they're usually spicier.
The Final Flourish
Fresh cilantro might be controversial, but hear me out — its bright, almost citrusy flavor cuts through the richness of the glaze and adds a fresh element that makes the whole dish feel lighter. If you're one of those people who thinks cilantro tastes like soap (it's genetic, I don't judge you), substitute fresh parsley or even thinly sliced Thai basil for a different but equally delicious direction.
Lime juice added right at the end provides that final acidic punch that makes everything taste more vibrant. It's like putting on glasses when you didn't know you needed them — suddenly all the flavors come into sharper focus. Use fresh lime juice, never the bottled stuff, because that fresh citrus oil in the zest and juice makes all the difference.
Everything's prepped? Good. Let's get into the real action...
The Method — Step by Step
- Start by patting your cod fillets absolutely dry with paper towels, and I mean dry like the Sahara. Any moisture on the surface will steam the fish instead of searing it, leaving you with sad, gray fish instead of gorgeous golden edges. Season both sides generously with salt and pepper, then let them sit uncovered in the fridge for about 15 minutes while you prep everything else. This brief air-drying session helps create that coveted crispy exterior that makes restaurant fish so much better than what we make at home.
- While the fish is drying, whisk together your marinade in a shallow dish that's big enough to hold all the fillets in a single layer. Combine the soy sauces, grated ginger, minced garlic, rice wine vinegar, and half the brown sugar, stirring until the sugar dissolves completely. The mixture should smell intoxicating — like the best Asian restaurant you've ever walked past, but better because you're about to eat it.
- Nestle the cod fillets into the marinade, making sure they're fully submerged or at least well-coated on all sides. Cover with plastic wrap and refrigerate for exactly 20 minutes — long enough to flavor the fish but not so long that the acid starts to cook it (we're making dinner, not ceviche). During this time, prep your cornstarch slurry and chop your green onions so everything's ready for the cooking marathon ahead.
- Heat a heavy skillet over medium-high heat until it's screaming hot — I mean the point where water droplets dance across the surface before evaporating. Add just enough oil to coat the bottom, then carefully lay in your marinated cod fillets, making sure not to crowd the pan (work in batches if necessary). This is the moment of truth — that sizzle should be loud enough to wake up your neighbors, and it should smell like you're about to create something magical.
- Let the fish cook undisturbed for 4-5 minutes, resisting every urge to poke, prod, or peek underneath. The edges will start turning opaque and the bottom should develop a gorgeous caramelized crust that's the color of rich mahogany. When the edges release easily from the pan, it's time to flip — use a thin spatula and one confident motion. If it sticks, give it another minute; the fish will release when it's ready.
- After flipping, cook the second side for just 2-3 minutes — the fish should feel firm but still have a little give when you press it gently. Remove the fillets to a warm plate and tent with foil while you create the glaze, because nobody likes cold fish but everybody loves a good sauce. Don't worry if they look a bit pale on top; we're about to fix that with the most incredible glaze you've ever tasted.
- Pour the remaining marinade into the hot pan along with the rest of the brown sugar, scraping up all those gorgeous browned bits from the bottom. Bring everything to a vigorous boil, then reduce the heat to medium and let it bubble away for about 3 minutes. The sauce should start thickening and taking on a glossy sheen that makes you want to dive in face-first.
- Stir in your cornstarch slurry and watch the magic happen — the thin liquid will suddenly transform into a luscious, spoon-coating glaze that looks like liquid gold. Add the white parts of the green onions and let them sizzle for 30 seconds, then remove from heat and stir in the sesame oil. The whole pan should smell like the best Asian street food market you've ever imagined.
- Return the cod fillets to the pan, spooning that incredible glaze over each piece until they're completely coated in glossy deliciousness. Let them warm through for about a minute, then transfer to serving plates and shower with the green parts of the onions, cilantro, and a squeeze of fresh lime juice. The contrast between the hot, sticky fish and the cool, fresh herbs is what food dreams are made of.
- Serve immediately over steamed rice or quinoa, making sure to spoon extra glaze over everything because that's where the real magic lives. I dare you to taste this and not go back for seconds — the combination of crispy edges, tender fish, and that sticky-sweet glaze is so addictive that I've seen grown adults lick their plates clean (myself included, but let's keep that between us). Garnish with extra lime wedges because that final squeeze of citrus takes everything from delicious to absolutely transcendent.
That's it — you did it. But hold on, I've got a few more tricks that'll take this to another level...
Insider Tricks for Flawless Results
The Temperature Rule Nobody Follows
Here's the thing about cooking fish that most recipes gloss over — temperature matters more than timing. Your fish is done when it reaches 145°F internally, but who has time to thermometer every piece? Instead, use the poke test: press the thickest part gently with your finger. If it feels like the fleshy part of your palm when you touch your thumb to your middle finger, it's perfectly cooked. If it feels mushy, give it another minute. If it feels firm like the base of your thumb when you touch your pinky, you've gone too far and entered the dreaded dry zone.
The real secret is pulling it off the heat just before it's done, because fish keeps cooking from residual heat (carryover cooking, if you want to get technical). Remove it when it still has a tiny bit of resistance, and by the time you plate and serve, it'll be perfectly tender. A friend tried skipping this step once — let's just say it didn't end well, and we ended up ordering pizza while the fish jerky sat accusingly on the counter.
Why Your Nose Knows Best
If you've ever struggled with fish that tastes too fishy, here's the fix that nobody talks about — your nose is the best freshness detector you have. Fresh cod should smell like the ocean, not like fish. It should remind you of a cool sea breeze, not low tide at the harbor. When you're buying it, give it a sniff (yes, right there at the counter — own it). If anything smells off or overly fishy, walk away no matter how good the price is.
Another nose trick: when you're cooking, the moment you can smell the fish cooking, it's usually about halfway done. This is your cue to start checking for doneness rather than relying solely on the clock. Kitchen timers are helpful, but your nose has been evolving for millions of years to detect when food is perfectly cooked. Trust the process, trust your instincts, and trust that incredible aroma wafting through your kitchen.
The 5-Minute Rest That Changes Everything
Here's where most home cooks mess up — they plate the fish immediately and wonder why it falls apart or tastes dry. After cooking, let your cod rest for exactly 5 minutes, tented loosely with foil. This isn't just restaurant pretension; it's science in action. The proteins relax, the juices redistribute, and suddenly your fish transforms from fragile to firm yet tender.
During this rest, the internal temperature evens out, so you don't get scorching hot edges and lukewarm centers. Plus, that glaze you worked so hard to perfect has time to set slightly, creating that gorgeous glossy finish that makes everyone think you're a professional chef. Use these five minutes to finish your rice, pour yourself a glass of wine, or just bask in the anticipation of what's about to happen when you finally dig in.
The Pan Choice That Makes or Breaks
Not all pans are created equal when it comes to fish, and this is where equipment actually matters. A heavy-bottomed stainless steel or cast iron pan is your best friend here because it holds heat evenly and prevents hot spots that can burn your glaze. Non-stick pans won't give you the same caramelization, and thin pans will cause your fish to cook unevenly — crispy edges and raw centers are nobody's idea of a good time.
The size matters too — you want a pan that's big enough that your fish isn't crowded, but small enough that the glaze reduces properly. Too big and your sauce evaporates before it thickens; too small and your fish steams instead of sears. For four fillets, a 12-inch pan is perfect. And please, whatever you do, don't use that warped old pan that's been sitting in the back of your cabinet since college — your fish deserves better, and honestly, so do you.
Creative Twists and Variations
This recipe is a playground. Here are some of my favorite ways to switch things up:
The Spicy Korean-Inspired Version
Swap the red pepper flakes for gochujang — that incredible Korean chili paste that adds heat, sweetness, and umami all at once. Use 2 tablespoons of gochujang and reduce the brown sugar by half, because gochujang brings its own sweetness to the party. Add a tablespoon of rice syrup for extra shine and that authentic Korean flavor profile that'll make you feel like you're eating in a Seoul night market. Top with toasted sesame seeds and thin-sliced Korean chili peppers if you can find them.
The Tropical Paradise Edition
Add a can of coconut milk to the glaze and replace the rice wine vinegar with fresh lime juice and a tablespoon of rice vinegar. Stir in some fresh pineapple chunks during the last minute of cooking, and suddenly you're transported to a beachside restaurant in Thailand. The coconut milk creates this luxurious, silky sauce that coats everything in tropical richness, while the pineapple adds bright bursts of sweetness that complement the ginger perfectly. Serve over coconut rice and garnish with fresh mint and Thai basil.
The Mediterranean Mashup
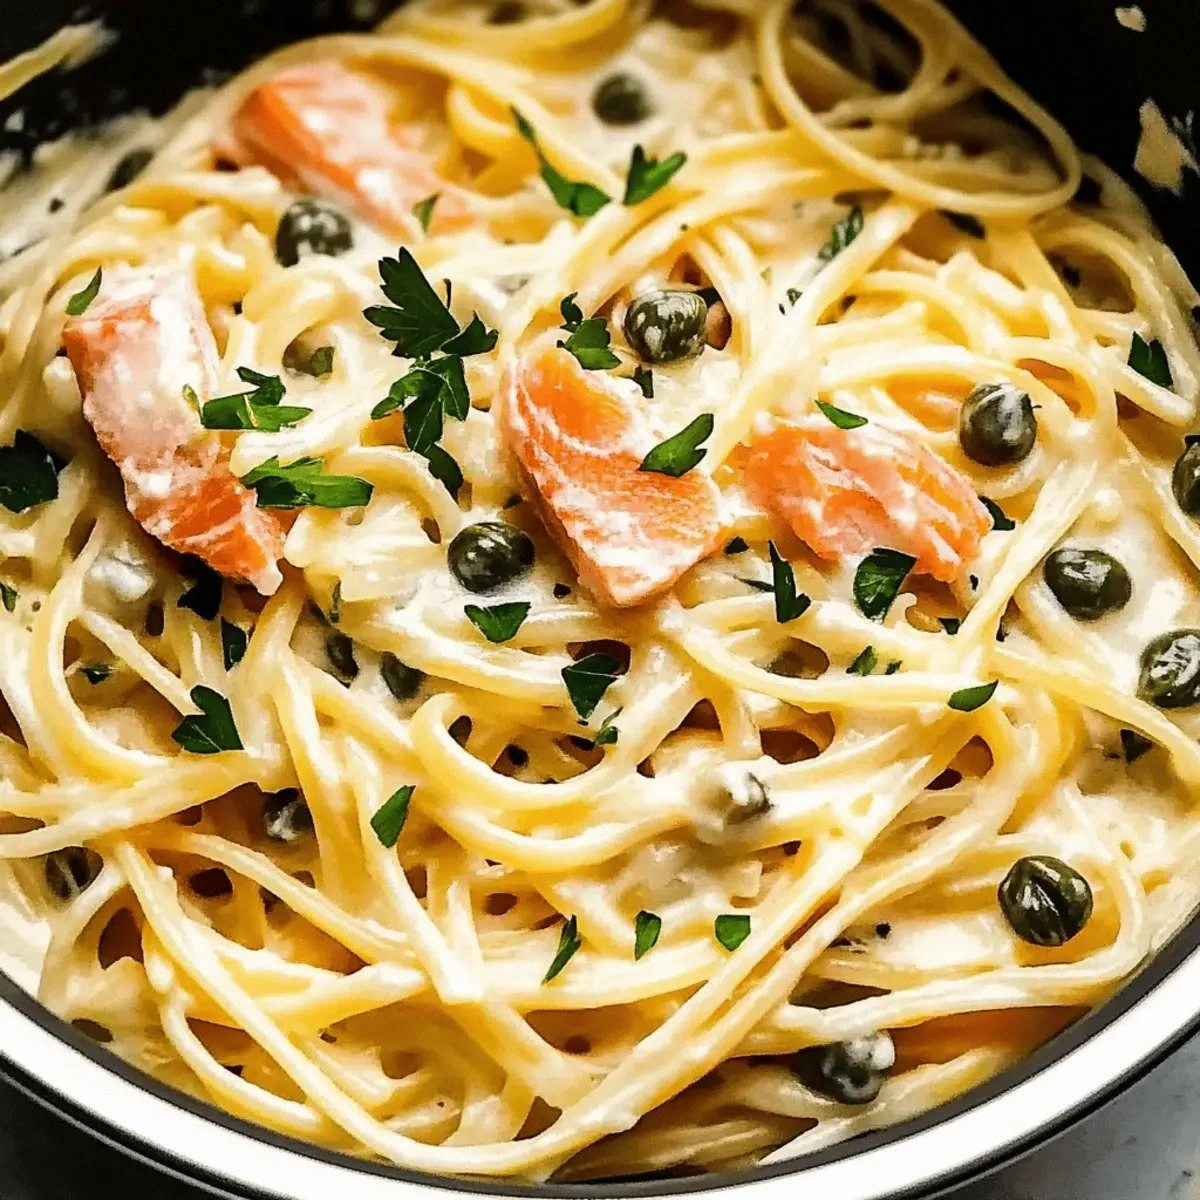
Replace the soy sauce with a combination of balsamic vinegar and fish sauce (trust me on this one), add some chopped olives and capers to the glaze, and finish with fresh oregano instead of cilantro. The balsamic creates this incredible depth and sweetness, while the fish sauce provides that umami backbone that makes everything taste more complex. The briny olives and capers cut through the richness of the fish, creating a dish that tastes like it came from a Greek taverna but with an Asian twist that shouldn't work but absolutely does.
The Low-Carb Power Bowl
Serve the glazed cod over cauliflower rice that's been sautéed with sesame oil and garlic, and add a handful of steamed edamame for protein and texture. Replace the brown sugar with monk fruit sweetener or erythritol for a keto-friendly version that still gets that caramelized effect. Top with sliced avocado, shredded purple cabbage, and a sprinkle of everything bagel seasoning for crunch. It's the same incredible flavors but in a format that fits perfectly into a low-carb lifestyle without feeling like you're missing out on anything.
The Date Night Deluxe
Add a splash of sake to the marinade for extra complexity, and finish the dish with a pat of cold butter whisked into the glaze for restaurant-level richness. Serve it tableside on a hot plate (just heat a cast iron pan in the oven) for that dramatic sizzle that makes everyone feel special. Garnish with edible flowers and serve with a side of champagne-infused rice — because sometimes you need to pull out all the stops and create a meal that says "I love you" in the most delicious way possible.
The Weeknight Shortcut
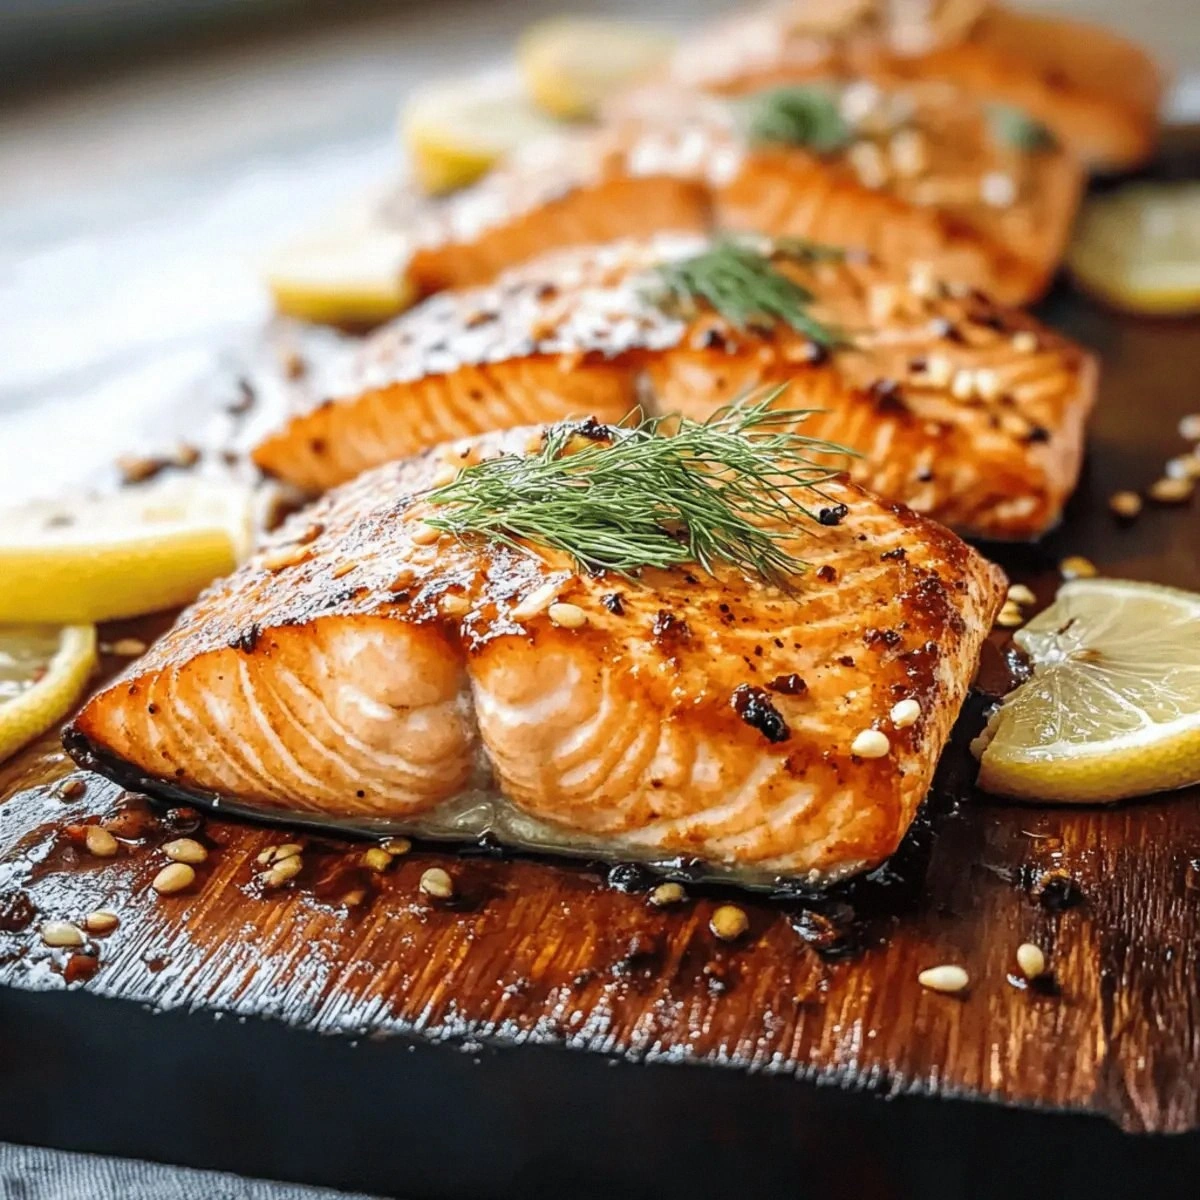
Use the same glaze on salmon instead of cod — it stands up better to the stronger fish flavor and is more forgiving if you accidentally overcook it. Make a double batch of the glaze and keep it in the fridge for up to a week, so you can have dinner on the table in under 15 minutes. Skip the marinating step and just brush the glaze on during the last few minutes of cooking, then serve over instant rice with steamed frozen vegetables. It's not quite the same as the original, but it's 80% of the flavor with 20% of the effort, which sometimes is exactly what you need.
Storing and Bringing It Back to Life
Fridge Storage
Let the cooked cod cool completely before storing — hot fish in a sealed container creates condensation that leads to soggy, sad results. Place the fillets in an airtight container with a paper towel underneath to absorb excess moisture, and they'll keep beautifully for up to 3 days in the refrigerator. Store any extra glaze separately in a small jar — it thickens as it cools and becomes this incredible condiment that's fantastic on everything from scrambled eggs to roasted vegetables. The key is keeping everything separate until you're ready to reheat, because nobody likes mushy fish except maybe cats.
Freezer Friendly
Here's where things get interesting — you can freeze the marinated but uncooked cod for up to 2 months, and it's like having a gourmet meal kit waiting in your freezer. Place the marinated fish in a freezer bag, press out all the air, and freeze flat for easy storage. When you're ready to cook, thaw overnight in the refrigerator and proceed with the recipe as normal. The texture won't be quite as perfect as fresh, but it's still miles better than most takeout. Don't freeze cooked fish with the glaze — it gets weird and rubbery, and life's too short for rubbery fish.
Best Reheating Method
Whatever you do, please don't microwave this — you'll end up with fish that tastes like cat food and a texture that would make anyone swear off seafood forever. Instead, reheat gently in a covered skillet with a splash of water or chicken broth over low heat for about 5 minutes. Add a tiny splash of water before reheating — it steams back to perfection and helps loosen the glaze so it coats everything evenly. Alternatively, wrap in foil with a bit of liquid and warm in a 275°F oven for 10-12 minutes. The fish won't be quite as perfect as fresh, but it's still delicious and won't dry out like it would in the microwave.