I was standing in my kitchen, staring at a half‑baked batch of store‑bought Pop‑Tarts that had somehow managed to turn into a crunchy, sad‑looking mess. The smell of burnt sugar wafted through the air, and I thought, “If only I could reinvent this childhood staple with the soul of a cookie.” That moment sparked a dare: I would create a Pop‑Tart‑inspired cookie that could make even the most skeptical sweet‑tooth grin from ear to ear. I grabbed my favorite mixing bowl, cranked up the playlist, and set out to prove that a simple twist could transform a nostalgic snack into a show‑stopping dessert.
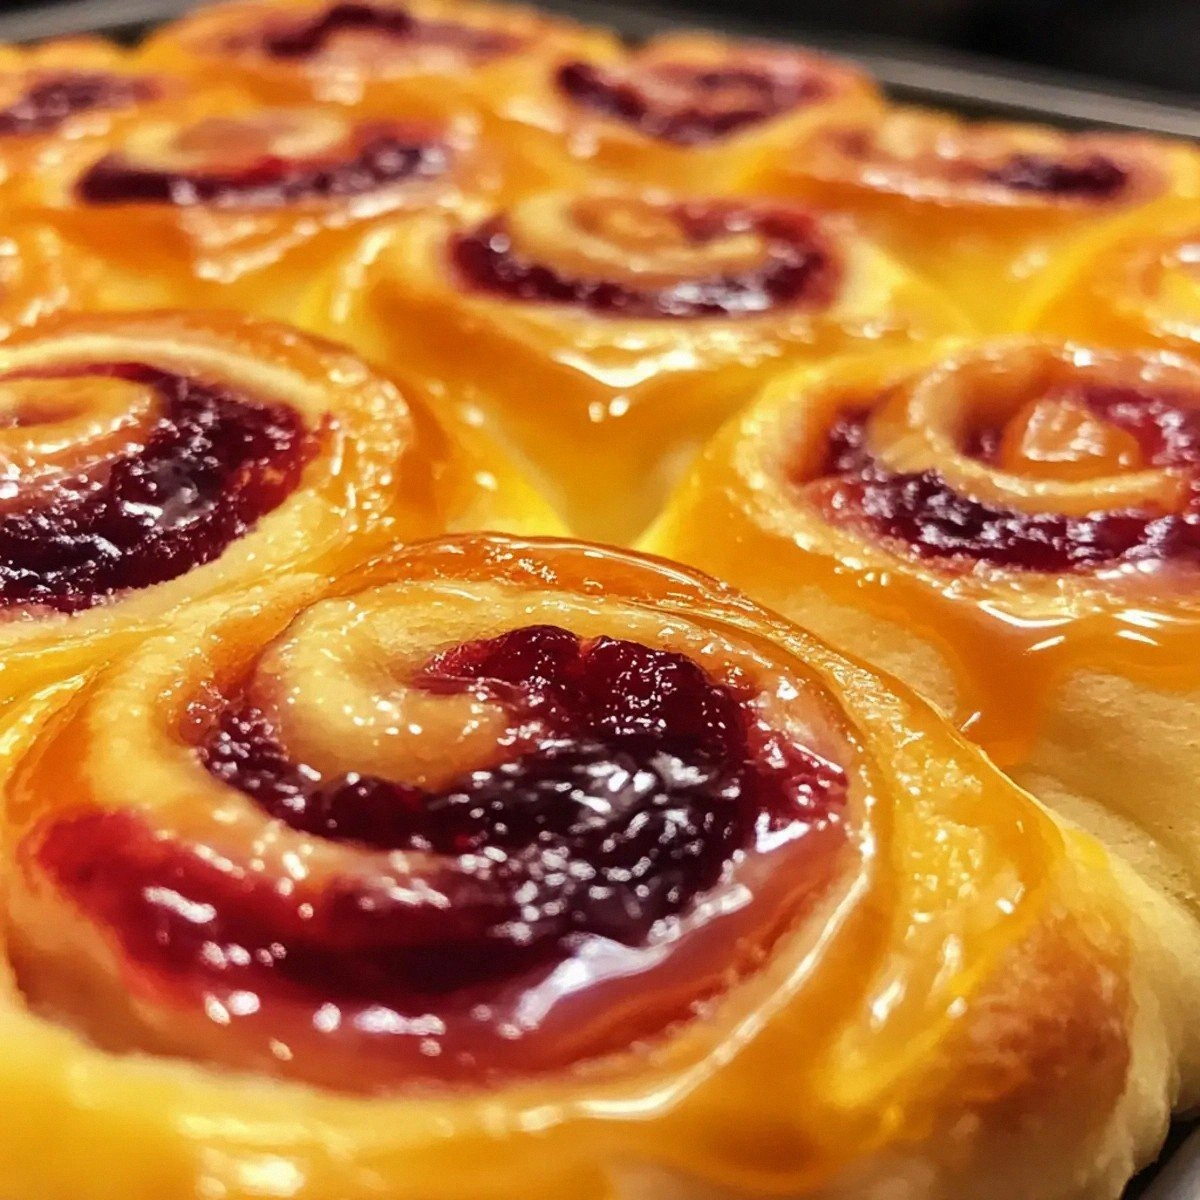
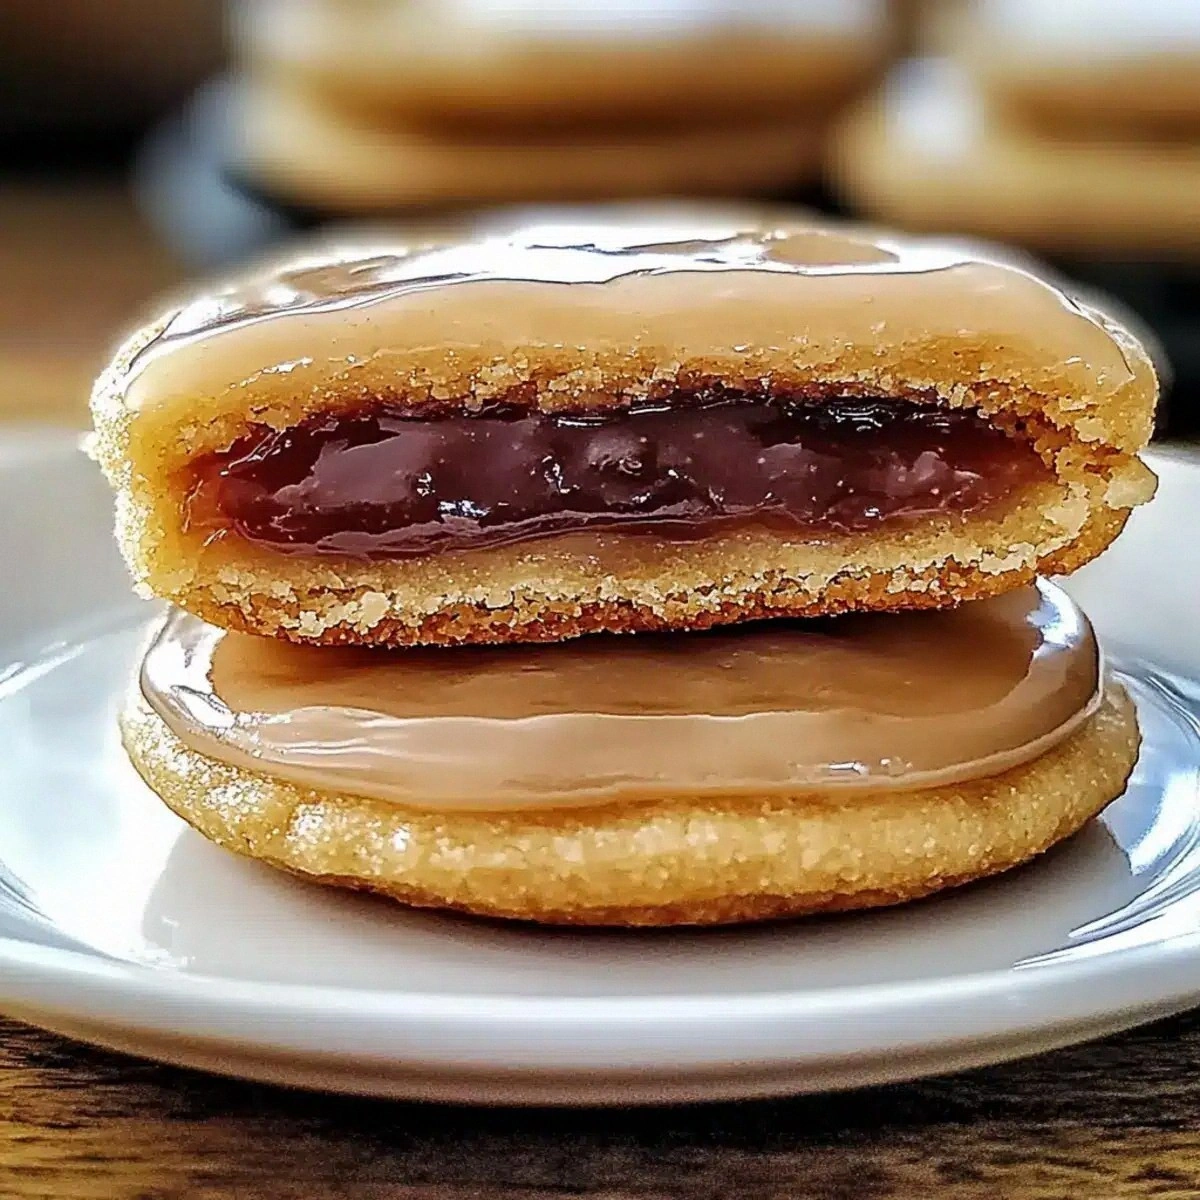
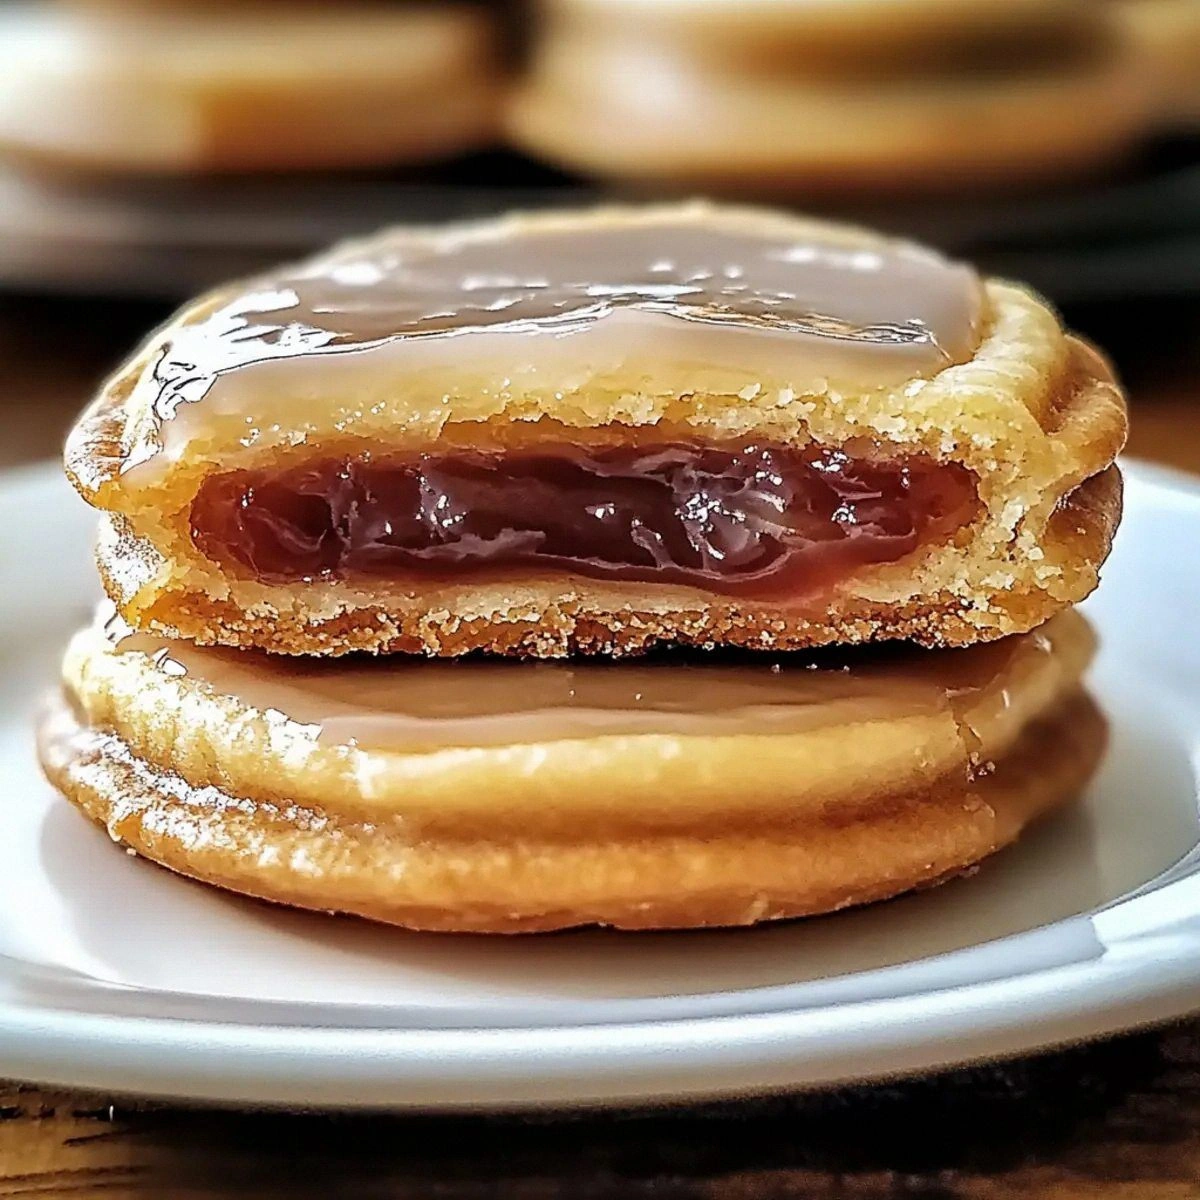
Picture this: a golden‑brown edge that crackles like fresh autumn leaves, a buttery interior that melts on your tongue, and a sweet‑spiced brown‑sugar center that oozes like caramel sunshine. The aroma that fills the kitchen is a heady mix of melted butter, toasted cinnamon, and the deep, molasses‑rich scent of brown sugar—so intoxicating you’ll think the oven itself is whispering, “Come get a bite.” When you finally pull the cookies from the tray, the edges lift just enough to reveal a glossy, jam‑filled heart that glistens like a jewel. The first bite? A perfect balance of crisp and chewy, with the spice of cinnamon dancing like confetti on a parade float.
Most Pop‑Tart copycats get the texture wrong—either too soggy or too dry, and the flavor is often flat. This version, however, uses a butter‑rich dough that’s rolled thin enough to stay crisp, yet sturdy enough to hold a generous filling without leaking. The secret? A pinch of baking powder and soda that creates just the right lift, while the brown sugar gives a caramelized depth you won’t find in any boxed version. I’ll be honest—I ate half the batch before anyone else could get a taste, and that’s a confession you’ll have to forgive me for because the flavor is that addictive.
I’m about to walk you through every single step—by the end, you’ll wonder how you ever made Pop‑Tart‑style cookies any other way. Okay, ready for the game‑changer? This next part? Pure magic. Stay with me here — this is worth it.
What Makes This Version Stand Out
- Flavor Explosion: The combination of brown sugar and cinnamon creates a warm, caramel‑spice profile that outshines ordinary sugar cookies.
- Texture Triumph: A buttery, crisp edge meets a soft, chewy center, delivering a contrast that feels like biting into a sweet, buttery cloud.
- Simplicity: With pantry staples and a handful of steps, this recipe is approachable for beginners yet satisfying for seasoned bakers.
- Customizable Core: The filling can be swapped—jam, chocolate ganache, or even a quick cream cheese frosting—making each batch a new adventure.
- Crowd‑Pleaser: These cookies disappear in minutes at parties; I dare you to taste this and not go back for seconds.
- Ingredient Quality: Using real butter and packed brown sugar ensures a rich, authentic taste that shortcuts just can’t mimic.
- Cooking Method: Baking at a precise 350°F creates a uniform golden hue without burning, a trick most recipes overlook.
- Make‑Ahead Potential: Store them in an airtight container and they stay fresh for a week, or freeze for a month—perfect for busy weeks.
Inside the Ingredient List
The Flavor Base
Brown sugar isn’t just a sweetener; it’s a flavor catalyst. Its molasses content adds a deep, caramel note that pairs beautifully with butter, creating a rich, almost toffee‑like backdrop. If you substitute white sugar, you’ll lose that luxurious depth and end up with a cookie that tastes flat. For a gluten‑free twist, swap the all‑purpose flour with a 1:1 gluten‑free blend, but keep the brown sugar to preserve the signature flavor.
The Texture Crew
The duo of baking powder and baking soda is the unsung hero here. The powder lifts the dough just enough to keep it light, while the soda encourages browning, giving those coveted crisp edges. Skipping either will result in a dense, cakey cookie that fails to crackle. If you’re out of baking powder, combine 1/4 teaspoon of cream of tartar with 1/4 teaspoon of baking soda as a quick fix.
The Unexpected Star
Cinnamon adds a warm, spicy whisper that elevates the brown sugar from sweet to sophisticated. A half‑teaspoon might seem modest, but it’s enough to make the palate perk up without overwhelming. For a twist, try a pinch of nutmeg or cardamom—just don’t go overboard, or you’ll mask the buttery goodness.
The Final Flourish
Butter, softened to room temperature, is the glue that binds everything together. Its fat content is what gives the cookie its melt‑in‑your‑mouth quality. Use unsalted butter so you can control the salt level precisely; a pinch of salt (0.25 tsp) enhances all the other flavors. If you’re dairy‑free, substitute with a high‑fat coconut oil, but expect a faint coconut undertone.
Everything's prepped? Good. Let's get into the real action...
The Method — Step by Step
In a large mixing bowl, whisk together the all‑purpose flour, baking powder, baking soda, and salt. The dry mixture should look like a fine, speckled sand—this is your foundation. I like to sift the flour once; it aerates the dough and prevents lumps. Sensory snapshot: You’ll notice a faint, nutty aroma from the baking soda, a sign that it’s ready to work its magic.
In a separate bowl, cream the softened butter with the packed brown sugar until the mixture is light and fluffy, about 3‑4 minutes on medium speed. This step is crucial; the butter should incorporate air, creating tiny pockets that later become those delightful crisp edges. Watch Out: If the butter is too cold, the sugar won’t dissolve properly, leading to a grainy texture.
Add the large egg and vanilla extract to the butter‑sugar mixture, beating until fully combined. The dough will look glossy and slightly loose—that’s exactly what we want. If it feels too wet, sprinkle in an extra tablespoon of flour; the dough should be pliable but not sticky.
Stir in the ground cinnamon, letting its warm scent swirl through the batter. At this point, the dough should have a caramel‑brown hue. Watch Out: Over‑mixing at this stage can develop gluten, making the cookie tough. Mix just until the cinnamon disappears.
Turn the dough out onto a lightly floured surface and gently knead it just until it comes together—about 5 turns. Pat the dough into a ¼‑inch thick rectangle, then use a sharp pizza cutter or a large knife to cut out 3‑inch squares. The shape mimics a Pop‑Tart while giving you enough surface for the filling.
Place half of the squares on a parchment‑lined baking sheet. Spoon a teaspoon of your chosen filling onto the center of each square, leaving a small border around the edge. I love strawberry jam for its bright acidity, but a chocolate hazelnut spread works just as well. Future pacing: Imagine the glossy jam peeking through the dough as the cookies bake.
Cover each filled square with a second square, pressing the edges gently with a fork to seal. This creates the classic “tart” look and traps the filling inside. Brush the tops with the second beaten egg (the egg wash) for a shiny finish, then sprinkle a handful of colorful sprinkles for a festive touch.
Bake in a preheated oven at 350°F (175°C) for 12‑15 minutes, or until the edges turn a deep golden‑brown and the centers look set. The scent will fill your kitchen like a warm hug. Sensory snapshot: You’ll hear a faint crackle as the cookies begin to set, a sign they’re reaching that perfect crisp.
Allow the cookies to cool on the baking sheet for 5 minutes before transferring them to a wire rack. This short rest lets the filling set, preventing it from oozing out when you bite. Once fully cooled, store them in an airtight container. That’s it — you did it. But hold on, I've got a few more tricks that'll take this to another level...
Insider Tricks for Flawless Results
The Temperature Rule Nobody Follows
Always bring your butter to room temperature, never melt it. Softened butter traps air when creamed, giving the cookie its lift. A friend once tried melted butter and ended up with a dense, greasy mess—let’s just say it didn’t win any awards.
Why Your Nose Knows Best
When the cookies are near the end of baking, trust the aroma more than the timer. A caramelized scent means the edges have reached that perfect crunch. If you wait too long, the sugars will burn, turning that sweet perfume into a bitter smoke.
The 5‑Minute Rest That Changes Everything
After baking, let the cookies rest on the sheet for exactly five minutes. This short pause allows the steam to redistribute, making the interior tender while the edges stay crisp. Skipping this step often results in a cookie that cracks open too early, spilling the precious filling.
Egg Wash Perfection
Whisk the second egg with a splash of water (about 1 teaspoon). The added water thins the wash just enough to coat without creating a thick, rubbery layer. Too much egg and you’ll get a dull, pale finish; too little and the sprinkle will slide off.
Freezing for Future Fun
If you want to bake a batch later, freeze the unbaked, assembled cookies on a tray, then transfer them to a zip‑top bag. When you’re ready, pop them straight into a preheated oven; they’ll need just a couple of extra minutes. This trick saved my family’s holiday baking marathon last year.
Creative Twists and Variations
This recipe is a playground. Here are some of my favorite ways to switch things up:
Nutty Crunch
Swap half the butter for almond butter and sprinkle chopped toasted almonds on top before baking. The nutty aroma adds a sophisticated layer that pairs beautifully with raspberry jam.
Chocolate Lovers
Replace the brown sugar with dark brown sugar and fold in ¼ cup of mini chocolate chips into the dough. Fill with a dollop of Nutella for a double‑chocolate experience that will make any chocoholic swoon.
Citrus Zing
Add a teaspoon of orange zest to the dough and use a lemon curd filling. The bright citrus cuts through the buttery richness, creating a refreshing bite perfect for spring brunches.
Spiced Autumn
Introduce a pinch of pumpkin spice and swap the jam for a smooth pumpkin puree sweetened with maple syrup. The earthy spices and caramel notes make these cookies feel like a cozy sweater.
Savory Sweet
For a daring twist, omit the jam and fill with a thin layer of goat cheese mixed with honey. The salty‑sweet combination is an elegant appetizer that surprises the palate.
Storing and Bringing It Back to Life
Fridge Storage
Place cooled cookies in an airtight container with a paper towel at the bottom to absorb excess moisture. They’ll stay fresh for up to 5 days. If you notice any stickiness, add a second paper towel on top.
Freezer Friendly
Layer cookies between parchment sheets in a freezer‑safe bag. They freeze beautifully for up to 3 months. When ready to eat, let them thaw at room temperature for 10 minutes, then pop them in a 300°F oven for 5 minutes. Pro tip: Add a tiny splash of water (about 1 teaspoon) to the tray before reheating; the steam revives the crisp edges.
Best Reheating Method
Reheat in a preheated oven at 325°F for 4‑6 minutes, or until the cookies are warmed through and the edges regain their snap. Microwaving is a no‑go; it makes the cookies rubbery and the filling soggy.