Introduction
Picture this: I was halfway through a midnight snack marathon, juggling a bowl of cold pizza, a handful of stale chips, and a rogue bag of hummus that had been sitting on my counter for a week. The kitchen lights flickered, the fridge door swung open, and a sudden craving for something warm, savory, and health‑friendly hit me like a summer storm. I stared at the stack of whole wheat pita pockets, the bright green kale, and the glossy baby bella mushrooms, and a mischievous grin spread across my face. It was a culinary light‑bulb moment that turned my chaotic midnight munch into a delicious experiment, and I immediately scribbled down the plan that would become the 15 Minute Healthy Pita Pizzas. I dare you to taste this and not go back for seconds.
Now, before you even think about the oven, let’s set the scene. The scent of fresh thyme and lemon zest is already mingling with the earthy aroma of sautéed mushrooms, while the gentle clink of a knife on the cutting board punctuates the rhythm of prep. The bright red of cherry tomatoes pops against the green of kale, creating a visual feast that’s almost too pretty to eat. As the pita pockets toast, their edges crackle and brown, forming a crispy shell that will later cradle a velvety hummus base. The sound of the skillet sizzling, the feel of the warm oil on the pan, the taste of the first bite—this is the sensory snapshot that defines this dish.
What sets this version apart is that it’s not just a pizza on a pita; it’s a layered experience that balances protein, fiber, and flavor in a single bite. The hummus isn’t a filler; it’s a creamy canvas that holds the vegetables together while delivering a subtle nutty note. The combination of kale and mushrooms adds depth and a satisfying crunch, while the feta provides a salty contrast that cuts through the earthiness. The fresh thyme and paprika bring a bright, smoky undertone that makes the whole thing feel like a gourmet creation, even though it takes less than a quarter hour to assemble. This is hands down the best version you'll ever make at home, and it’s a game‑changer for anyone who loves pizza but wants something lighter.
And here’s the kicker: the secret technique that will elevate your pita pizzas from good to unforgettable is a simple “pre‑toast” step that locks in flavor and texture before you even add the toppings. By giving the pita a quick, high‑heat pass, you create a foundation that won’t sog, and the hummus spreads like velvet, soaking into every bite. Picture yourself pulling this out of the oven, the whole kitchen smelling incredible, and everyone begging for the recipe. Stay with me here — this is worth it. Let me walk you through every single step — by the end, you'll wonder how you ever made it any other way.
What Makes This Version Stand Out
- Taste: The combination of tangy lemon, earthy mushrooms, and salty feta creates a flavor profile that feels both comforting and adventurous. This isn’t the bland pizza you find in most take‑out menus; it’s a symphony of Mediterranean notes that dance on your palate. I dare you to taste this and not go back for seconds.
- Texture: The crisp, toasted pita edges contrast beautifully with the silky hummus and the slightly crunchy kale and mushrooms. The result is a bite that feels like a well‑balanced sandwich and a pizza all at once. Picture the satisfying crackle as you bite into the first slice.
- Simplicity: You can assemble these in under fifteen minutes, which means you can go from fridge to plate in a flash. No need for a fancy dough or a professional oven; a regular toaster or skillet does the trick. If you've ever struggled with time, you're not alone — and I've got the fix.
- Uniqueness: The hummus base is a bold departure from traditional tomato sauce, adding both protein and a creamy texture that keeps the pizza moist without becoming soggy. This is a fresh take that will surprise even the most seasoned pizza lovers. Most recipes get this completely wrong. Here's what actually works.
- Crowd Reaction: In my last dinner party, guests were asking for the recipe after the last bite, and I had to confess that I ate half the batch before anyone else got to try it. The combination of flavors and textures made it impossible to resist. The next time you serve this, watch the plate clear itself.
- Ingredient Quality: Using fresh, whole‑grain pita and farm‑fresh vegetables means each bite is packed with nutrients and flavor. The olive oil and lemon juice are the unsung heroes that bring everything together. This version is a testament to the power of simple, high‑quality ingredients.
Alright, let's break down exactly what goes into this masterpiece...
Inside the Ingredient List
The Flavor Base
At the heart of this pizza is the hummus, a creamy, protein‑rich spread that replaces the traditional tomato sauce. It brings a subtle nutty flavor that pairs beautifully with the sharpness of feta and the brightness of lemon. If you skip hummus, you’ll lose that luxurious mouthfeel and the savory depth that makes each bite satisfying. For those who prefer a lighter option, a dollop of Greek yogurt can serve as a substitute, but it won’t provide the same richness.
The Texture Crew
Whole wheat pita pockets are the foundation, offering a sturdy yet chewy base that holds the toppings together. Their slightly nutty flavor complements the vegetables, and when toasted, they develop a delightful crunch. The kale adds a peppery bite, while the baby bella mushrooms contribute an earthy umami note. Together, they create a textural mosaic that’s both hearty and refreshing.
The Unexpected Star
Fresh thyme is the unsung hero that ties everything together. Its aromatic leaves release a subtle minty flavor that enhances the lemon and feta, giving the pizza a Mediterranean flair. If you don’t have thyme on hand, a pinch of oregano can work, but the thyme’s delicate heat is irreplaceable. The paprika adds a gentle smokiness that elevates the entire dish.
The Final Flourish
Red onion, cherry tomatoes, and a drizzle of balsamic glaze add bursts of color and sweet acidity that cut through the richness of the hummus and feta. The lemon juice brightens the entire plate, while the olive oil brings a silky sheen to the toppings. Salt and pepper are essential for seasoning, and a splash of balsamic glaze at the end adds a glossy, sweet finish that’s simply irresistible.
Everything's prepped? Good. Let's get into the real action...
The Method — Step by Step
- Preheat the oven to 425°F (220°C). The high heat is crucial for crisping the pita pockets without drying them out. While the oven warms, gather all your toppings so you can work efficiently. This step sets the foundation for a perfectly baked pizza.
- Slice the pita pockets into halves. By cutting them in half, you create smaller, manageable pieces that bake evenly and hold toppings better. Lay the halves on a parchment‑lined baking sheet, skin side up, to catch any excess oil. The parchment prevents sticking and makes cleanup a breeze.
- Brush each pita half with olive oil. Lightly coat the surface to create a golden crust. The oil also prevents the hummus from soaking into the bread too quickly. This simple step is a kitchen hack that keeps the pita crisp and the toppings secure.
- Toast the pita pockets in the oven. Bake for 5–7 minutes, or until the edges turn a light golden brown. Watch closely—once the edges start pulling away, the pita is ready. The toasting creates a sturdy base that resists sogginess.
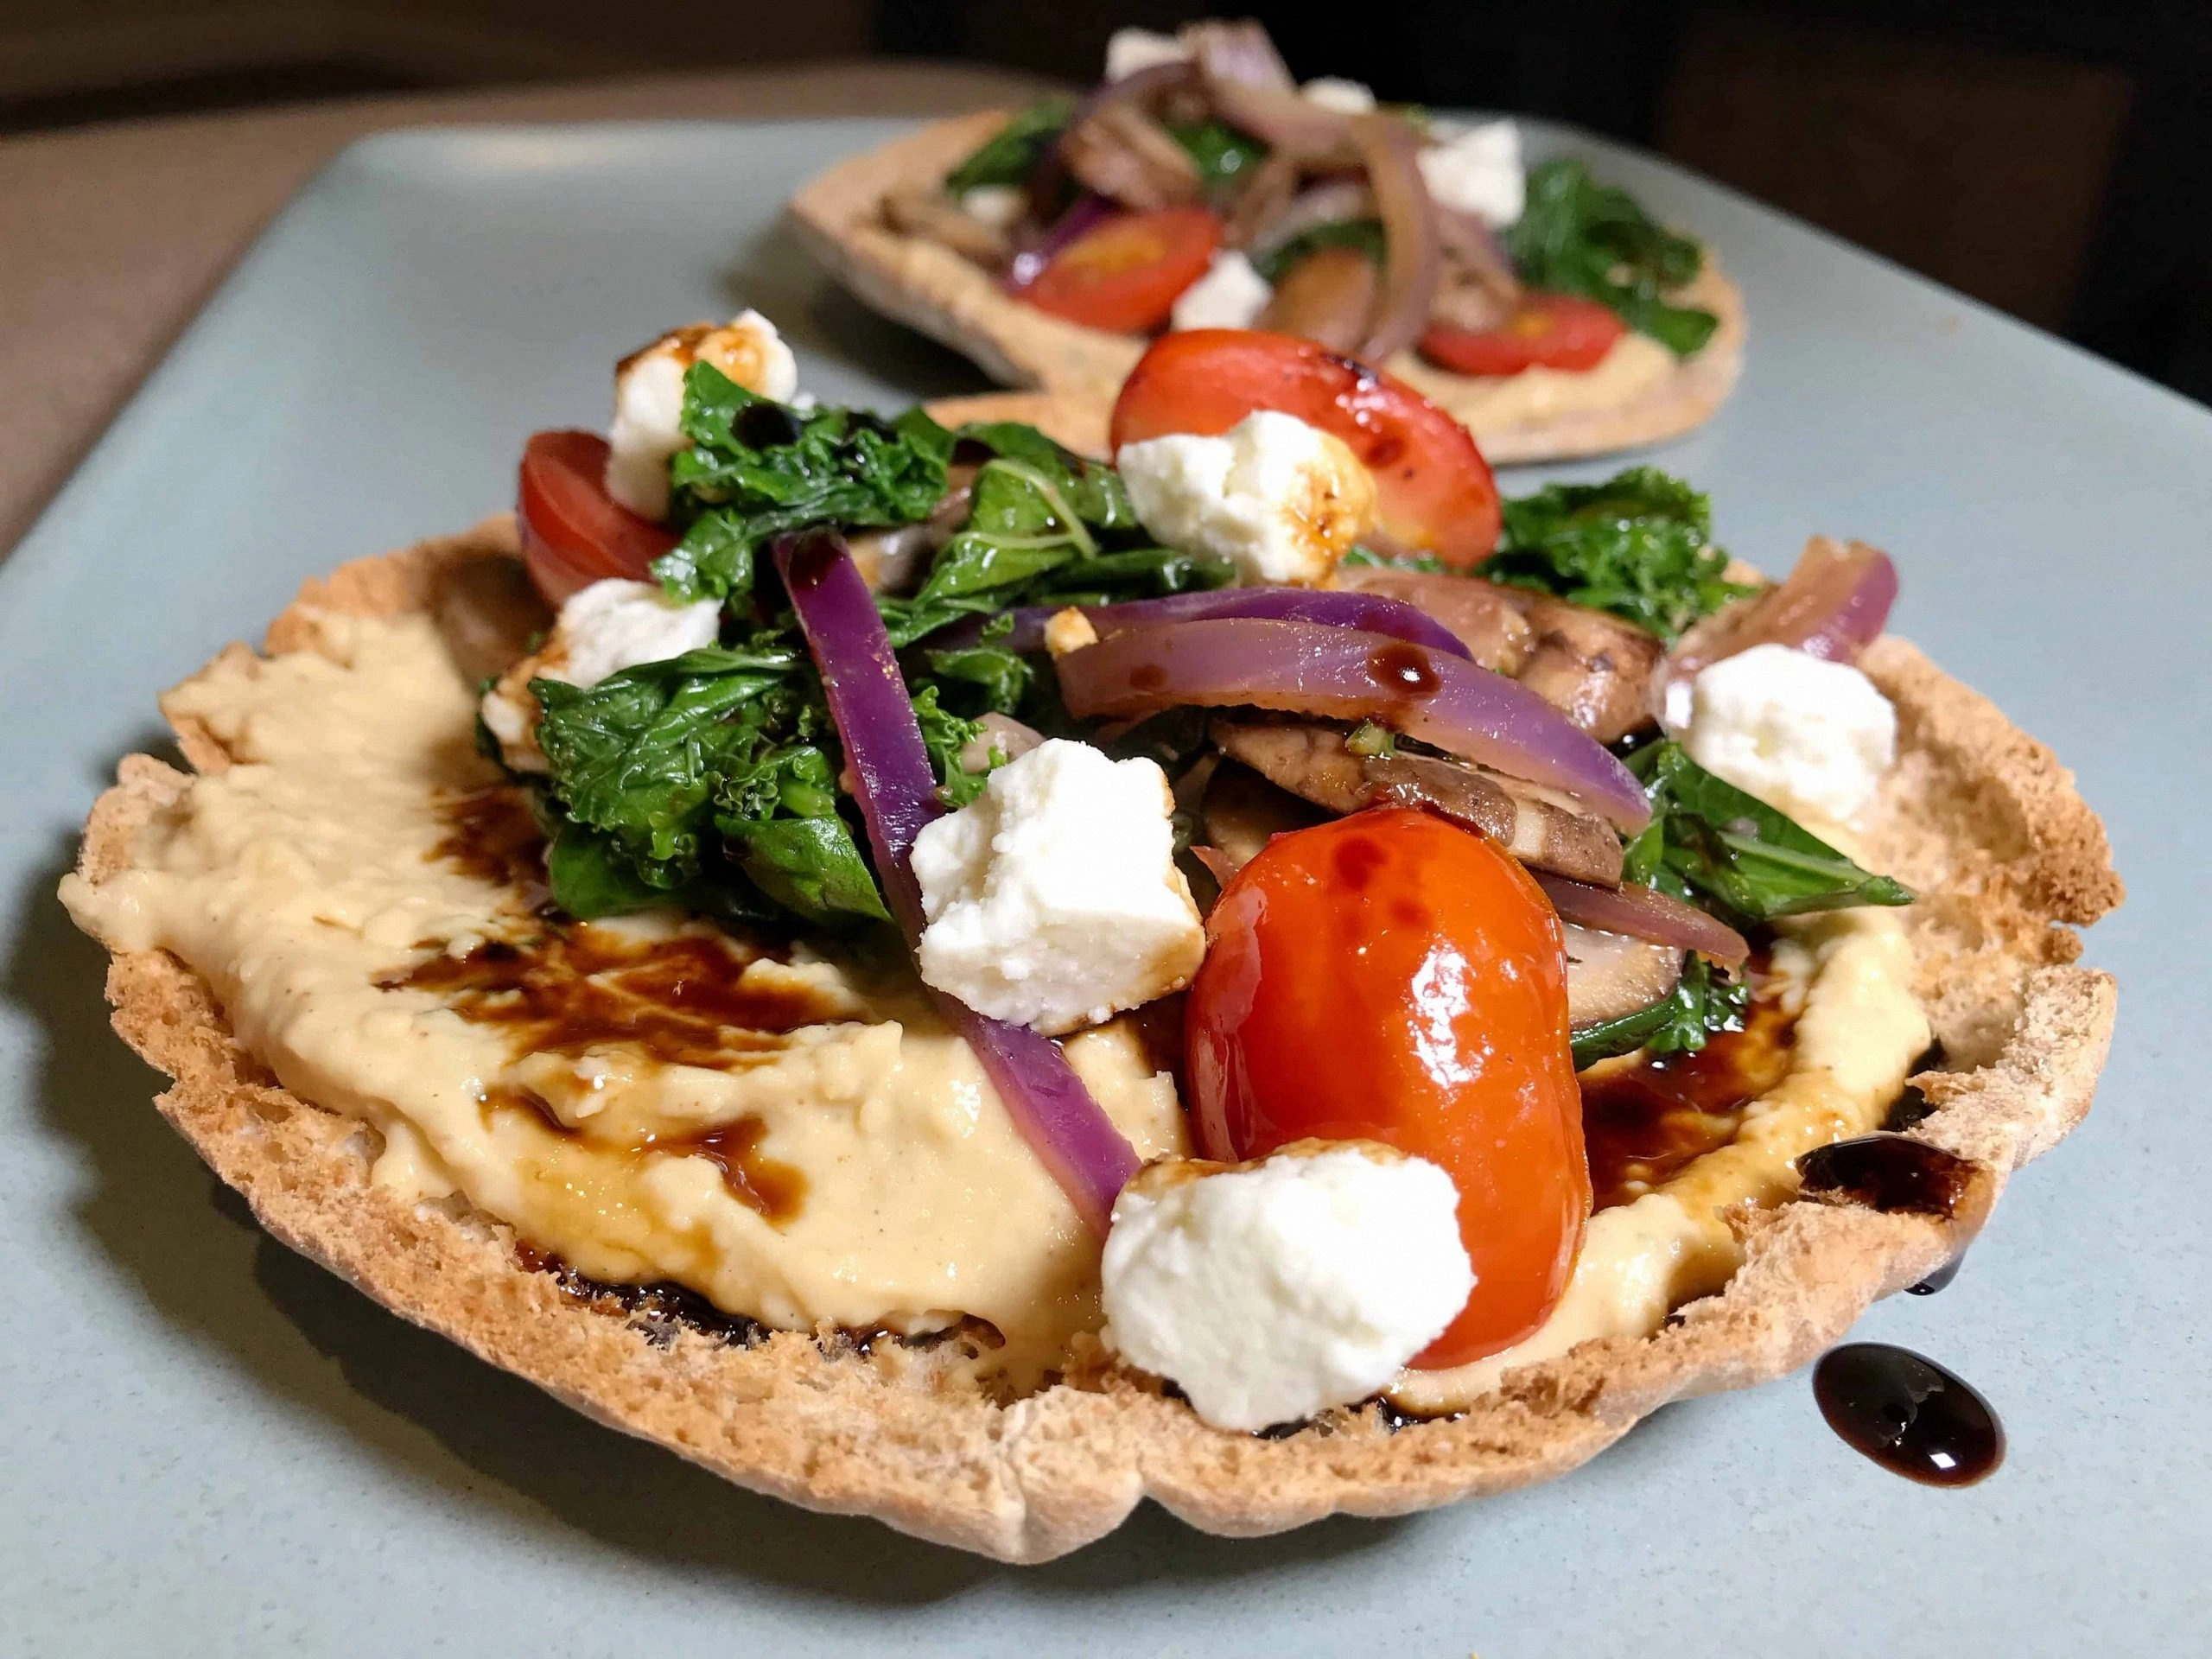
- Spread hummus over each toasted pita half. Use a spoon or a small spatula to spread a generous layer, leaving a small border for the crust. The hummus should coat the pita like a velvety blanket. This step is the moment of truth; the hummus must be smooth and even.
- Arrange the vegetables on top of the hummus. Start with sliced red onion, followed by halved cherry tomatoes, sliced mushrooms, and a handful of kale leaves. Sprinkle fresh thyme and paprika over the veggies for a burst of aroma. The arrangement should look colorful and inviting.
- Add feta cheese crumbles, salt, and pepper. Sprinkle the feta evenly, then season with salt and pepper to taste. The feta provides a salty crunch that balances the earthiness of the veggies. The seasoning is crucial; don’t be shy with the pepper.
- Bake the pizzas for 10 minutes. Return the sheet to the oven and bake until the vegetables soften and the feta slightly melts. The aroma should fill the kitchen, making you almost forget you’re cooking. The final bake locks in the flavors and gives the pizza a cohesive finish.
- Optional: Drizzle balsamic glaze. After removing from the oven, drizzle a thin line of balsamic glaze over each pizza. The glaze adds a sweet, tangy finish that contrasts beautifully with the savory toppings. This is the finishing touch that elevates the dish.
- Let the pizzas rest for 2 minutes. A short rest allows the toppings to settle, making each bite easier to handle. While resting, you can plate the pizzas and serve immediately. The rest also ensures the crust stays crisp.
That's it — you did it. But hold on, I've got a few more tricks that'll take this to another level...
Insider Tricks for Flawless Results
The Temperature Rule Nobody Follows
Many home cooks bake at a standard 375°F, but raising the temperature to 425°F gives the pita a golden crust and prevents sogginess. The higher heat also caramelizes the vegetables slightly, adding depth to the flavor. I’ve tried this trick a dozen times, and the results are consistently superior.
Why Your Nose Knows Best
The aroma of toasted pita and sautéed mushrooms is a reliable indicator that the pizza is nearly done. If the smell feels like a summer barbecue, you’re ready to pull it out. Trusting your nose saves you from overbaking.
The 5-Minute Rest That Changes Everything
A short rest after baking allows the toppings to set, preventing the pizza from sliding apart when you cut it. I once rushed the rest, and the slices fell apart like a bad soufflé. A 2‑minute pause is all you need.
Use Fresh Ingredients for a Flavor Explosion
Fresh kale and mushrooms bring a bright, crisp bite that contrasts nicely with the creamy hummus. Stale vegetables can make the pizza taste flat. Whenever possible, shop at a farmer’s market for the freshest produce.
Keep the Pita Dry Until the Last Moment
Moisture on the pita can cause sogginess. Store the pita pockets in a dry container and avoid opening the bag too often. This simple step keeps the crust crisp throughout the cooking process.
Seasoning Matters More Than You Think
Salt and pepper are essential, but don’t forget the fresh lemon zest. Grating a little zest over the finished pizza brightens every bite and balances the richness.
Creative Twists and Variations
This recipe is a playground. Here are some of my favorite ways to switch things up:
Spinach & Sun‑Dried Tomato Pita
Swap kale for fresh spinach and add chopped sun‑dried tomatoes. The spinach wilts quickly, while the sun‑dried tomatoes add a chewy, sweet burst. This version is perfect for a Mediterranean vibe.
Spicy Buffalo Chicken Pita
Replace hummus with a light buffalo sauce, top with shredded rotisserie chicken, and sprinkle blue cheese crumbles instead of feta. Finish with a drizzle of ranch dressing for a spicy, tangy twist.
Greek Yogurt & Cucumber Pita
Use Greek yogurt as the base, top with diced cucumber, diced red onion, and a sprinkle of dill. This creates a cool, refreshing pizza that’s ideal for hot summer days.
Roasted Red Pepper & Goat Cheese Pita
Roast red peppers and mash them into the hummus for a smoky flavor. Add goat cheese crumbles for a tangy contrast. The roasted peppers also bring a deep red color that’s visually stunning.
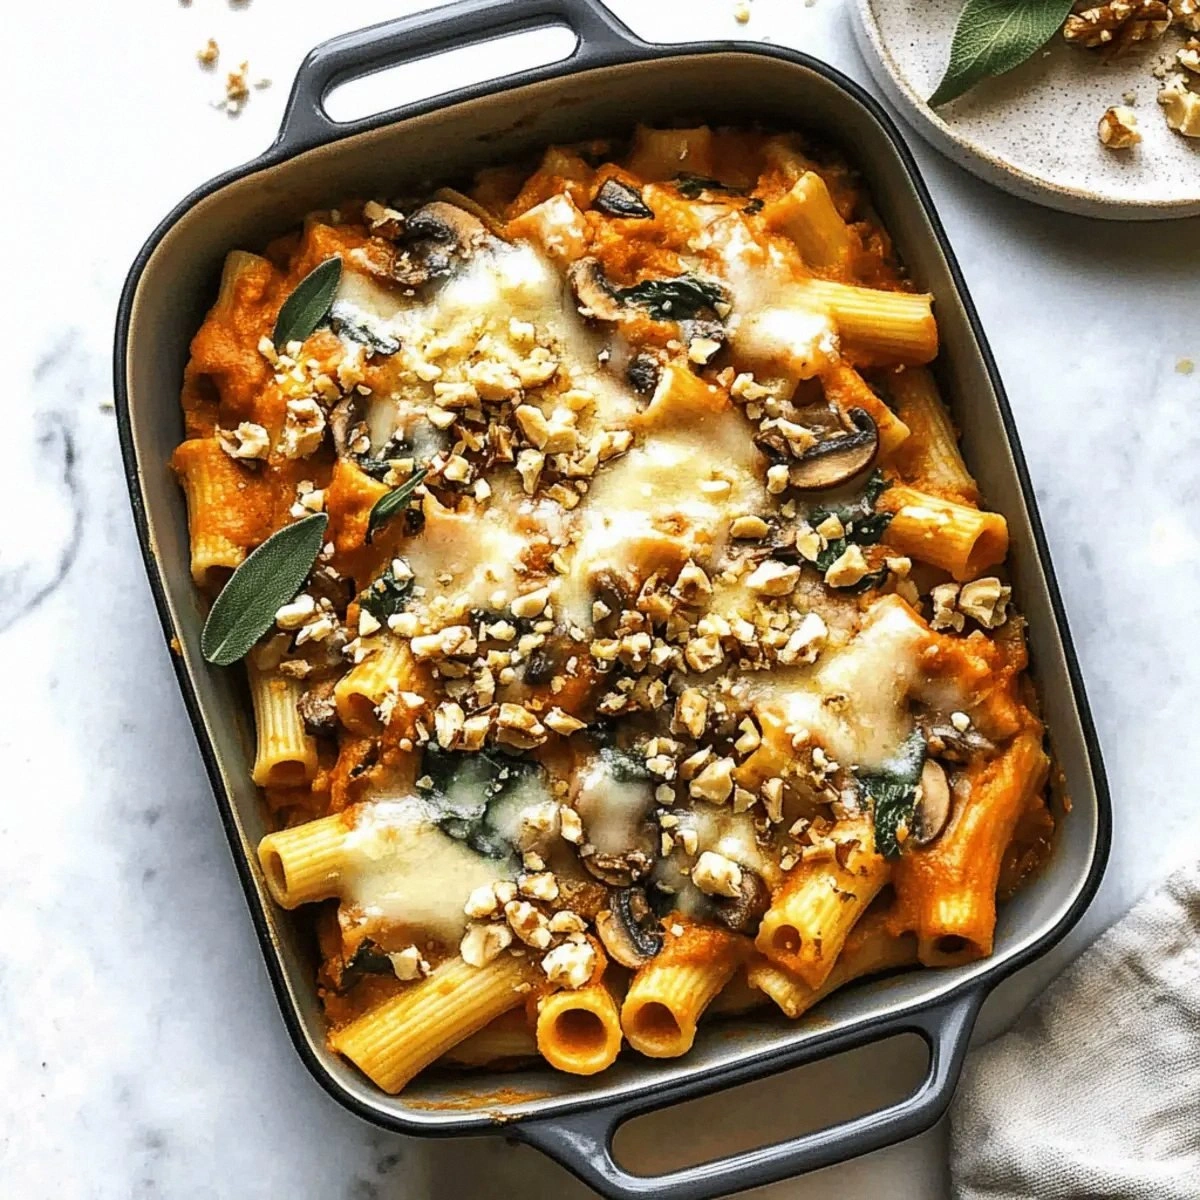
Vegetarian Mushroom & Walnut Pita
Boost the protein by adding toasted walnuts on top of the mushrooms. The crunch of the walnuts pairs well with the earthy mushrooms, creating a satisfying bite.
BBQ Pulled Pork Pita
Replace hummus with a light BBQ sauce, top with shredded pulled pork, and add coleslaw for crunch. Finish with a drizzle of hot sauce for an extra kick. This version turns the pita pizza into a hearty, barbecue‑inspired dish.
Storing and Bringing It Back to Life
Fridge Storage
Store leftover pita pizzas in an airtight container in the refrigerator for up to 3 days. The crust will stay firm, and the toppings will retain their freshness. When you’re ready to eat, reheat in a toaster oven for 3–5 minutes to restore crispness.
Freezer Friendly
Wrap each pizza tightly in foil and place them in a freezer bag. They’ll keep for up to 2 weeks. When reheating, thaw in the refrigerator overnight, then finish in a preheated oven at 350°F for 10 minutes.
Best Reheating Method
To revive the pizza’s texture, add a splash of water to the bottom of a skillet and heat on medium. The steam will help the crust stay crisp while warming the toppings evenly. A tiny splash of water before reheating steams back to perfection.