I still remember the first time I tried to make s'mores in my tiny apartment kitchen. The marshmallows caught fire under the broiler, the chocolate melted into a sad puddle, and my smoke alarm serenaded the entire building at 2 AM. Fast forward through three fire extinguisher purchases and countless failed experiments, and you'll find me here — armed with what I genuinely believe is the most outrageously delicious version of s'mores you'll ever taste. These Peanut Butter Choc Chip S'mores aren't just a recipe; they're a revelation wrapped in cookie form.
Picture this: it's midnight, you're craving something that hits every single pleasure center in your brain, and you remember you've got all the ingredients for these bad boys. Within minutes, your kitchen transforms into the most aromatic corner of heaven. The smell of toasting marshmallows mingles with melting chocolate, while peanut butter adds this nutty depth that makes regular s'mores taste like they were missing something their entire lives. That first bite? It's like your taste buds just got accepted into an exclusive club they didn't know existed.
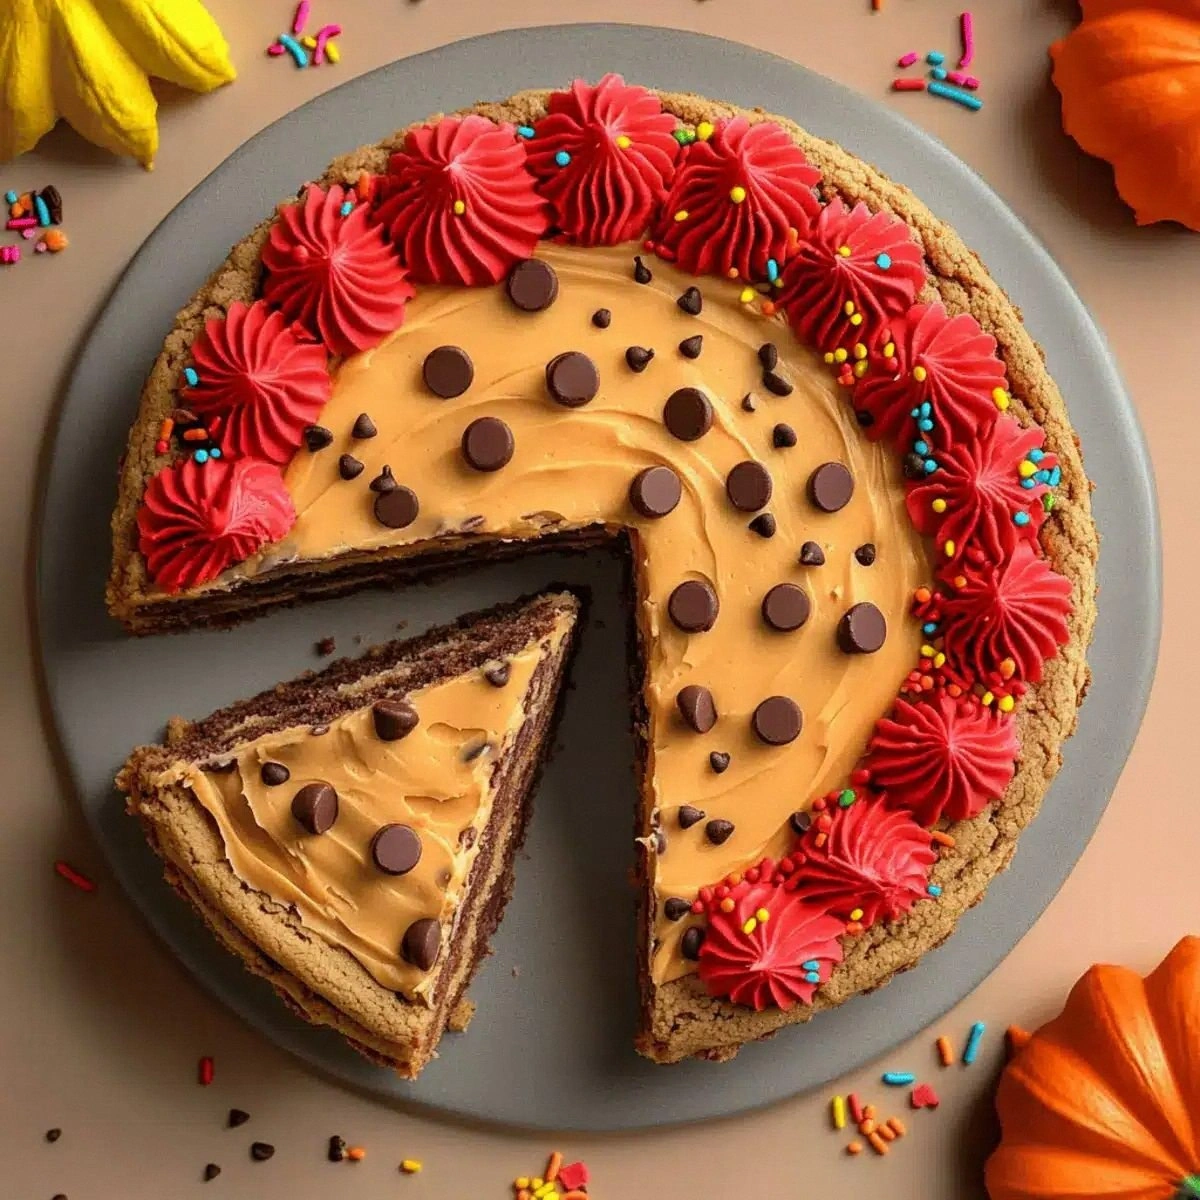
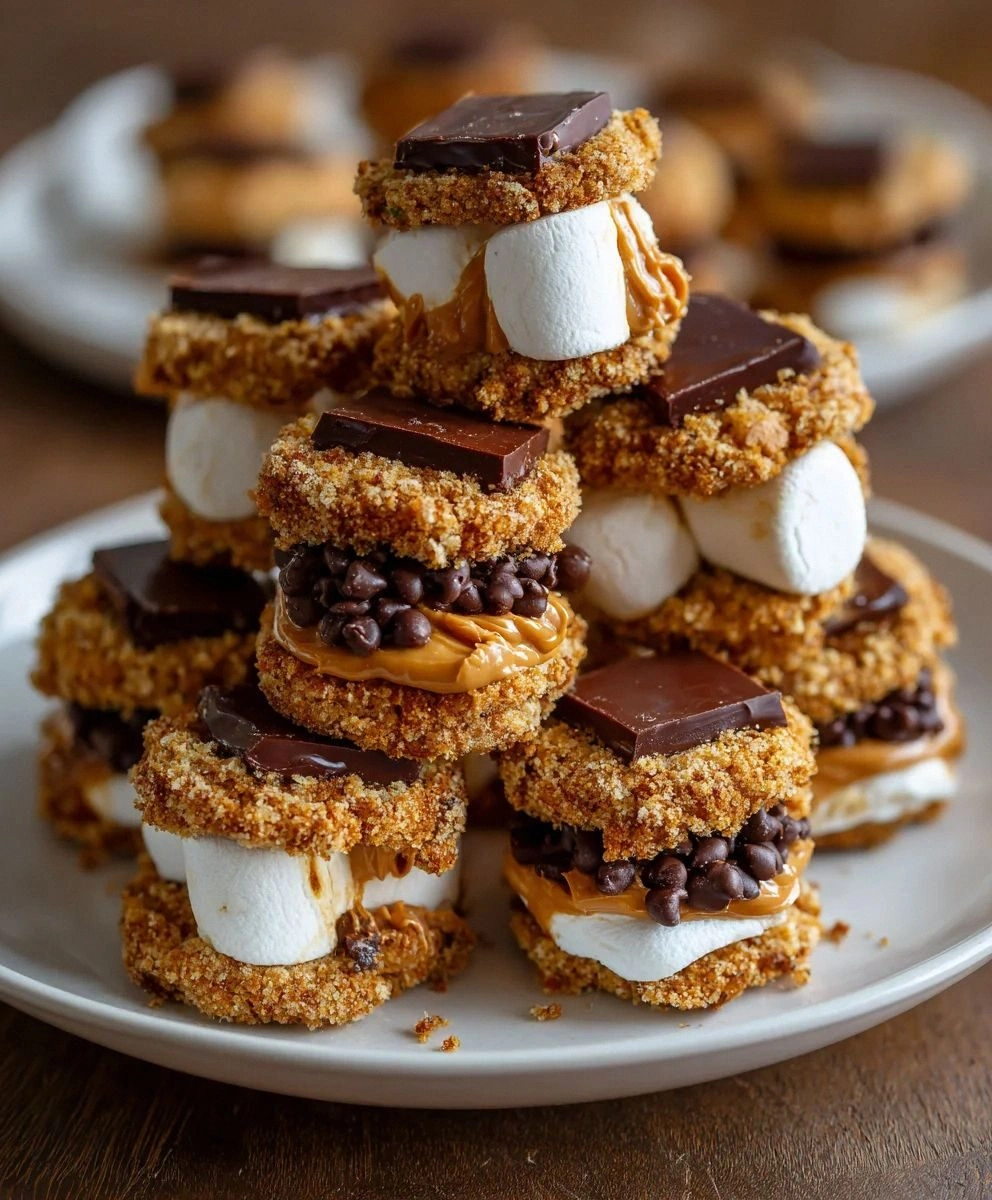
Here's what makes these special: we're not just slapping peanut butter on a graham cracker and calling it innovative. No, we're creating peanut butter chocolate chip cookies that serve as the foundation, layering them with dark chocolate squares that melt into silky rivers, and topping everything with marshmallows toasted to that perfect golden-brown where the edges caramelize into crackly perfection. The contrast between the chewy cookie base, the molten chocolate middle, and that stretchy marshmallow top creates a textural symphony that'll have you questioning why you ever settled for plain old graham crackers.
But before we dive into the nitty-gritty, let me confess something: I've eaten half a batch of these before anyone else even knew they existed. My roommate walked in to find me standing over the counter, marshmallow stuck to my chin, chocolate smeared across my cheek, and the most ridiculous grin on my face. If you've ever struggled with regular s'mores falling apart, getting too messy, or just tasting kind of boring, you're not alone — and I've got the fix that's going to change your dessert game forever. Let me walk you through every single step — by the end, you'll wonder how you ever made it any other way.
What Makes This Version Stand Out
- Peanut Butter Power: Instead of just adding peanut butter as an afterthought, we bake it right into the cookie base, creating a nutty foundation that permeates every single bite with that irresistible peanut butter flavor that makes everything better.
- Chocolate Chip Magic: Those semi-sweet chips in the cookie dough create little pockets of chocolate throughout the base, ensuring you get chocolate in every bite without overwhelming the other flavors competing for your attention.
- Dark Chocolate Sophistication: We use dark chocolate squares instead of milk chocolate, adding a depth and slight bitterness that perfectly balances the sweetness of the marshmallow and the richness of the peanut butter.
- Cookie Base Innovation: By replacing traditional graham crackers with homemade peanut butter chocolate chip cookies, we eliminate the crumbly mess while adding another layer of flavor that makes these impossible to put down.
- Make-Ahead Marvel: You can bake the cookies ahead of time and assemble these in under five minutes whenever the craving strikes, making late-night dessert emergencies a thing of the past.
- Crowd-Pleasing Guarantee: I've served these at everything from backyard barbecues to fancy dinner parties, and the reaction is always the same: eyes widening, followed by complete silence as everyone focuses on enjoying every last bite.
- Texture Perfection: The contrast between the chewy cookie, melty chocolate, and gooey marshmallow creates a textural experience that keeps you coming back for "just one more bite" until they're mysteriously gone.
Inside the Ingredient List
Every ingredient in this recipe pulls its weight and then some. We're not just throwing things together willy-nilly here — each component has been carefully selected to create the perfect balance of flavors and textures that'll make your taste buds sing. Understanding why each ingredient matters will help you make substitutions when needed and troubleshoot any issues that might arise.
The Flavor Foundation
Creamy peanut butter is the star of our show, and not just any peanut butter will do. You want the kind that's smooth enough to incorporate evenly into the cookie dough but rich enough to stand up to the other bold flavors. Natural peanut butter works beautifully here, giving you that authentic peanut taste without being overly sweet. If you're using commercial brands like Jif or Skippy, reduce the sugar in the cookie dough slightly since these are already sweetened. The peanut butter doesn't just add flavor — it contributes to the chewy texture that makes these cookies so addictive.
Granulated sugar might seem basic, but it's crucial for creating the right texture in our cookie base. It helps the edges crisp slightly while keeping the centers chewy, and it balances the richness of the peanut butter without making things cloyingly sweet. If you want to experiment, try substituting half the white sugar with brown sugar for a deeper, more caramel-like flavor that pairs beautifully with the dark chocolate.
The Texture Enhancers
That large egg isn't just there for structure — it's the secret weapon that gives our cookies that perfect chewy texture that makes them so satisfying. The proteins in the egg help bind everything together while the fat contributes to the tender crumb. If you're baking for someone with an egg allergy, a flax egg works surprisingly well here, though the cookies will be slightly more delicate.
Vanilla extract might seem like a background player, but trust me when I say it makes all the difference. That splash of vanilla adds warmth and depth, creating a flavor bridge between the peanut butter and chocolate that makes everything taste more complex and interesting. Don't skip it, and please, for the love of all that's delicious, use real vanilla extract, not the imitation stuff.
The Chocolate Champions
Semi-sweet chocolate chips in the cookie dough create these wonderful pockets of chocolate that melt slightly during baking but still maintain their shape. They're not just there for decoration — they provide little bursts of chocolate flavor throughout the cookie base that complement the larger chocolate layer we're adding later. If you prefer darker chocolate, go ahead and substitute with bittersweet chips, but avoid milk chocolate here as it can make the whole thing too sweet.
Dark chocolate squares are where we get that luxurious, melty chocolate layer that makes these s'mores feel so indulgent. Go for chocolate that's around 60-70% cacao — dark enough to balance the sweetness but not so bitter that it overwhelms the peanut butter. The quality really matters here, so splurge on the good stuff if you can. It'll melt into silky rivers that create the perfect bed for our toasted marshmallows.
The Show-Stopping Finale
Large marshmallows are non-negotiable here. Don't even think about using those tiny hot cocoa marshmallows — you need the real deal for that perfect toast and stretchy texture that makes s'mores so fun to eat. The key is getting them perfectly golden-brown, not charred black. That caramelization on the outside creates a slightly crisp shell that gives way to the gooey interior, creating a textural experience that's pure magic.
Everything's prepped? Good. Let's get into the real action...
The Method — Step by Step
- Start by creaming together your peanut butter, softened butter, and sugar until the mixture becomes light and fluffy. This should take about 3-4 minutes with an electric mixer on medium speed. You're looking for a pale, airy texture that indicates you've incorporated enough air to give your cookies lift. Don't rush this step — properly creamed butter and sugar creates tiny air pockets that expand during baking, giving you tender cookies instead of dense hockey pucks. The mixture should look slightly whipped and feel lighter when you lift the beaters.
- Add your egg and vanilla extract, beating until fully incorporated. The dough might look slightly curdled at first — that's totally normal and nothing to panic about. Keep mixing until it comes together in a smooth, cohesive mass. Scrape down the sides of the bowl to ensure everything is evenly mixed. The peanut butter can make this step tricky because it's so thick, but patience pays off. You want everything homogenous before moving to the next step.
- In a separate bowl, whisk together your flour, baking soda, and salt. This step seems fussy but it's crucial for even distribution of the leavening agents. Nobody wants a cookie with a salty surprise pocket or one that doesn't rise properly. Add these dry ingredients to your wet mixture gradually, mixing just until combined. Overmixing develops gluten, which makes cookies tough — we're going for tender and chewy, not bread-like.
- Fold in your chocolate chips with a spatula, being gentle but thorough. You want those chips evenly distributed so every bite has that perfect chocolate hit. The dough will be thick and slightly sticky — that's exactly what you want. If it seems too soft to scoop, pop it in the fridge for 15-20 minutes. This brief chill helps the cookies maintain their shape and prevents excessive spreading during baking.
- Preheat your oven to 350°F (175°C) and line a baking sheet with parchment paper. Use a cookie scoop or two spoons to portion out 8-10 mounds of dough, spacing them about 2 inches apart. These cookies spread, so give them room to breathe. Gently press each mound down slightly with the palm of your hand — we're not making mounds here, but we don't want them completely flat either. The goal is cookie bases that are sturdy enough to support our s'mores toppings.
- Bake for 10-12 minutes, until the edges are golden brown and the centers are just set. They might look slightly underdone — that's perfect. They'll continue cooking on the hot pan after you remove them from the oven. Let them cool on the pan for 5 minutes before transferring to a wire rack. This resting period is crucial for achieving that perfect chewy texture. If you try to move them too early, they'll fall apart; too late, and they'll stick to the pan.
- Once your cookies are completely cool, it's assembly time. Preheat your broiler or fire up that kitchen torch if you're feeling fancy. Place half your cookies on a baking sheet, flat side up. Top each with a dark chocolate square, making sure to cover as much of the cookie surface as possible. The chocolate will act as a barrier, preventing the marshmallow from making the cookie soggy while adding another layer of flavor complexity.
- Now for the fun part — the marshmallows. Cut them in half horizontally if you're using large ones, or leave them whole for maximum gooey factor. Place them cut-side down on top of the chocolate. Slide the pan under the broiler and watch carefully. You're looking for that perfect golden-brown color, not charred black. This should take 30-60 seconds depending on your broiler. The marshmallows will puff up and the edges will caramelize into that perfect toasty flavor.
- Remove from the broiler and immediately top with the remaining cookies, pressing down gently to create your s'more sandwich. The residual heat will finish melting the chocolate, creating that perfect molten center. Let them sit for about 2 minutes — this brief rest allows everything to meld together without burning your mouth. Serve warm, ideally with a cold glass of milk or a hot cup of coffee depending on your mood and the weather.
That's it — you did it. But hold on, I've got a few more tricks that'll take this to another level...
Insider Tricks for Flawless Results
The Temperature Rule Nobody Follows
Here's the thing that separates okay s'mores from life-changing ones: temperature matters more than you think. Your peanut butter needs to be at room temperature for proper incorporation, but your butter should be just slightly softened, not melted. Melted butter makes cookies spread too much and lose their chewy texture. And here's the kicker — if your kitchen is particularly warm, chill your dough for 30 minutes before baking. This prevents the cookies from becoming flat discs that can't support the weight of your toppings. I learned this the hard way after producing what can only be described as peanut butter pancakes.
Why Your Nose Knows Best
Trust your sense of smell when toasting the marshmallows. When you catch that first whiff of caramelized sugar — that sweet, slightly nutty aroma — they're ready. Don't wait for them to turn dark brown; by then they'll be burnt on the outside and cold in the middle. The perfect marshmallow should be golden on the outside and molten within. This usually happens about 10 seconds after you start smelling them. A friend tried skipping this step once — let's just say it didn't end well for her smoke detector or her dinner party guests.
The 5-Minute Rest That Changes Everything
After assembling your s'mores, resist the urge to dive in immediately. That 5-minute rest period isn't just about avoiding burnt tongues — it's when the magic happens. The chocolate finishes melting, the marshmallow sets slightly, and all the flavors have a chance to meld together into something greater than the sum of their parts. During this time, the cookie base absorbs just enough heat and moisture from the toppings to become perfectly tender without getting soggy. It's like a flavor marriage ceremony, and you're the honored guest.
The Chocolate Placement Strategy
How you place your chocolate matters more than you'd think. Instead of using one large square, break your dark chocolate into smaller pieces and arrange them in a single layer with tiny gaps between. This allows the chocolate to melt more evenly and prevents that annoying situation where the center is molten but the edges are still solid. The gaps also create little chocolate-free zones that prevent the whole thing from becoming too rich or overwhelming. It's all about balance, and this simple technique achieves it perfectly.
Creative Twists and Variations
This recipe is a playground. Here are some of my favorite ways to switch things up:
The Elvis Edition
Add a layer of sliced bananas under the chocolate squares and use honey-roasted peanut butter in your cookies. The combination of peanut butter, banana, and honey is legendary for a reason — it creates a sweet-savory balance that makes these s'mores taste like a dessert version of the King's favorite sandwich. Just make sure your banana slices aren't too thick or they'll make the whole thing slide apart when you bite into it.
Spicy Mexican Hot Chocolate
Add a pinch of cinnamon and cayenne to your cookie dough, and use Mexican chocolate for the squares. The subtle heat from the cayenne enhances the chocolate flavor while the cinnamon adds warmth that makes these perfect for cooler evenings. If you're feeling adventurous, add a tiny pinch of chili powder — just enough to make people wonder what that intriguing background flavor is without overwhelming the other elements.
Salted Caramel Dream
Drizzle a little salted caramel sauce over the chocolate squares before adding the marshmallows. The salt enhances all the other flavors while the caramel adds another layer of gooey sweetness. Use fleur de sel if you have it — the delicate crystals add little pops of saltiness that make each bite interesting. Be conservative with the caramel though; too much and you'll have a sticky mess that refuses to stay together.
Double Peanut Butter Power
Use chunky peanut butter in your cookies and add a thin layer of peanut butter between the cookie and chocolate. This is for the true peanut butter enthusiasts who believe you can never have too much of a good thing. The different textures of smooth and chunky peanut butter create an interesting contrast, while the double dose ensures every bite is packed with that nutty flavor.
Campfire S'mores Kit
Make the cookies ahead of time and pack them in a tin with chocolate squares and marshmallows for the perfect camping dessert. Pre-assemble everything except the marshmallows, then toast them over the campfire for the ultimate outdoor treat. The peanut butter cookies travel better than graham crackers and won't crumble into a mess in your backpack.
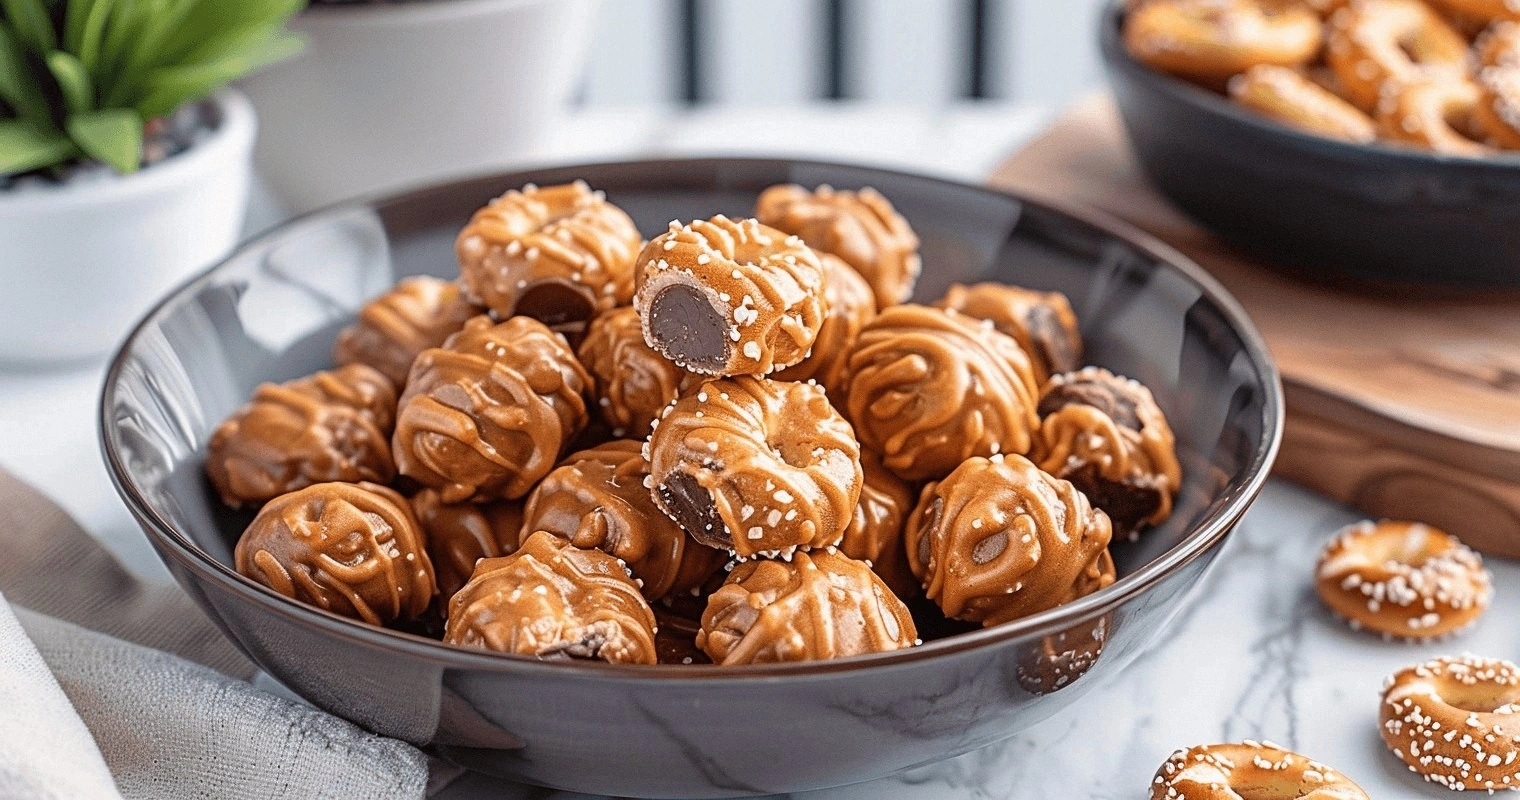
Mini S'mores Bites
Make miniature versions using a mini muffin tin for your cookie bases. These are perfect for parties where you want people to be able to grab and go without making a huge mess. Kids love them because they're just the right size for little hands, and adults love them because they can justify eating "just one more" since they're so small.
Storing and Bringing It Back to Life
Fridge Storage
If you somehow manage to have leftovers (I won't judge if you don't), store assembled s'mores in an airtight container in the fridge for up to 3 days. Separate layers with parchment paper to prevent sticking. The cold temperature will firm up the marshmallow and chocolate, but don't worry — they come back to life beautifully. To serve, let them sit at room temperature for 15 minutes, then pop them under the broiler for 30 seconds to re-melt the chocolate and soften the marshmallow. They'll taste almost as good as fresh.
Freezer Friendly
These freeze surprisingly well, though I recommend freezing the components separately. Bake and cool your cookies completely, then freeze them in a single layer before transferring to a freezer bag. Freeze chocolate squares separately, and marshmallows can stay in their original packaging. When you're ready to assemble, let everything thaw for about 10 minutes, then proceed as normal. Frozen marshmallows actually toast better — they hold their shape longer, giving you more control over the browning process.
Best Reheating Method
The microwave is your enemy here — it'll turn your cookies rubbery and your marshmallows into a sad, deflated mess. Instead, use your oven or toaster oven set to 300°F. Place the s'mores on a baking sheet and heat for 5-7 minutes until warmed through. For an extra treat, add a fresh marshmallow on top during the last minute of reheating. This gives you that fresh-toasted flavor and texture that makes these s'mores so irresistible.