I remember the night I first stumbled into the kitchen with a busted oven, a half‑finished cake, and a frantic craving for something sweet that wouldn’t require me to wrestle with a thermometer or a timer. The oven was on its last legs, and I was staring at a bag of yellow cake mix, a can of strawberry pie filling, and a block of cream cheese that had been sitting in the fridge like a forgotten promise. I thought, “If this thing works, it’ll be a miracle.” I turned the oven to 350°F, poured the batter into a 9‑by‑13 pan, and, in a moment of culinary desperation, dumped the strawberry filling and cream cheese on top. The result was a glossy, swirled cake that tasted like a dream—soft, sweet, and utterly irresistible. That night, I realized I had found the simplest, most delicious dessert that could be whipped up in minutes, even when the kitchen is a bit of a mess.
Picture yourself pulling this out of the oven, the whole kitchen smelling incredible, the steam curling like a sweet cloud. The cake’s edges are a golden‑brown crust that cracks like thin ice when you lift the knife, revealing a center that’s tender, moist, and laced with strawberry. The first bite is a marriage of velvety cream cheese and buttery cake, punctuated by bright strawberry bursts that dance on your tongue. Every spoonful feels like a hug from a friend—comforting, familiar, and, honestly, a little bit indulgent. I dare you to taste this and not go back for seconds.
What sets this version apart from every other strawberry cheesecake cake you’ve tried is the way it simplifies the process without sacrificing flavor. You don’t need to whisk eggs into a separate bowl or fold in batter by hand. All the components combine in one pan, letting the flavors mingle as they bake. The result is a cake that is hands down the best version you’ll ever make at home. I’ll be honest— I ate half the batch before anyone else got to try it. If you’ve ever struggled with a cake that turns out too dense or too dry, you’re not alone, and I’ve got the fix.
The trick is in the layering: the cake batter sits at the bottom, and the strawberry‑cream cheese mixture sits on top, creating a marbled effect that’s both visually stunning and flavorfully complex. That swirl is achieved by simply spooning the mixture onto the batter and swirling with a knife—no fancy piping required. The result is a dessert that looks like a work of art and tastes like a sweet, creamy dream. Let me walk you through every single step—by the end, you’ll wonder how you ever made it any other way.
What Makes This Version Stand Out
- Texture: The cake is light and airy, thanks to the cake mix, but it also has a creamy center that feels like a slice of cheesecake. The contrast between the crisp edges and the soft middle is a mouth‑watering experience that keeps people coming back for more.
- Flavor: The combination of strawberry pie filling and cream cheese creates a sweet‑tart harmony that is both refreshing and indulgent. The strawberry’s natural sweetness cuts through the richness of the cream cheese, giving the dessert a balanced taste profile.
- Simplicity: No separate batter, no folding, no whisking—just dump everything in a pan. This makes the recipe perfect for busy weeknights or when you’re craving something sweet but don’t want to spend hours in the kitchen.
- Versatility: While the classic version is delicious, the recipe lends itself to countless variations, from adding chocolate chips to swapping in other fruit fillings. It’s a playground for your creativity.
- Make‑ahead Potential: Bake it a day ahead, chill, and it still tastes fresh. The flavors meld over time, giving you a dessert that’s even more decadent when you’re ready to serve.
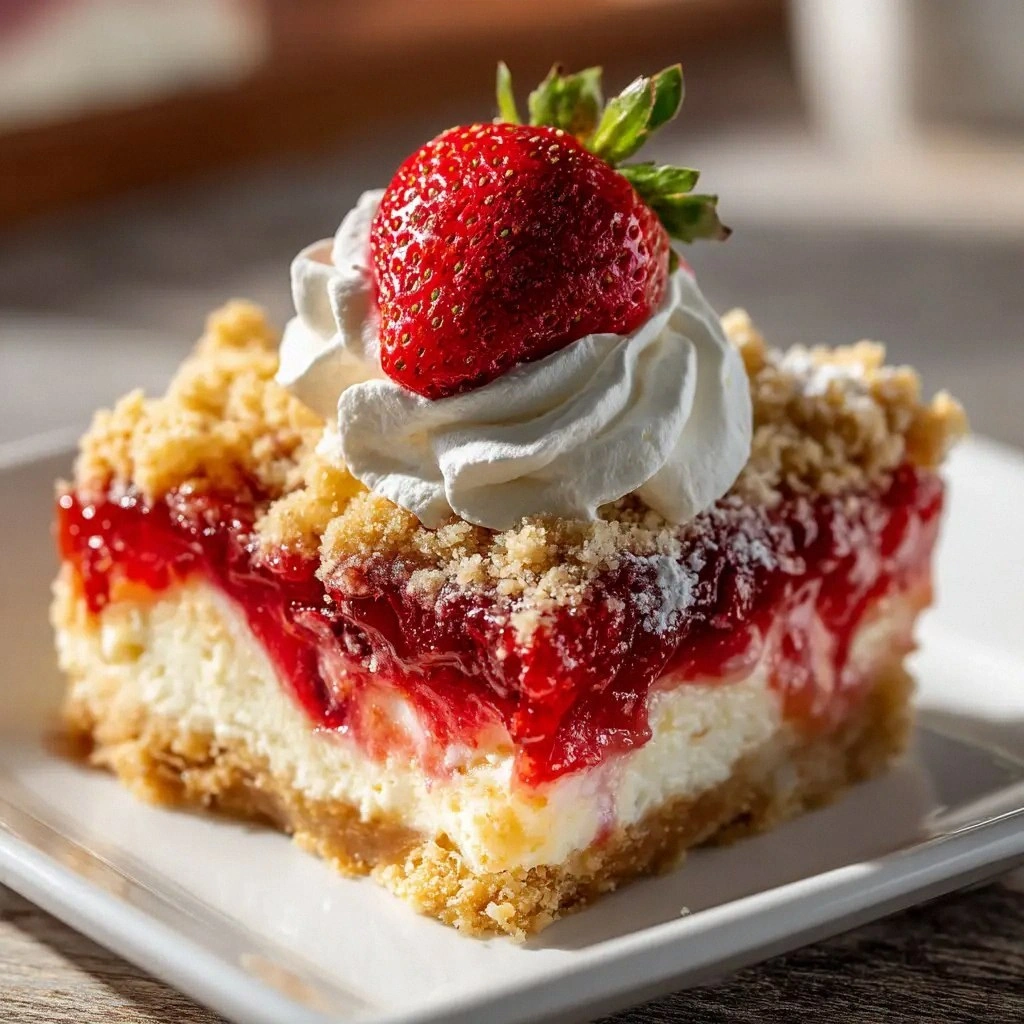
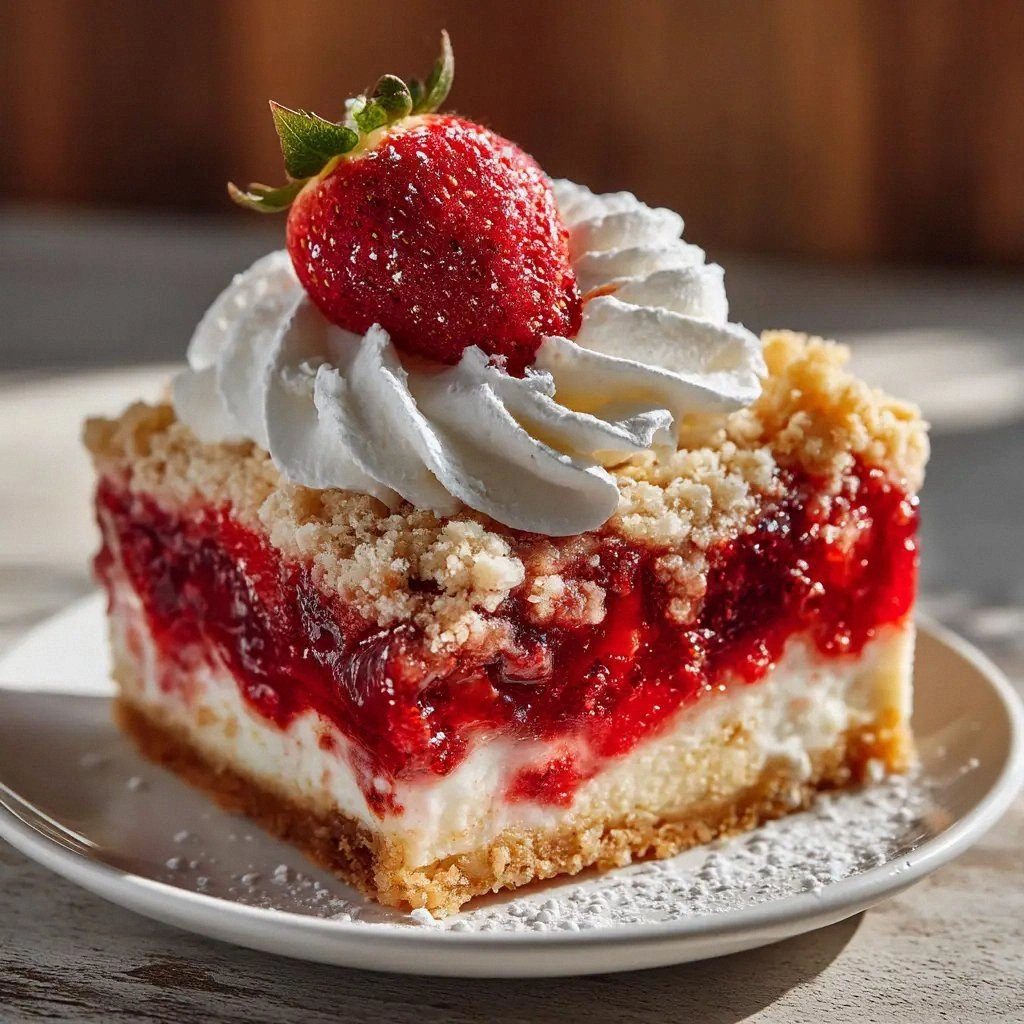
- Visual Appeal: The swirled top looks like a watercolor painting—soft pinks and whites that melt into each other. It’s a showstopper that will impress guests without the effort of a fancy dessert.
Inside the Ingredient List
The Flavor Base
The 2 cans of strawberry pie filling are the heart of this dessert. They provide the sweet, tart flavor that cuts through the richness of the cream cheese. If you prefer a less sweet version, use a lower‑sugar pie filling or reduce the amount slightly. The filling’s consistency should be thick enough to hold its shape when spooned, but not so thick that it becomes paste‑like. For a more natural taste, you can use fresh strawberries, pureed and sweetened to taste, but the convenience of canned filling is unbeatable when time is short.
The Texture Crew
The 8 ounces of softened cream cheese give the cake its luscious, velvety texture. Cream cheese must be at room temperature to blend smoothly with the sugar; otherwise, it will clump and create an uneven mouthfeel. If you’re a fan of extra creaminess, add a tablespoon of heavy cream or sour cream to the mix. The 1/2 cup of granulated sugar balances the tartness of the cream cheese and sweetens the filling just enough to create a harmonious flavor profile.
The Unexpected Star
The 1 box of yellow cake mix is the backbone of this dessert. It provides the structure and the buttery flavor that keeps the cake from collapsing. The mix’s pre‑measured ingredients mean you don’t have to worry about ratios—just add the wet ingredients, and you’re good to go. If you’re looking for a healthier twist, swap in a whole‑wheat cake mix or a gluten‑free blend, but be aware that the texture and taste will change slightly.
The Final Flourish
The 1/2 cup of salted butter, melted, adds richness and a subtle saltiness that balances the sweetness. Melt the butter in a microwave or on the stovetop and let it cool slightly before mixing with the cake batter. The butter’s fat content helps create a tender crumb and ensures the cake bakes evenly. If you’re sensitive to sodium, use unsalted butter and add a pinch of sea salt to the batter instead.
Everything's prepped? Good. Let's get into the real action.
The Method — Step by Step
- Preheat your oven to 350°F (175°C) and lightly grease a 9‑by‑13 inch baking pan with butter or non‑stick spray. The grease prevents the cake from sticking and gives it a golden crust. While the oven warms, set a timer for 15 minutes; this will help you stay on schedule. This is the moment of truth—your kitchen’s aroma will start to build as the butter melts and the cake mix begins to hum in anticipation.
- In a large bowl, combine the melted butter, the box of yellow cake mix, and the single egg. Stir until the mixture is smooth and free of lumps. The batter should be thick yet pourable; if it’s too thick, add a splash of milk or water. This step is critical—overmixing will make the cake dense, while undermixing will leave lumps that ruin the texture.
- In a separate bowl, beat the softened cream cheese until it’s fluffy and creamy. Add the 1/2 cup of sugar and continue beating until the mixture is light and airy. Then fold in the two cans of strawberry pie filling, stirring just enough to combine without overmixing. The result should be a thick, pinkish cream that’s easy to spoon. The swirl will create a marbled look once baked.
- Pour the cake batter into the prepared pan, spreading it evenly with a spatula. Spoon the strawberry‑cream cheese mixture over the batter in a circular motion, letting it pool slightly in the center. The batter will soak up the strawberry flavors as it bakes, creating layers of taste that will wow your guests. Keep the mixture in the pan until the oven is ready.
- Bake in the preheated oven for 30 minutes, or until the edges are a golden‑brown hue and the center is slightly jiggly. The cake should emit a sweet, buttery aroma that makes your mouth water. Watch Out: If you open the oven early or leave it too long, the cake will dry out and crack along the top, ruining the marbled look. Keep the door closed and rely on the timer.
- Remove the cake from the oven and let it sit in the pan for 15 minutes. The cooling phase allows the batter to set, ensuring a firm crumb that won’t crumble when you cut it. After 15 minutes, transfer the cake to a wire rack to cool completely. This step prevents condensation from forming on the bottom of the cake.
- Once the cake is fully cooled, you can add a simple drizzle of honey or a light glaze if you like a glossy finish. A drizzle of fresh lemon curd also adds a bright contrast that pairs wonderfully with the strawberry. This optional step elevates the cake’s presentation and adds a layer of flavor.
- Slice the cake into squares using a hot knife for clean cuts. Wipe the knife between cuts to keep the edges clean. Serve immediately, or refrigerate for up to 3 days. The cake’s texture will remain moist and flavorful, and the strawberry flavor will intensify over time.
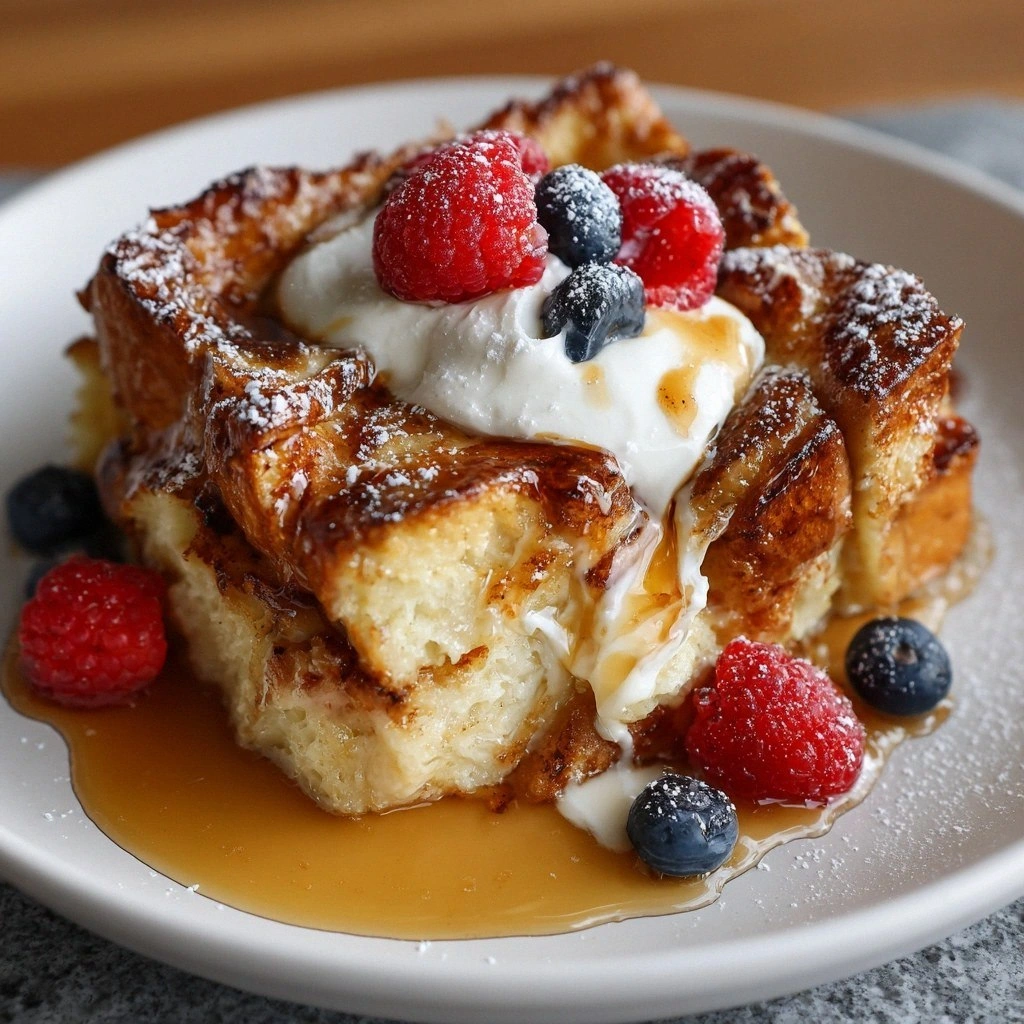
- For an extra touch of indulgence, top each slice with fresh strawberries, a dollop of whipped cream, or a dusting of powdered sugar. These garnishes add a fresh, sweet note that complements the creamy base. This final touch turns a simple dump cake into a dessert worthy of any celebration.
That's it—you did it. But hold on, I've got a few more tricks that'll take this to another level.
Insider Tricks for Flawless Results
The Temperature Rule Nobody Follows
Most bakers think a higher temperature will give you a quicker bake, but with this dump cake, a steady 350°F is essential. A lower temperature can cause the cake to rise too quickly, leading to a dense center. Keep the oven at a consistent temperature, and use an oven thermometer to confirm the heat. If your oven runs hot, set it 25°F lower to avoid overbaking.
Why Your Nose Knows Best
Smell the cake as it bakes; a pleasant, buttery aroma is a sign that the batter is baking evenly. If the smell turns sharp or burnt, the oven temperature is too high. Your nose is a reliable gauge—listen to it, and you’ll avoid burnt edges and a dry center.
The 5-Minute Rest That Changes Everything
After the 30‑minute bake, let the cake rest in the pan for exactly 15 minutes before transferring it to a wire rack. This brief rest allows the steam to escape gradually, preventing the cake from becoming soggy. The 15‑minute window is critical; too short and the cake will crack, too long and it will lose moisture.
Use a Thermometer for Perfection
If you’re a precision lover, insert a candy or instant-read thermometer into the center of the cake. The internal temperature should read around 200°F when it’s done. This technique guarantees a perfectly baked cake every time, especially if your oven tends to run hot or cold.
Keep the Batter Even
When pouring the batter into the pan, tilt the pan slightly and pour from a height to create an even surface. A level batter ensures uniform heat distribution, preventing uneven browning. If you notice the batter pooling in one spot, gently swirl it with a spatula.
Serve with a Simple Syrup
A light simple syrup—equal parts sugar and water heated until the sugar dissolves—can be drizzled over the cake after it cools. This adds moisture and a subtle sweetness that pairs well with the strawberry filling. The syrup also gives the cake a glossy finish that’s visually appealing.
Creative Twists and Variations
This recipe is a playground. Here are some of my favorite ways to switch things up:
Blueberry Bliss
Swap the strawberry pie filling for blueberry pie filling and add fresh blueberries on top before baking. The blueberry’s tartness complements the cream cheese, creating a vibrant, fruity dessert that’s perfect for summer.
Chocolate Swirl
Fold in a handful of dark chocolate chips into the cake batter before pouring it into the pan. After adding the strawberry‑cream cheese mixture, swirl a thin ribbon of melted chocolate through the top. The result is a decadent, chocolate‑strawberry cake that satisfies every sweet tooth.
Lemon Zest
Add the zest of one lemon to the cake batter for a bright, citrusy note. Pair it with a lemon glaze or a dollop of lemon curd after baking. The lemon cuts through the richness and adds a refreshing finish.
Almond Crunch
Sprinkle toasted almond slivers over the top before baking. The almonds add a nutty crunch that contrasts with the creamy layers. A drizzle of almond extract in the batter further enhances the flavor profile.
Coffee Infusion
Stir a tablespoon of instant espresso powder into the cake batter. The coffee undertone pairs beautifully with the strawberry, giving the dessert an adult twist that’s perfect for brunch or a dessert wine pairing.
Minty Fresh
Add a teaspoon of peppermint extract to the cream cheese mixture and garnish the finished cake with fresh mint leaves. The mint gives a cool, refreshing counterpoint to the sweet, creamy layers.
Storing and Bringing It Back to Life
Fridge Storage
Store the cooled cake in an airtight container in the refrigerator for up to 3 days. The cake stays moist and flavorful, and the strawberry flavor intensifies over time. When you’re ready to serve, let it sit at room temperature for 15 minutes to soften.
Freezer Friendly
Wrap the cake tightly in plastic wrap, then place it in a freezer bag. It can be frozen for up to 2 months. When you’re ready to enjoy it, thaw in the refrigerator overnight and let it rest at room temperature for 20 minutes before serving.
Best Reheating Method
To reheat the cake, preheat your oven to 300°F (150°C). Place the cake on a baking sheet and warm for 10–12 minutes, or until heated through. For a quick fix, microwave a slice on high for 15–20 seconds. Add a tiny splash of water before reheating—this steams the cake back to perfection and keeps it moist.