It started with a kitchen catastrophe that I will never forget: I was attempting to recreate the crumpets my grandmother made, and the batter turned into a thick, clumpy sludge that refused to rise. The scent of burnt sugar wafted through the air, and my friends laughed as I blamed the humidity. But that disaster was the spark that lit a fire in me—an obsession with turning a humble breakfast staple into a show‑stopping masterpiece. I spent nights experimenting with yeast ratios, flour blends, and the perfect heat distribution on my cast‑iron skillet.
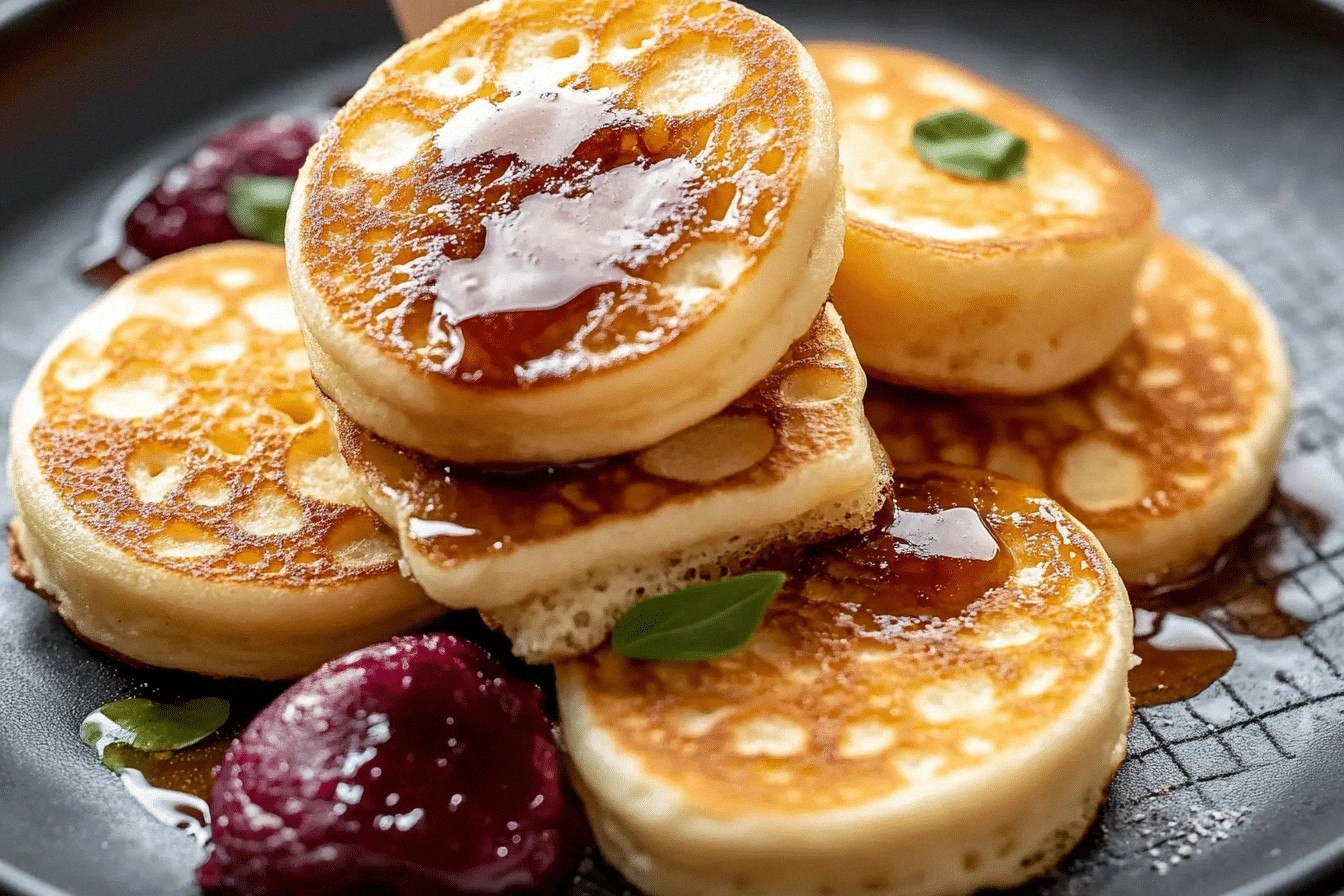
Imagine a crisp, golden crust that crackles like freshly popped popcorn, the inside a soft, honeycomb lattice that invites butter, jam, or a drizzle of maple syrup. The aroma that fills the kitchen is a warm, yeasty perfume that lures you in, while the texture—crisp on the outside, airy on the inside—creates a delightful contrast that sings in your mouth. Every bite is a revelation, a reminder that a simple batter can transform into something extraordinary. I dare you to taste this and not go back for seconds; the moment you bite into the first crumpet, you’ll know that this is hands down the best version you’ll ever make at home.
Most recipes get this completely wrong. They either under‑bake the batter, resulting in a dense, rubbery center, or over‑bake, producing a brittle, cracked surface. What sets this version apart is the meticulous balance between moisture, leavening, and heat. I’ve refined the technique to ensure that each crumpet bounces back from the griddle like a rubber ball, with bubbles forming just before the flip, a sign that the yeast has done its work. The result? A light, airy interior that holds butter like a sponge, and a crisp edge that shatters like thin ice when you bite.
Picture yourself pulling this out of the griddle, the whole kitchen smelling incredible, the steam rising like a gentle mist. The sight of those golden, honeycomb‑filled crumpets is enough to make your mouth water, and the sound of the first bite is a satisfying crunch that echoes in your ears. Let me walk you through every single step—by the end, you’ll wonder how you ever made it any other way. Okay, ready for the game‑changer?
What Makes This Version Stand Out
- Taste: The combination of warm milk and a touch of honey in the batter creates a subtle sweetness that balances the savory yeast flavor. This harmony elevates the crumpets from ordinary to unforgettable.
- Texture: The batter’s precise hydration level produces a porous, spongy interior while the high heat of the griddle ensures a crisp, caramelized exterior.
- Speed: With a short resting period and a quick cooking time, you can have fresh crumpets on the table in under 30 minutes, making it perfect for busy mornings.
- Versatility: The base recipe is a blank canvas—add herbs, cheese, or spices to the batter for savory crumpets, or swirl in fruit puree for a sweet twist.
- Crowd‑pleaser: Whether served at a brunch gathering or a cozy family dinner, these crumpets elicit applause and requests for seconds.
- Ingredient Quality: Using a high‑protein flour and fresh, room‑temperature milk gives the batter a robust flavor profile that stands out.
- Make‑Ahead Potential: The batter can be prepared ahead of time, refrigerated, and cooked later without sacrificing quality.
Inside the Ingredient List
The Flour Foundation
All‑purpose flour is the backbone of crumpets, providing structure and the signature chewy crumb. Choosing a flour with a protein content around 10–12% ensures a tender interior while still giving enough gluten for the batter to hold its shape. If you prefer a lighter texture, try substituting half the flour with cake flour; the lower protein content will produce a softer bite. However, don’t go too low—too little gluten will cause the batter to collapse and the crumpets to be flat.
The Liquid Lift
Whole milk, warmed to about 110°F (43°C), brings richness and a subtle caramel flavor to the batter. Warm milk activates the yeast, encouraging a gentle rise. If you’re dairy‑free, coconut milk or oat milk can be used, but keep in mind that the flavor will shift slightly toward the milk’s inherent taste. Adding a splash of warm water helps keep the batter at the right consistency and ensures the heat distribution is even across the griddle.
The Yeast Whisper
Active dry yeast is the secret agent that creates the crumpets’ airy pockets. Dissolve one teaspoon of yeast in the warm water and allow it to bloom for 5–7 minutes until it becomes frothy. This step is critical: if the yeast isn’t fully activated, the crumpets will be dense. For a gluten‑free version, you can use a gluten‑free yeast blend or a combination of baking powder and baking soda for leavening.
The Final Touch
Butter, baking powder, and a pinch of salt are the finishing touches that give crumpets their buttery flavor, rise, and savory depth. Melted butter adds richness and a subtle sheen, while baking powder provides a quick lift that complements the yeast. Salt balances the sweetness and enhances the overall flavor profile. If you’re craving a touch of sweetness, a teaspoon of sugar is added to the wet mix; if you prefer a savory version, omit the sugar and add herbs like rosemary or thyme.
Everything's prepped? Good. Let's get into the real action...
The Method — Step by Step
In a small bowl, combine the warm water, sugar, and active dry yeast. Stir gently and let it sit for 5–7 minutes until the mixture becomes frothy, signaling that the yeast is alive and ready to work its magic. This is the moment of truth; if the mixture doesn’t foam, the yeast is dead and you’ll need to start over.
While the yeast blooms, warm the milk to the same temperature, 110°F (43°C). Once the yeast is frothy, pour the warm milk into the mixture and stir until fully incorporated. The liquid now carries the yeast into the batter, setting the stage for a fluffy interior.
In a large mixing bowl, whisk together the all‑purpose flour, baking powder, and salt. This dry blend is crucial for ensuring even distribution of leavening agents. Add the melted butter to the dry mix and stir until the mixture resembles coarse crumbs. The butter helps create a tender crumb and adds a subtle buttery flavor.
Pour the wet yeast mixture into the dry ingredients and stir with a wooden spoon until just combined. It’s okay if the batter is a bit lumpy; overmixing can develop gluten and result in a tough crumb. The batter should be thick enough to hold its shape but still pourable when lifted with a spoon.
Cover the bowl with a clean kitchen towel and let the batter rest at room temperature for 30 minutes. During this period, the yeast will produce carbon dioxide, creating the characteristic holes in the crumpets. If you’re in a hurry, you can let it rise for 15 minutes, but the flavor depth will be slightly reduced.
Heat a non‑stick skillet or cast‑iron griddle over medium heat. To test if the surface is ready, sprinkle a few drops of water onto it; they should dance and evaporate quickly. Lightly grease the griddle with a paper towel soaked in a small amount of oil or butter, wiping away excess to prevent sticking.
Using a ladle, pour the batter into the griddle, filling each crumpet mold to about ¾ full. The batter should spread slightly but maintain a distinct shape. Let the batter sit undisturbed for 5 minutes; during this time, the edges will start pulling away from the pan, and small bubbles will appear on the surface.
When the surface is dotted with bubbles and the edges have lifted, it’s time to flip. Use a spatula to gently lift the crumpet; if it feels firm, it’s ready. Flip carefully and cook the second side for 3–4 minutes, or until it develops a golden‑brown crust. The aroma during this step should be a warm, yeasty scent that makes your kitchen feel like a bakery.
Remove the crumpet from the griddle and place it on a wire rack to cool for a minute. This brief rest allows steam to escape and prevents the crumpet from becoming soggy. While cooling, you can add your favorite toppings—softened butter, honey, or a sprinkle of sea salt.
Repeat the process with the remaining batter, greasing the griddle as needed. As the batch progresses, you’ll notice the batter’s consistency slightly changes; if it feels too thick, add a teaspoon of warm milk to thin it out. Serve immediately for the best experience, or let them cool completely and store for later.
That's it — you did it. But hold on, I've got a few more tricks that'll take this to another level...
Insider Tricks for Flawless Results
The Temperature Rule Nobody Follows
Maintaining the griddle at a steady 350°F (177°C) is essential for achieving that perfect golden crust. If the surface is too hot, the crumpet will burn on the outside while remaining raw inside; too cool, and it will become doughy. Use a kitchen thermometer or a simple test: sprinkle a few drops of water on the surface; they should sizzle and evaporate in about a second.
Why Your Nose Knows Best
The first hint that your crumpets are ready comes from the aroma. A warm, yeasty scent that’s almost sweet signals that the bubbles have formed and the batter has begun to rise. Trust your nose; if the smell is flat, give it a few more minutes.
The 5‑Minute Rest That Changes Everything
After pouring the batter into the griddle, let it sit undisturbed for exactly five minutes. This pause allows the batter to set, forming a crust that will hold the shape when flipped. Skipping this step often results in a crumpet that breaks apart when you try to turn it.
Use a Cast‑Iron Skillet for Even Heat
Cast‑iron distributes heat evenly and retains it well, ensuring consistent cooking across the entire surface. If you’re using a stainless steel pan, be sure to preheat it longer and oil it more generously to prevent sticking.
Keep the Batter Slightly Lumpy
A perfectly smooth batter can actually hinder the formation of the characteristic holes. A few lumps give the batter structure, allowing steam to escape and create those airy pockets.
Creative Twists and Variations
This recipe is a playground. Here are some of my favorite ways to switch things up:
Cheesy Crumpets
Fold in a cup of shredded cheddar and a handful of chives into the batter before cooking. The cheese melts into gooey pockets, while the chives add a fresh, herbal note. These are perfect for a savory brunch.
Herb‑Infused Crumpets
Add a tablespoon of chopped rosemary and a pinch of thyme to the dry mix. The aromatic herbs give the crumpets a fragrant, earthy flavor that pairs wonderfully with a light vinaigrette.
Sweet Cinnamon Crumpets
Stir in a teaspoon of ground cinnamon and a tablespoon of brown sugar into the batter. The cinnamon adds warmth, while the sugar deepens the caramelization on the crust. Serve with a dusting of powdered sugar.
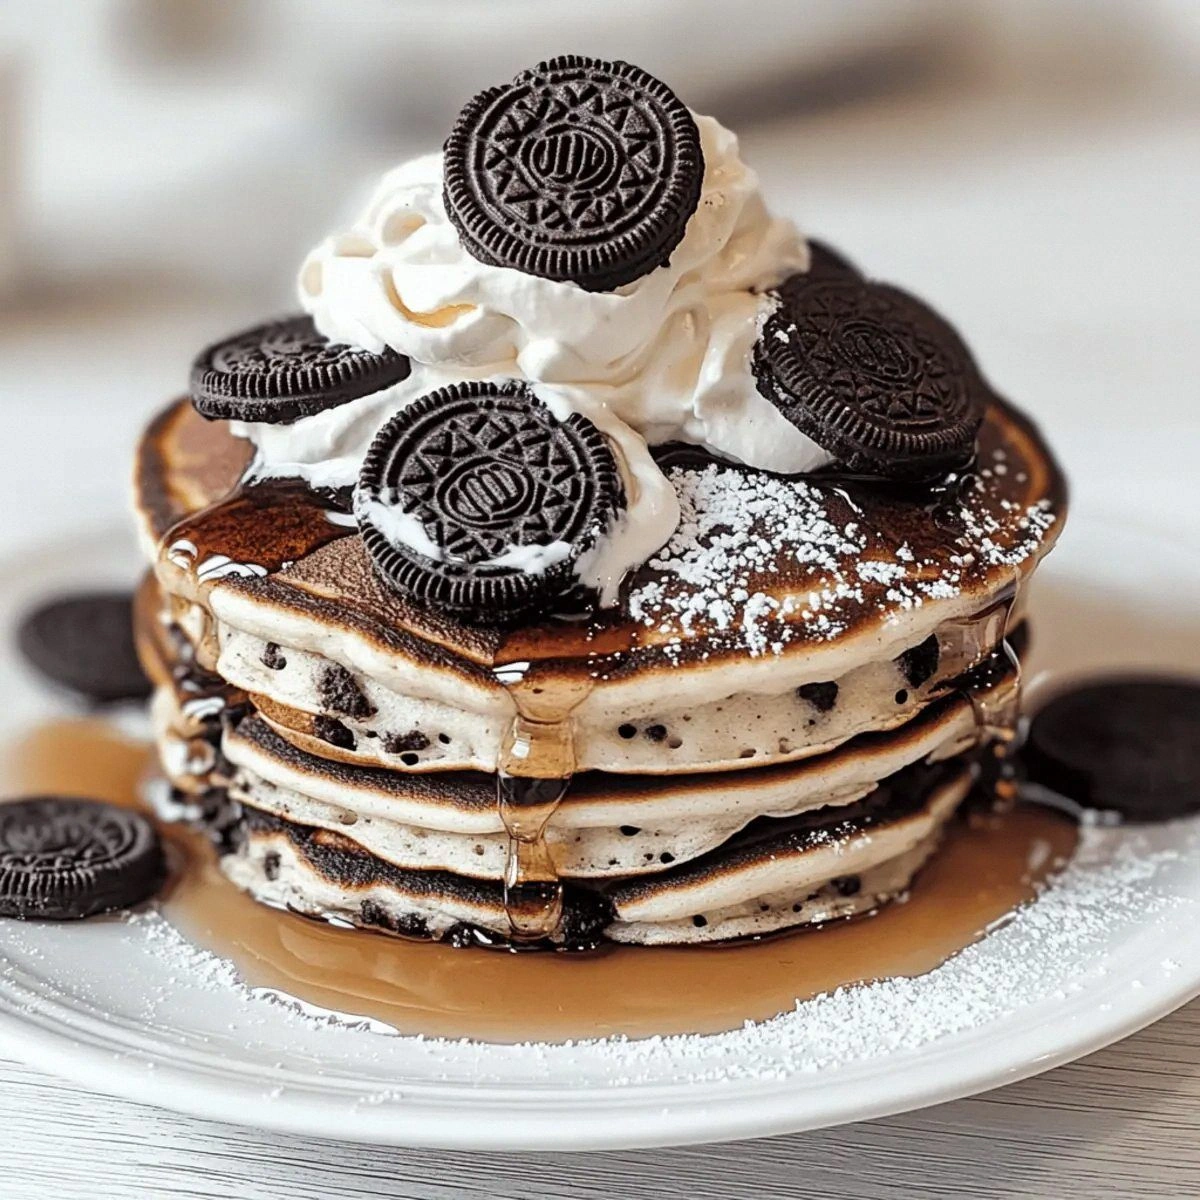
Chocolate‑Chip Crumpets
Fold in a handful of semi‑sweet chocolate chips after the batter has rested. The chips melt into pockets of chocolatey goodness, turning each bite into a decadent treat.
Blueberry Crumpets
Gently fold fresh blueberries into the batter, then sprinkle a little extra flour to absorb excess moisture. The blueberries burst with juice, offering a burst of natural sweetness that’s hard to resist.
Gluten‑Free Crumpets
Replace the all‑purpose flour with a gluten‑free blend that includes xanthan gum. Use a combination of baking soda and baking powder to provide the necessary lift. The result is a light, airy crumpet that’s safe for gluten‑sensitive diners.
Storing and Bringing It Back to Life
Fridge Storage
Cool the crumpets completely, then wrap them tightly in plastic wrap or place them in an airtight container. They’ll stay fresh for up to three days in the refrigerator. When you’re ready to eat, simply toast them on a skillet for a minute on each side.
Freezer Friendly
After cooling, stack the crumpets with parchment paper between each layer, then seal them in a freezer bag. They can be frozen for up to two months. Thaw at room temperature, then reheat on a skillet or in a toaster oven.
Best Reheating Method
Reheat frozen or chilled crumpets by lightly sprinkling a tiny splash of water on the surface before warming on a skillet. The water steams the interior, restoring its soft, spongy texture while the crust stays crisp. A quick 30‑second burst in a toaster oven also works wonders.