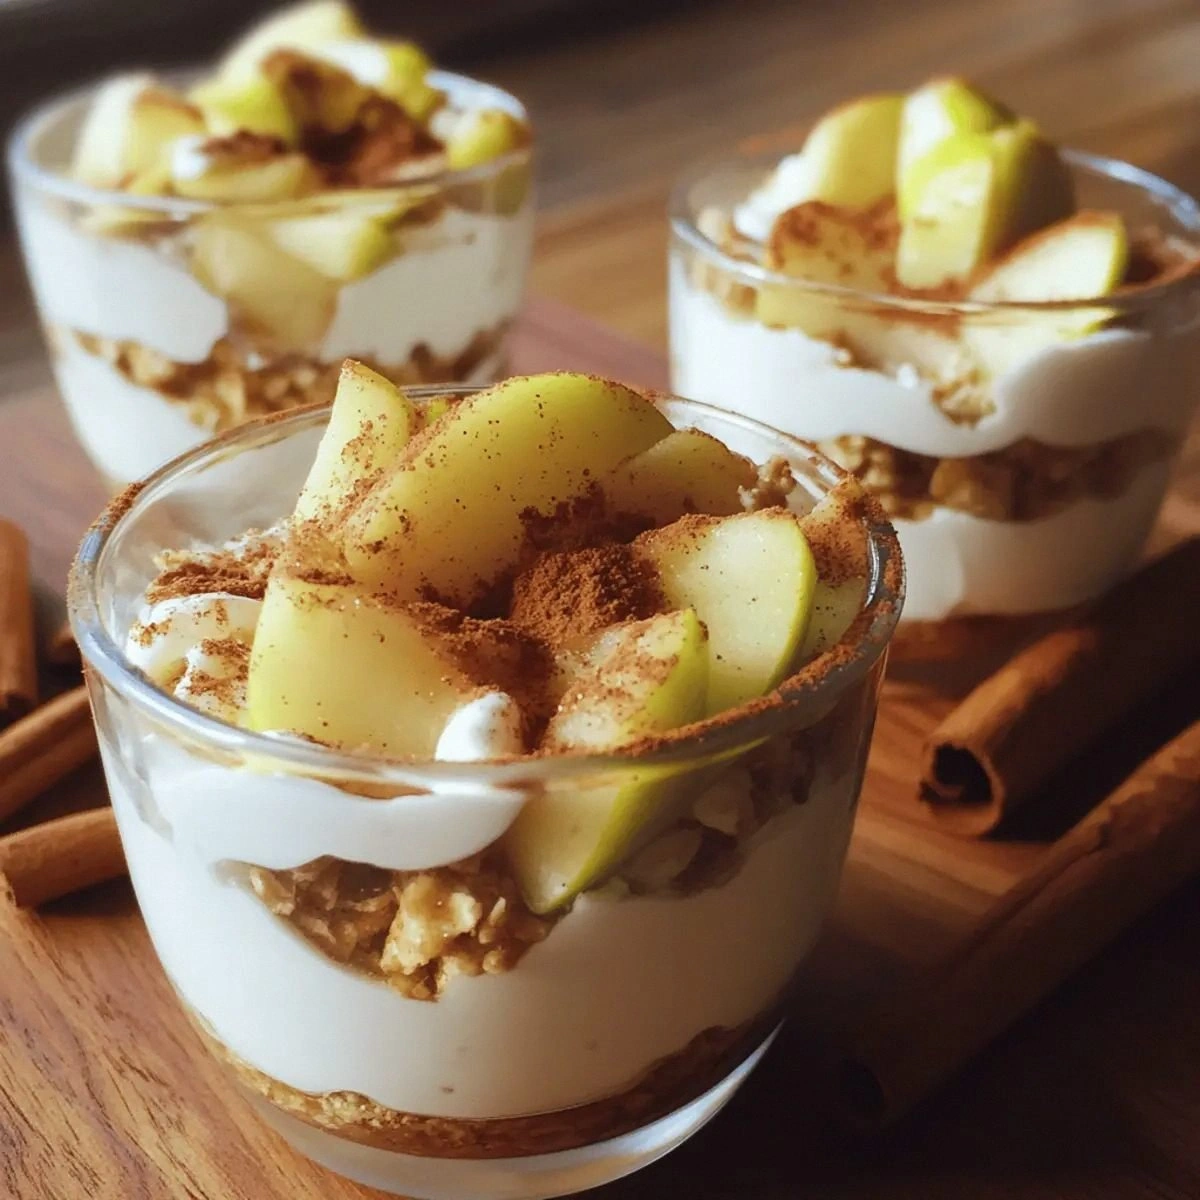
Remember that night when the kitchen fire alarm rang and I was scrambling to salvage what I could? I had a bowl of almond butter, a jar of honey, and a handful of collagen peptides that were about to go to waste. I stared at the countertop, thinking, “If I can turn this into something that tastes like a chocolate brownie, I can save my dinner and my sanity.” And so I dove in, whisking, measuring, and daring my taste buds to be amazed. The result was a glossy, fudgy bite that melted in the mouth like a secret. That moment taught me that culinary disasters can be the gateway to delicious discoveries.
Picture this: the aroma of cocoa powder and honey swirling together, the gentle hum of the blender, the soft crackle of a spoon against a bowl. The almond butter thickens, its nutty scent filling the air, while the honey adds a golden sheen. You can almost taste the subtle sweetness before you even take a bite. The texture feels velvety, like a chocolate mousse that holds its shape when pressed. The chocolate chips give tiny bursts of crunch, reminiscent of a classic brownie bite. It’s a sensory symphony that makes your kitchen feel like a chocolate laboratory.
What sets this version apart is that every ingredient is chosen for its health kick and flavor punch. The collagen peptides boost protein without the chalky aftertaste of whey. The flaxseed meal adds omega‑3s and a gentle nutty undertone that pairs perfectly with cocoa. The oat flour keeps the batter cohesive while adding a subtle graininess that mimics the crumb of a real brownie. The mini chocolate chips are a playful nod to tradition, but the crunchy texture is a game‑changer. Together, they create a bite that is indulgent yet mindful.
I dare you to taste this and not go back for seconds, because the first bite will have you questioning your entire dessert repertoire. This is hands down the best version you'll ever make at home, and it requires no oven or fancy gadgets. The secret is in the no‑bake technique that locks in flavor while preserving nutrients. I’ll be honest — I ate half the batch before anyone else got to try it. Most recipes get this completely wrong by overmixing or adding too much liquid. Picture yourself pulling this out of the fridge, the whole kitchen smelling incredible, and knowing you’ve just created a crowd‑pleaser.
What Makes This Version Stand Out
- Taste: The combination of honey, cocoa, and almond butter delivers a rich, deep chocolate flavor that satisfies sweet cravings without sugar overload. The natural sweetness of honey balances the bitterness of cocoa, while the almond butter adds a subtle nutty undertone that keeps the flavor profile complex. Skipping honey would leave the batter too dry and unbalanced, so keep the golden drizzle. The result is a bite that feels decadent yet clean. It’s the kind of flavor that makes you reach for another bite without guilt.
- Texture: The collagen peptides and oat flour create a fudgy yet firm bite that holds its shape, while the chocolate chips add a satisfying crunch. The collagen gives a smooth, silk‑like mouthfeel that mimics the chew of a traditional brownie. The oat flour adds structure and a slight graininess that gives each bite a satisfying bite. If you omit the oat flour, the mixture becomes too loose and will spread. The texture is the backbone of the experience, turning a simple mixture into a gourmet treat.
- Nutrition: Each bite packs protein, healthy fats, and fiber, making it a balanced snack that keeps you full longer. The collagen peptides are a powerhouse of amino acids that support joint health, skin, and muscle repair. The almond butter supplies monounsaturated fats that are heart‑healthy, and the flaxseed meal contributes omega‑3s. The honey offers natural sugars for quick energy. Together, they create a snack that feels indulgent but is also a nutritional powerhouse.
- Convenience: No oven, no waiting, just blend, chill, and serve; perfect for busy mornings or instant dessert cravings. The entire process takes less than 15 minutes, and you can prepare the batter in advance. The no‑bake method eliminates the need for heat, making it safe for kids and a low‑energy option. The quick turnaround means you can enjoy a fresh treat in a flash. It’s the ultimate time‑saver for anyone who loves chocolate but hates the wait.
- Versatility: Swap almond butter for peanut or cashew, or add a dash of espresso for an extra kick; the base adapts easily. The flavor base is forgiving, so you can experiment with different nut butters or add spices like cinnamon or cayenne. The chocolate chips can be replaced with white chocolate or dark chocolate for a different profile. This flexibility allows you to tailor the recipe to dietary preferences or seasonal ingredients. The result is always delicious, no matter the variation.
- Make‑Ahead: Store in the fridge for up to a week or freeze for a month; reheating is a breeze. The texture holds up well when refrigerated, and the flavors deepen with time. If you freeze, thaw in the fridge overnight and give them a quick stir before serving. The no‑bake nature means they can be made in bulk and enjoyed throughout the week. This makes them a perfect pre‑packed snack for work or school.
- Presentation: The glossy finish and flaky sea salt rim give a professional look that impresses guests. The shiny surface catches the light, while the sea salt adds a subtle crunch that contrasts with the fudgy interior. A quick dusting of cocoa powder or a drizzle of melted dark chocolate can elevate the look further. The bite‑sized portions are perfect for sharing or for a personal treat. The aesthetic is as pleasing as the taste.
Alright, let's break down exactly what goes into this masterpiece…
Inside the Ingredient List
The Flavor Base
Almond butter is the heart of the batter, providing a creamy, nutty foundation that carries the cocoa’s richness. Its natural oils keep the mixture moist and give it a silky texture that feels luxurious. If you skip it, the mixture will be too thin and lack depth. For those with nut allergies, you can substitute with sunflower seed butter, but the flavor profile will shift slightly. When buying almond butter, look for unsweetened, natural varieties to keep the sugar count low. The thicker the butter, the more body the bites will have.
Honey adds a natural sweetness that balances the bitterness of cocoa while also acting as a binder. It brings a golden sheen and a subtle floral note that elevates the overall taste. Without honey, the mixture would be dry and the flavor would lean too much toward the chocolate. If you’re avoiding honey, maple syrup or agave nectar can be used, but they introduce their own distinct flavors. The amount of honey can be tweaked to taste; a touch more can make the bites feel sweeter, while less will emphasize the nutty undertones.
Unsweetened cocoa powder is the soul of any brownie. It provides the deep chocolate flavor and a slight bitterness that balances the sweetness. The powder also contributes a small amount of antioxidants, adding a health benefit. If you’re using sweetened cocoa, you’ll need to reduce the honey to avoid overpowering sweetness. A high‑quality Dutch‑process cocoa will give you a smoother finish, while natural cocoa will have a sharper bite.
The Protein Powerhouse
Collagen peptides are the protein source that gives these bites a muscle‑supporting kick without the chalky aftertaste of whey. They dissolve cleanly in the almond butter, creating a smooth texture that’s almost invisible. Skipping collagen would reduce the protein content dramatically and leave the bite less satisfying. If you’re vegan, pea or soy protein isolate can be used, but they’ll alter the flavor slightly. Collagen is best sourced from grass‑fed bovine or marine origins for purity and taste.
Flaxseed meal adds omega‑3 fatty acids and a subtle nutty flavor that complements the almond butter. It also acts as a natural thickener, giving the mixture a more cohesive structure. If you omit flaxseed, the batter might be a bit runny and the texture less firm. Ground chia seeds can be a substitute, providing similar benefits but with a slightly different crunch. The meal should be freshly ground for maximum freshness and nutrient availability.
The Texture Crew
Oat flour is a surprising hero that brings a subtle graininess and binds the mixture together. Its mild flavor doesn’t overpower the chocolate, but it gives the bites a chewy bite that mimics a real brownie crumb. Without oat flour, the mixture would spread too much and lose its shape. You can replace it with almond flour for a lower carb option, but the texture will shift to be denser. When purchasing oat flour, choose a fine, dust‑free variety for best results.
Mini chocolate chips are the final flourish that adds bursts of chocolatey joy. They provide a contrasting texture, making each bite a delightful mix of fudgy and crunchy. If you prefer a smoother bite, you can melt the chips into the batter, but you’ll lose the textural pop. For a healthier option, opt for dark chocolate chips with at least 70% cacao. The chips should be added just before the final mix to keep them from melting.
The Final Flourish
Flaky sea salt is the finishing touch that balances sweetness and brings a savory depth to the bite. A light sprinkle on top adds a satisfying crunch and elevates the overall flavor profile. If you’re watching sodium, you can reduce the amount or use a low‑sodium alternative. The salt should be added at the very end to prevent it from dissolving into the mixture. It’s a small detail that makes a big difference in taste.
Everything's prepped? Good. Let's get into the real action…

The Method — Step by Step
- Begin by placing the almond butter, honey, and collagen peptides into a sturdy mixing bowl. Use a whisk or a hand mixer to blend until the mixture becomes smooth and glossy, which should take about 2 minutes. The goal is to fully incorporate the honey into the butter, creating a homogeneous base that’s ready for the dry ingredients. If the mixture feels too thick, add a teaspoon of almond milk to loosen it slightly. This step ensures the final texture is silky rather than gritty.
- Sift the unsweetened cocoa powder, flaxseed meal, and oat flour together to prevent lumps. Add this dry blend to the wet mixture, stirring slowly to avoid aeration. The dry ingredients should absorb the moisture, thickening the batter into a dense, fudgy consistency. Keep stirring until no dry pockets remain. The batter should feel thick enough to hold its shape when scooped.
- Now it’s time for the chocolate chips. Gently fold them into the batter, ensuring an even distribution. The chips should be tucked in, not floating on top. This step is crucial for achieving that delightful crunch in every bite. A good technique is to use a spatula to push the chips into the batter as you fold. The mixture should look speckled with chocolate, ready for the final touch.
- Before adding the sea salt, sprinkle a pinch of flaky sea salt over the top of the batter. This ensures the salt is distributed evenly across all bites, preventing any one piece from being overly salty. The flaky salt will also add a subtle crunch when bitten. If you prefer a less salty version, reduce the amount to a light dusting. The salt should be added just before the final step to preserve its texture.
- Line a baking dish with parchment paper or a silicone mat. Spoon the batter into the dish, using a spatula to smooth the surface. Press the mixture gently into a uniform layer, about 1 inch thick. This helps the bites maintain their shape when cut. The surface should be flat and even, ready for chilling.
- Refrigerate the dish for at least 30 minutes, or until the mixture is firm enough to cut. If you’re in a hurry, a quick 15‑minute chill will still firm up the batter, but the texture may be slightly softer. Once set, cut the mixture into bite‑sized squares using a sharp knife. Store the bites in an airtight container in the fridge for up to a week.
- For an extra touch, drizzle a thin line of melted dark chocolate over each bite before serving. This adds a glossy finish and a hint of bitterness that balances the sweetness. Alternatively, you can dust the top with a little cocoa powder for a more rustic look. Serve immediately or keep chilled for a refreshing treat. Enjoy the moment of pure indulgence as the chocolate melts in your mouth.
That's it — you did it. But hold on, I've got a few more tricks that'll take this to another level…
Insider Tricks for Flawless Results
The Temperature Rule Nobody Follows
Many people think room temperature is fine for no‑bake recipes, but the temperature of your almond butter and honey matters. Keeping them at 70°F (21°C) ensures they mix smoothly without clumping. If the butter is too cold, it will harden, making the mixture lumpy and hard to stir. If it’s too warm, the honey may separate, leaving a watery batter. A quick test: place a small spoonful in the fridge; if it firms up in a minute, you’re ready to mix. This trick guarantees a silky texture every time.
Why Your Nose Knows Best
When you’re halfway through mixing, pause and sniff the batter. A faint nutty aroma signals that the almond butter has blended properly. If the scent is flat, you’re missing the nutty depth, and the bite will taste bland. A strong chocolate scent indicates the cocoa has fully incorporated. Smell is a quick, reliable indicator that the batter is on track, saving you from a flavor mishap later.
The 5‑Minute Rest That Changes Everything
After folding in the chocolate chips, let the batter rest for 5 minutes before adding the sea salt. This brief pause allows the flavors to marry and the mixture to settle. It also prevents the chips from sinking to the bottom, ensuring even distribution. If you rush this step, the chips may clump together, creating uneven bites. The 5‑minute rest is a small investment that pays off in consistent texture.
Keep the Chips From Melting
Chocolate chips can soften if the batter is too warm or if you add them too early. To keep them firm, add them just before the final fold. This limits their exposure to the warm mixture. If you prefer a slightly melted texture, melt the chips in a double boiler and fold them in, but be ready for a different mouthfeel. The choice depends on whether you want crunch or a gooey center.
Portion Control for Weight Management
Each bite should weigh about 20 grams for a balanced snack. Use a kitchen scale to weigh your portions if you’re serious about macros. If you’re watching calories, you can halve the amount of honey or use a sugar‑free alternative. Portion control is key for maintaining a healthy diet while still enjoying indulgent treats. Remember, the goal is to satisfy cravings without overindulging.
Remember, a few small adjustments can elevate your brownies from good to legendary.
Creative Twists and Variations
Nutty Explosion
Stir in a handful of chopped walnuts or pecans for an extra crunch and nutty depth. The added nuts introduce a buttery flavor that complements the almond butter. This variation is perfect for those who love a more complex texture. It also adds healthy fats and protein, boosting the nutritional profile. Just make sure to toast the nuts lightly for a caramelized finish.
Minty Fresh
Drop a few drops of peppermint extract into the batter for a cool, refreshing twist. The mint pairs beautifully with chocolate, creating a balanced flavor. Use it sparingly, as peppermint can overpower the chocolate if overused. This version is ideal for summer afternoons or as a palate cleanser after a heavy meal.
Espresso Kick
Incorporate a teaspoon of espresso powder to give the bites a subtle coffee flavor. The espresso enhances the chocolate’s depth and adds a slight bitterness that balances the sweetness. This variation is great for coffee lovers and pairs well with a latte or cappuccino. The coffee note also helps the bites feel more adult and sophisticated.
Coconut Cream
Replace almond butter with coconut butter for a tropical twist. The coconut adds a sweet, creamy flavor that pairs well with chocolate. The texture remains fudgy, but the flavor profile shifts to a beach‑y vibe. This version is also dairy‑free, making it suitable for vegans and those with nut allergies.
Spiced Delight
Add a pinch of cinnamon, nutmeg, and a dash of cayenne for warmth and a hint of heat. The spices bring a comforting aroma that transforms the bites into a cozy treat. This variation works wonderfully during fall and winter, pairing well with a mug of hot chocolate. The spices also provide antioxidant benefits and a subtle spice kick.
Vegan Protein Boost
Swap collagen peptides for pea protein isolate to make the recipe fully vegan. The pea protein provides a neutral flavor that blends seamlessly with the almond butter. This change keeps the protein content high while ensuring the recipe is plant‑based. Just be mindful of the texture; pea protein can slightly thicken the batter, so adjust the liquid accordingly.
The beauty of this recipe is its modularity; you can remix it to fit any palate or dietary need.
Storing and Bringing It Back to Life
Fridge Storage
Place the brownies in an airtight container and store them in the refrigerator. They will stay fresh for up to seven days, maintaining their fudgy texture. If you notice any drying, add a tiny splash of almond milk before reheating. The fridge keeps the chocolate chips firm, preventing them from melting into the batter. For a quick snack, simply grab a bite straight from the fridge.
Freezer Friendly
For long‑term storage, wrap each bite individually in parchment paper and place them in a freezer bag. They will remain good for up to a month. Thaw at room temperature for 15 minutes before serving. The freezing process preserves the flavor and texture, so the bites taste just as good when freshly made. This method is ideal for meal prep or when you want a ready‑to‑eat dessert.
Best Reheating Method
To revive a chilled bite, microwave it on medium power for 10-12 seconds. The heat will soften the interior while keeping the exterior firm. Alternatively, place the bites on a microwave‑safe plate and heat for 8 seconds, then let them sit for a minute. The quick heat restores the chocolate’s glossy finish without making the bite soggy. A quick dip in hot water can also steam the interior, giving a warm, gooey center.
With these storage tips, you’ll always have a chocolate protein bite ready whenever the craving hits.
With these steps, you’ve mastered the art of the chocolate protein brownie bite. The next time someone asks for a quick dessert, you’ll have a ready‑made, protein‑packed treat that’s both indulgent and healthy. Keep experimenting, keep sharing, and enjoy every bite.