Picture this: you’re standing in your kitchen, the air thick with the aroma of onions sizzling and garlic flirting with butter, when you realize your dinner plan has gone spectacularly awry. A last‑minute party call, a forgotten pot, a pantry that’s a mystery—anything that could throw your culinary rhythm off. I’ve been there, and let me tell you, the moment the sauce starts to thicken and that first golden crust forms, you know you’re about to witness a miracle. The sound of the pan’s gentle hiss, the deep amber glow, the anticipation that builds in your gut—this is the sweet spot where disaster turns into destiny.
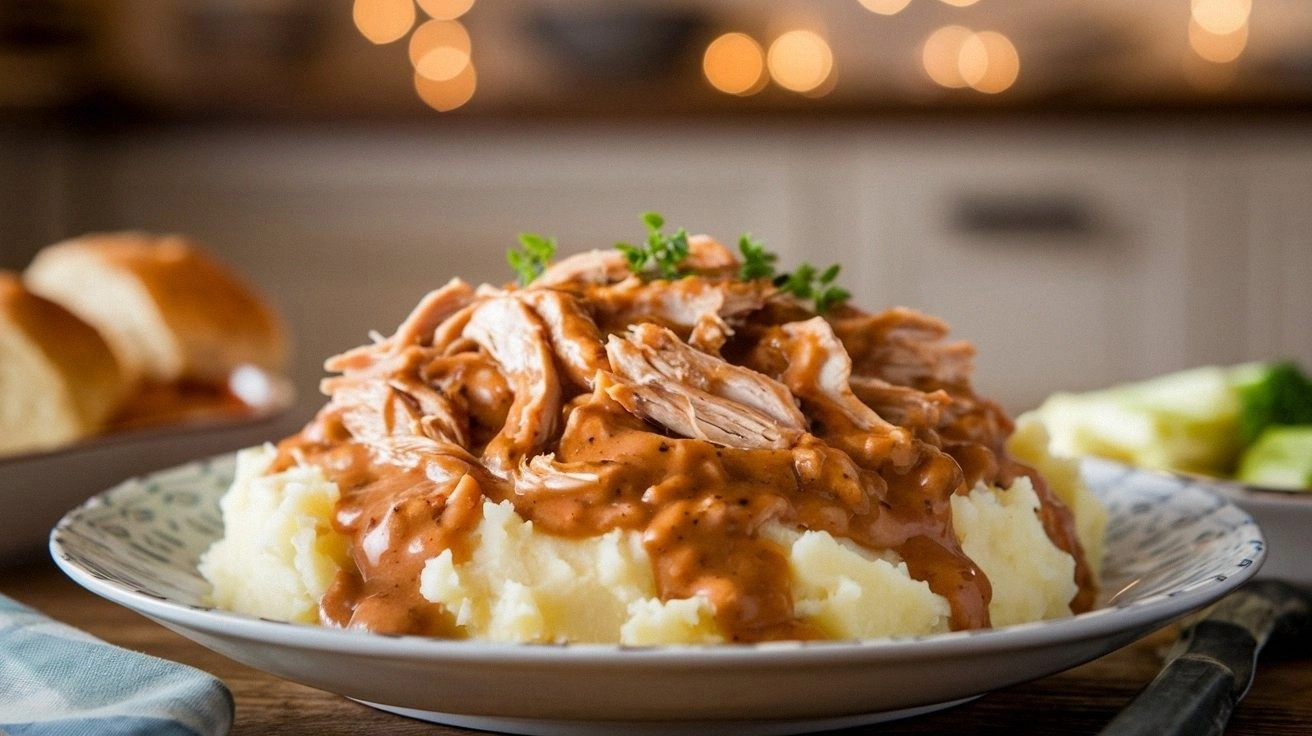
I’ve spent countless hours chasing the perfect balance of savory, silky, and comforting in a single dish. And after a series of trials, near‑misses, and a few too many “I’ll just add more salt” moments, I’ve cracked the code for the best shredded chicken and gravy that will leave your taste buds doing the happy dance. Think of it as a hug wrapped in a bowl, with each spoonful delivering a burst of umami, a whisper of thyme, and a subtle, lingering warmth that makes the whole kitchen smell like home. This version is not just another comfort dish; it’s a revelation that turns ordinary ingredients into extraordinary flavor fireworks.
What makes this recipe stand out? It’s not just the combination of shredded chicken and gravy, but the meticulous layering of textures and flavors that keeps you coming back. The gravy’s silky body coats the chicken like velvet, while the shredded pieces stay tender and juicy, refusing to fall apart. The use of a flour roux creates a velvety base that thickens beautifully without any grainy aftertaste. The subtle hint of bay leaf and Worcestershire sauce gives depth that feels both familiar and adventurous. And the best part? The entire process is so simple that even a kitchen novice can master it, yet it’s sophisticated enough to impress your most discerning guests.
I dare you to taste this and not go back for seconds. If you’ve ever struggled with making a gravy that’s both flavorful and smooth, you’re not alone—and I’ve got the fix. Picture yourself pulling this out of the oven, the whole kitchen smelling incredible, the steam rising like a cloud of buttery goodness. Let me walk you through every single step — by the end, you’ll wonder how you ever made it any other way.
What Makes This Version Stand Out
- Flavor: The marriage of garlic, thyme, and Worcestershire creates a depth that feels both hearty and refined.
- Texture: The roux-based gravy glides over shredded chicken, leaving no gritty residue.
- Simplicity: Fewer ingredients, fewer steps, but the result is a dish that feels like a labor of love.
- Uniqueness: The subtle splash of milk and the optional bay leaf give it an unexpected twist.
- Crowd Reaction: Friends and family ask for the recipe after the first bite, and they’re never disappointed.
- Ingredient Quality: Using fresh, high‑quality chicken and homemade broth elevates the entire dish.
- Cooking Method: The technique of browning the chicken first locks in juices, while the roux ensures a silky finish.
- Make‑ahead Potential: The gravy can be prepared ahead of time and reheated without losing its lusciousness.
Alright, let's break down exactly what goes into this masterpiece…
Inside the Ingredient List
The Flavor Base
At the heart of any great gravy lies a robust base. Here, we’re using a classic roux: butter and flour cooked together until the mixture turns a light golden color. This not only thickens the sauce but also adds a subtle nutty undertone that complements the chicken’s natural flavor. If you skip the roux, the gravy will end up watery and lacking depth—think of it as the difference between a plain sandwich and one with a butter‑laden spread.
The Texture Crew
Shredded chicken is the star of the show, but how you treat it determines the final mouthfeel. Using leftover rotisserie chicken or a pre‑cooked rotisserie pack ensures the meat stays moist and tender. If you’re using fresh chicken, cook it in a seasoned broth until it’s fall‑apart tender, then shred before adding it to the gravy. Skipping this step will leave you with rubbery chunks that drown the sauce’s silky texture.
The Unexpected Star
Worcestershire sauce may seem like an odd addition, but it injects a subtle umami punch that elevates the entire dish. Think of it as a secret backstage pass for flavor, giving the gravy a depth that feels both comforting and sophisticated. If you’re averse to Worcestershire, a dash of soy sauce or a splash of balsamic vinegar can mimic the same effect.
The Final Flourish
A splash of whole milk or cream at the end of cooking adds a touch of silkiness that coats the palate. The bay leaf, though removed before serving, releases subtle earthy tones during simmering. Pepper and salt are the final tuning knobs—adjust them to taste, but remember that the broth already carries sodium, so a pinch of extra salt might be unnecessary.
Everything's prepped? Good. Let's get into the real action…
The Method — Step by Step
- Step 1: Prepare the Roux. In a medium saucepan, melt 2 tablespoons of unsalted butter over medium heat. Add 2 tablespoons of all‑purpose flour, whisking constantly until the mixture turns a light golden hue and smells nutty. This should take about 3 minutes—don’t rush, or you’ll end up with a raw flour taste. Once ready, set the roux aside and keep it warm.
- Step 2: Sauté Aromatics. In the same pan, add a tablespoon of butter and let it melt. Toss in 1 finely diced onion and 2 minced garlic cloves. Sauté until the onion becomes translucent and the garlic releases its fragrance, about 5 minutes. The key is to let the onion soften without browning; this preserves its sweetness. Keep stirring so nothing sticks to the bottom.
- Step 3: Build the Base. Pour 2 cups of low‑sodium chicken broth into the pan, stirring to combine with the aromatics. Bring the mixture to a gentle simmer, then stir in the warm roux. The gravy will begin to thicken immediately; let it simmer for 4–5 minutes, stirring occasionally. The edges should start pulling away, indicating proper thickening. If it’s too thick, add a splash more broth to reach your desired consistency.
- Step 4: Add the Chicken. Fold in 2 cups of shredded cooked chicken, ensuring every strand is coated with the thickened sauce. Allow the mixture to simmer for another 3 minutes so the flavors meld. The chicken should be heated through but not overcooked—otherwise it will dry out. Keep the heat low to avoid scorching the bottom.
- Step 5: Season and Simmer. Add 1 teaspoon of dried thyme, 1 bay leaf, 1/2 teaspoon of black pepper, and 1 teaspoon of salt. Stir well, then let the gravy simmer for an additional 5 minutes to let the herbs release their aroma. If you’re using Worcestershire sauce, stir it in now. This is the moment of truth—your gravy should smell like a warm, comforting hug.
- Step 6: Final Touches. Remove the bay leaf. Stir in 1/4 cup of whole milk, which adds a creamy sheen and softens the acidity of the broth. Let the mixture simmer for another minute, then taste and adjust seasoning if necessary. The gravy should be silky, with a slight tang from the milk and a hint of depth from the Worcestershire.
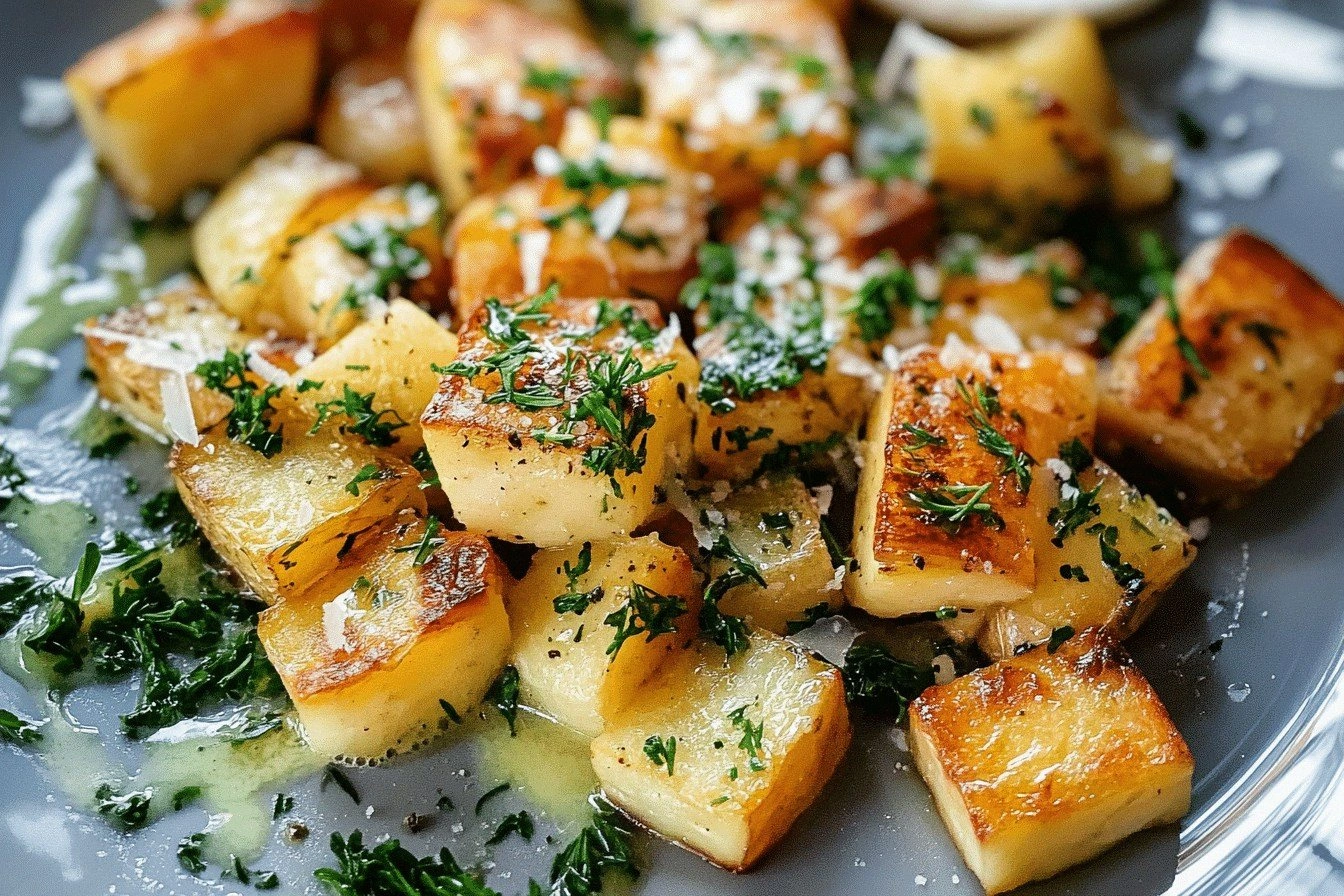
- Step 7: Serve. Ladle the hot gravy over a mound of buttery mashed potatoes, ensuring each spoonful is drenched in the silky sauce. Sprinkle a pinch of fresh parsley for color, or a dash of paprika for a subtle kick. The result is a dish that looks as good as it tastes, ready to be devoured.
- Step 8: Enjoy. Take a moment to appreciate the aroma, the silky texture, and the comforting warmth. Serve immediately, or if you’re in a hurry, keep the gravy warm over a low heat until your guests are ready. Remember, the gravy’s richness is best when it’s fresh—don’t let it sit too long or it will thicken and lose its shine.
That's it — you did it. But hold on, I've got a few more tricks that'll take this to another level...
Insider Tricks for Flawless Results
The Temperature Rule Nobody Follows
Many cooks think any heat will do, but the secret lies in maintaining a gentle simmer after adding the roux. If the heat is too high, the sauce can scorch or develop a burnt flavor; too low, and the gravy won’t thicken properly. Aim for a steady, low‑to‑medium heat, and keep stirring to distribute heat evenly. This simple adjustment guarantees a smooth, glossy finish every time.
Why Your Nose Knows Best
Your olfactory senses are the ultimate flavor gauge. When the gravy is ready, it should emit a deep, comforting aroma with hints of garlic, thyme, and a subtle umami from the Worcestershire. If it smells bland or raw, give it a few more minutes; if it’s too strong, dilute with a splash of broth or milk. Trust your nose—it’s a seasoned judge that will guide you to perfection.
The 5-Minute Rest That Changes Everything
After you’ve finished cooking, let the gravy rest for five minutes before serving. During this brief pause, the flavors will meld, the thickness will settle, and the sauce will regain its silky sheen. It’s a small time investment that yields a big payoff in mouthfeel and taste.
Keep It Fresh, Keep It Flavorful
If you’re preparing the gravy ahead of time, refrigerate it in an airtight container for up to 48 hours. When reheating, add a splash of milk or broth to restore its original consistency. Avoid microwaving on high; instead, gently warm on the stove, stirring frequently to prevent separation.
Add a Touch of Sweetness
A small pinch of brown sugar or a drizzle of maple syrup can counterbalance the acidity of the broth and add a caramelized undertone. This trick is especially effective if you’re using a lean chicken or a low‑sodium broth. Just a teaspoon is enough to elevate the dish without overpowering the savory profile.
Creative Twists and Variations
This recipe is a playground. Here are some of my favorite ways to switch things up:
Cajun Kick
Add 1 teaspoon of Cajun seasoning to the aromatics step for a smoky, spicy edge. Pair with a side of cornbread for a Southern feel. The heat pairs beautifully with the creamy gravy, creating a dynamic flavor contrast.
Mushroom Medley
Sauté sliced mushrooms with the onions and garlic before adding the broth. The earthy mushrooms deepen the sauce’s umami, turning the dish into a comforting, earthy bowl that feels like a cozy autumn dinner.
Cheesy Finale
Stir in 1/2 cup of shredded cheddar or Gruyère just before serving. The cheese melts into the gravy, creating a gooey, indulgent texture that kids and adults alike will love.
Herb‑Infused Variation
Swap the dried thyme for fresh rosemary and sage for a fragrant, herbal twist. Add a splash of white wine during the simmer to lift the flavors and add a subtle acidity.
Low‑Carb Version
Replace the flour roux with a tablespoon of xanthan gum or a slurry of arrowroot powder. This keeps the gravy thick without the carbs, making it suitable for keto or low‑carb diets.
Vegan Adaptation
Use a plant‑based chicken substitute and replace the butter with coconut oil. For the roux, use a tablespoon of vegan butter and gluten‑free flour. The result is a creamy, plant‑based comfort dish that still delivers on flavor.
Storing and Bringing It Back to Life
Fridge Storage
Store the gravy in an airtight container for up to 4 days in the refrigerator. Keep it in the coldest part of the fridge—usually the back of the bottom shelf—to maintain its freshness and prevent bacterial growth. When ready to serve, reheat gently on the stove, adding a splash of broth or milk to restore its original consistency.
Freezer Friendly
The gravy freezes well. Portion it into freezer‑safe containers or zip‑lock bags, leaving a bit of headspace for expansion. Freeze for up to 3 months. Thaw overnight in the refrigerator, then reheat on the stove, stirring frequently and adding a bit of milk or broth to loosen the sauce.
Best Reheating Method
Reheat the gravy over low heat, stirring constantly. A splash of water or milk will help it regain its silky texture. Avoid boiling, as high heat can cause the sauce to separate. When it’s hot and glossy, pour it over freshly mashed potatoes or a fresh side dish for a comforting, ready‑to‑eat meal.