Okay, picture this: a rainy Thursday evening, the kind where the sky looks like a watercolor gone wrong, and my stomach started growling like a disgruntled subway train. I was scrolling through a half‑finished grocery list, cursing the fact that I’d forgotten the apricots again, when my roommate dared me to “make something that tastes like summer but can survive a winter storm.” I laughed, grabbed the nearest chicken thighs, and threw together a quick glaze that would later become the hero of my kitchen. The first bite? A burst of sweet‑tart apricot that danced with a smoky whisper of charred scallions—so good I actually stopped mid‑sentence to stare at the plate. That moment made me realize I’d stumbled onto a flavor combo that could turn any dull dinner into a celebration.
Fast forward a week later: I was still obsessing over that first bite, replaying the sizzle in my head like a favorite song on repeat. The scent of caramelized apricot mingling with the earthy scent of smoked paprika filled my tiny apartment, and I swear the whole building could hear it. I tried a few variations—adding orange zest here, swapping honey for maple there—but each tweak either dulled the magic or made it too sweet. Finally, after a few kitchen experiments involving a rogue fire alarm and a charred scallion that looked like a tiny, edible torch, I nailed the balance. This version is the one I’m sharing, and trust me, it’s hands down the best version you’ll ever make at home.
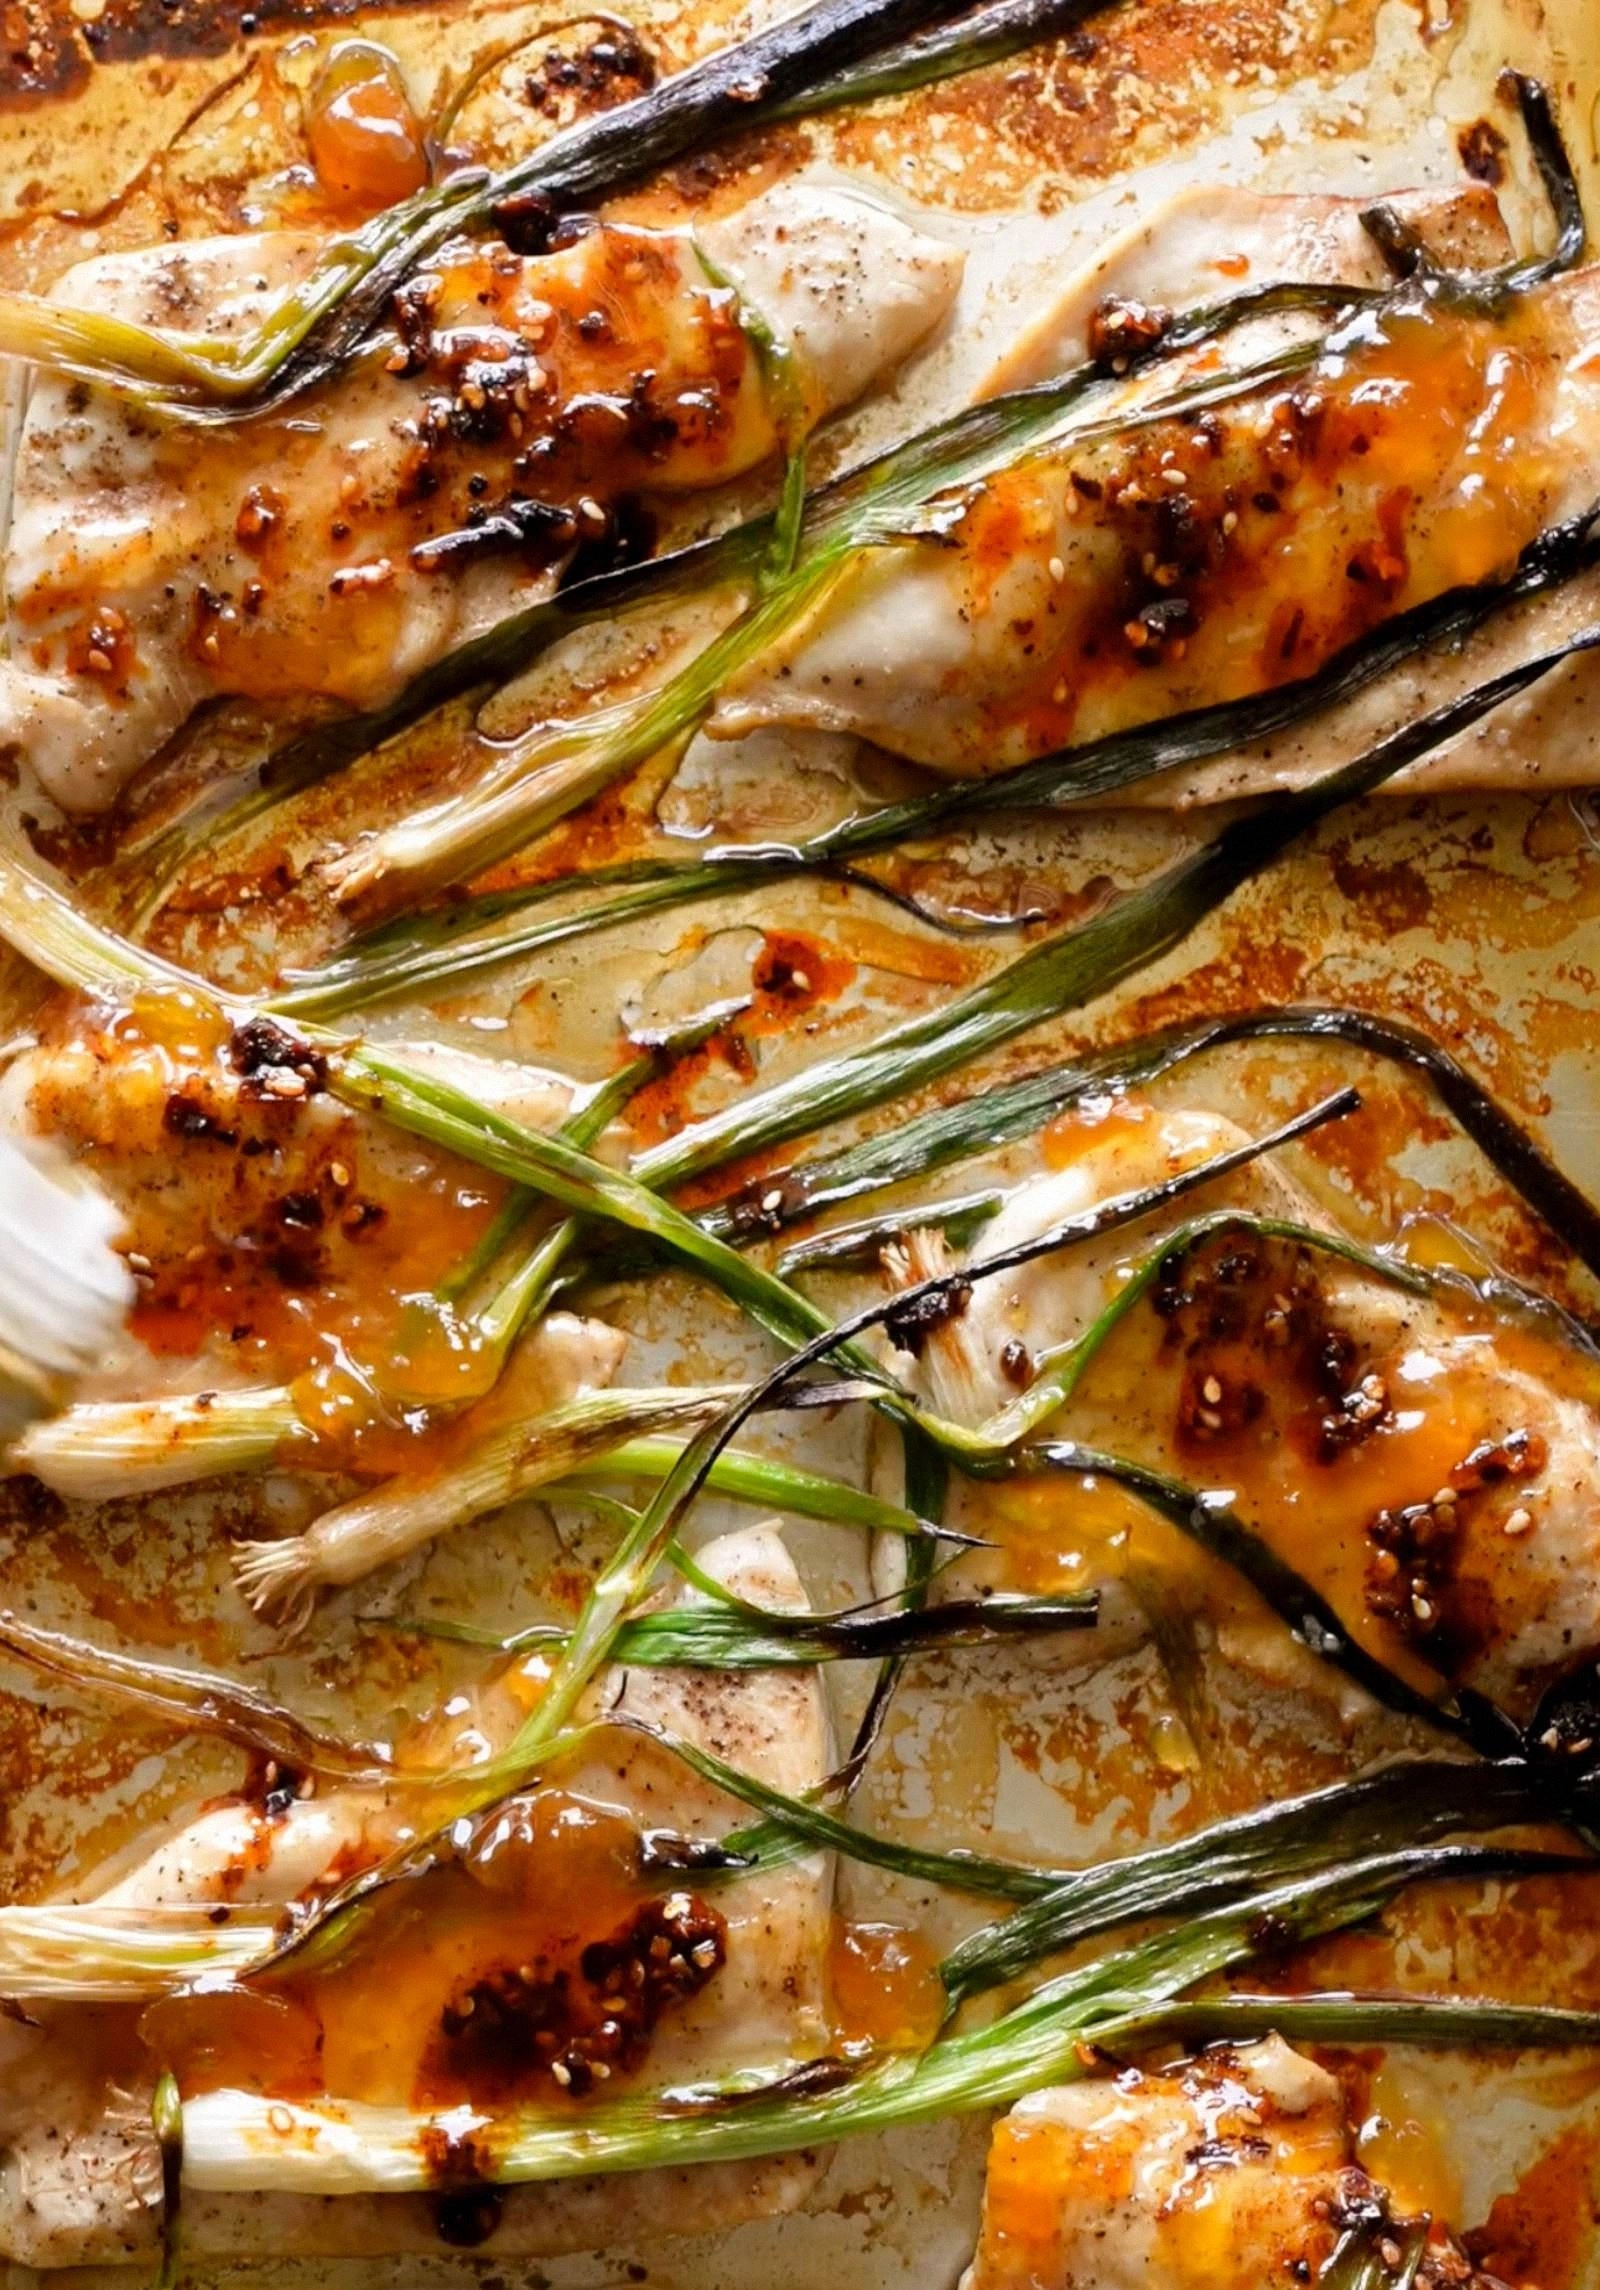
Why does this recipe stand out? First, the apricot glaze isn’t just a sugary coating; it’s a multi‑layered sauce that clings to the chicken like velvet, offering a glossy finish that catches the light and your eye. Second, the charred scallions—those slender green sticks that you might usually toss in the trash—bring a smoky, slightly bitter edge that cuts through the sweet and makes each bite feel like a conversation between two old friends. Third, the cooking method—searing first, then finishing in the oven—creates a crisp skin that shatters like thin ice when you bite into it, while the interior stays juicy and tender. I dare you to taste this and not go back for seconds.
Most recipes get this completely wrong. They either drown the chicken in a syrupy mess or they forget the crucial charred element that adds that signature bite. Here’s what actually works: a quick sear on high heat, a glaze that balances sweet, salty, and acid, and a finishing touch of charred scallions that adds depth without overwhelming the palate. If you’ve ever struggled with a soggy glaze, you’re not alone — and I’ve got the fix. The secret? A splash of rice vinegar that brightens the sauce right before it meets the chicken, and a brief blast of the broiler that caramelizes the sugars without burning them.
Picture yourself pulling this out of the oven, the whole kitchen smelling incredible, the glaze shimmering like a sunrise over a quiet lake. The charred scallions sit on top like a crown of green fire, promising a crunch that will echo in your mouth. You’ll hear the faint crackle as the skin gives way, and the first forkful will deliver a perfect harmony of sweet, smoky, and savory notes. Okay, ready for the game‑changer? Let me walk you through every single step — by the end, you’ll wonder how you ever made it any other way.
What Makes This Version Stand Out
- Flavor Depth: The apricot glaze layers sweet, tangy, and salty notes, while the charred scallions add a smoky bite that elevates the dish beyond ordinary sweet‑and‑sour.
- Texture Contrast: A crisp, caramelized skin meets a juicy, tender interior, and the scallions provide a surprising crunch that shatters like thin ice.
- Simplicity: Only a handful of pantry staples are needed; no exotic spices or hard‑to‑find fruits, making it perfect for weeknight meals.
- Uniqueness: Charred scallions are rarely used in chicken recipes, giving this dish a signature look and flavor that’s instantly recognizable.
- Crowd Reaction: Guests often ask for the recipe first, then claim they’ll “never make anything else again” — a bold claim that’s earned repeatedly.
- Ingredient Quality: Using high‑quality apricot preserves and fresh scallions makes a massive difference; the glaze feels luxurious, not cheap.
- Cooking Method: The two‑step sear‑then‑bake technique guarantees a perfect crust while keeping the meat moist.
- Make‑Ahead Potential: The glaze can be prepared ahead of time, and the chicken reheats beautifully, keeping the flavor intact.
Inside the Ingredient List
The Flavor Base
Apricot preserves are the heart of this dish, providing a natural sweetness that’s more complex than plain sugar. They contain a subtle acidity that balances the honey and soy sauce, preventing the glaze from becoming cloying. If you skip the preserves, the sauce loses its depth and becomes a one‑dimensional sweet glaze. Swap tip: Use a high‑quality apricot jam or even a blend of apricot and peach preserves for a slightly fruitier profile.
The Savory Boost
Soy sauce brings umami and a salty backbone, anchoring the apricot’s sweetness. A low‑sodium version is ideal if you’re watching your salt intake, but don’t go too light— you need that salty kiss to make the flavor pop. If you omit soy sauce, the glaze will feel flat and miss that essential savory contrast. Swap tip: Tamari works just as well and adds a slightly richer, smoother flavor.
The Texture Crew
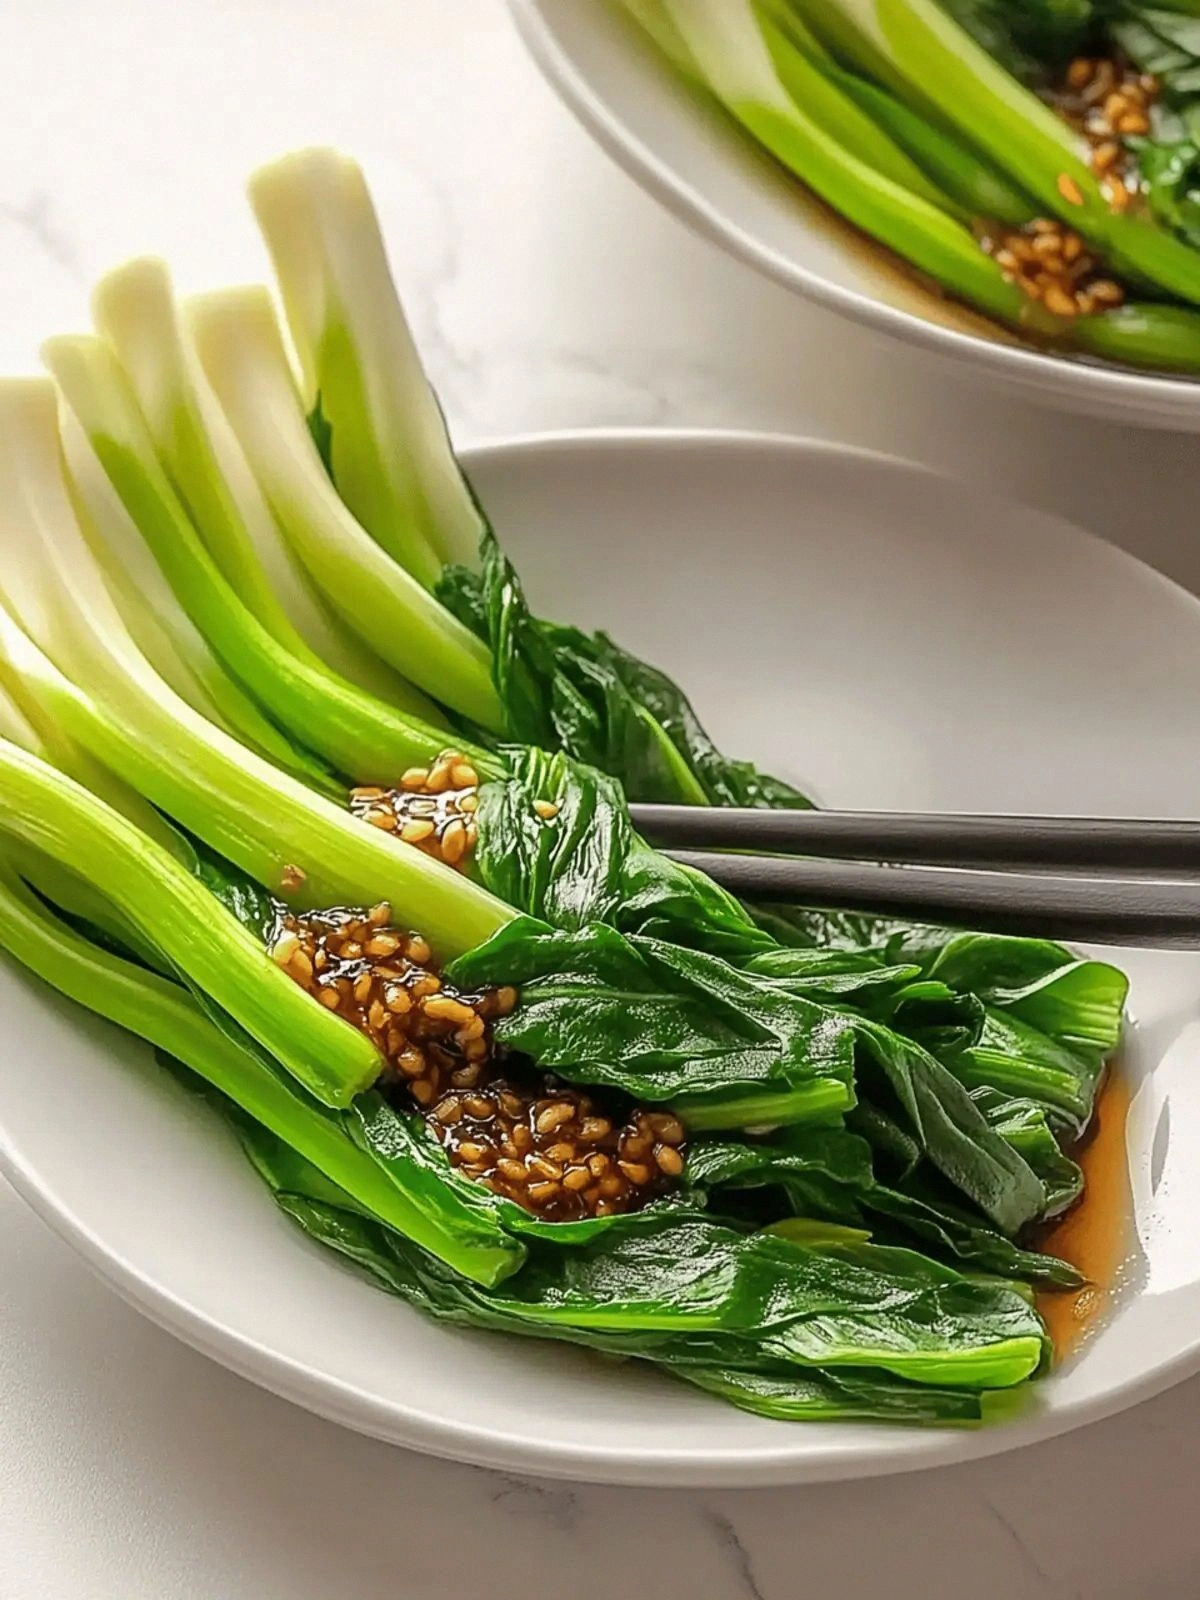
Charred scallions are the surprise star. The white parts give a mild onion bite, while the green tops, when charred, develop a smoky, almost nutty flavor that cuts through the glaze’s sweetness. If you skip the charring step, you’ll lose that crunchy, caramelized edge that makes each bite unforgettable. Swap tip: If scallions are unavailable, thinly sliced leeks can be charred similarly, though they’ll be milder.
The Unexpected Star
A dash of smoked paprika adds a whisper of earthiness and a gentle heat that complements the apricot without overwhelming it. It also contributes a beautiful reddish hue that makes the dish look as good as it tastes. Skipping it will make the glaze look pale and miss that subtle smoky note. Swap tip: Use a pinch of chipotle powder for a spicier, smoky twist.
Everything's prepped? Good. Let's get into the real action—this is where the magic really starts to happen, and I promise you’ll be hooked from the first sizzle.
The Method — Step by Step
Pat the chicken thighs dry with paper towels; this is crucial for a crisp skin. Season both sides generously with salt, pepper, and the smoked paprika, then let them sit for five minutes while you prep the glaze. The seasoning will begin to draw moisture to the surface, creating a thin film that later turns into a golden crust.
Heat a large cast‑iron skillet over medium‑high heat and add a tablespoon of oil. When the oil shimmers, place the chicken thighs skin‑side down. You’ll hear an immediate sizzle that’s music to any chef’s ears—“That sizzle when it hits the pan? Absolute perfection.” Cook without moving them for 5‑6 minutes, until the skin is deep amber and releases easily from the pan.
While the chicken sears, combine apricot preserves, soy sauce, honey, rice vinegar, grated ginger, and minced garlic in a small saucepan. Bring to a gentle boil, then reduce to a simmer, stirring occasionally. The mixture will thicken, and the aroma will fill your kitchen with a sweet‑savory perfume that makes you want to lick the spoon.
Flip the chicken thighs and spoon a generous amount of the glaze over each piece. Let the glaze bubble and caramelize for another 3‑4 minutes, watching the edges start to pull away from the pan—a sign the sugars are reaching that perfect caramel stage.
Preheat your oven’s broiler to high. Transfer the skillet (or move the chicken to a baking sheet if your pan isn’t oven‑safe) and place it under the broiler for 2‑3 minutes. This final blast creates a glossy, slightly charred top that looks restaurant‑worthy. Keep a close eye; you want a deep caramel, not a burnt disaster.
While the chicken finishes, heat a separate dry skillet over high heat. Toss the white parts of the scallions and a drizzle of oil, then let them sit for 30 seconds before adding the green tops. Char them until they’re blackened in spots but still retain a bit of crunch. This is the moment of truth for the “charred S” component.
Remove the chicken from the oven and let it rest on a cutting board for five minutes. Resting allows the juices to redistribute, ensuring each bite stays moist. Meanwhile, drizzle any remaining glaze from the pan over the chicken, and sprinkle the charred scallions on top for that signature smoky finish.
Slice the thighs against the grain, arrange them on a serving platter, and garnish with a few fresh scallion greens for color. The final presentation should showcase the glossy apricot glaze, the charred green speckles, and the inviting steam rising off the hot meat.
That's it — you did it. But hold on, I've got a few more tricks that'll take this to another level, because a great dish deserves an encore of flavor and texture.
Insider Tricks for Flawless Results
The Temperature Rule Nobody Follows
Most home cooks sear chicken on medium heat, thinking it will be gentler. In reality, a hot pan (around 425°F) creates an instant crust that locks in juices. If your pan isn’t hot enough, the skin will steam rather than crisp, resulting in a soggy finish. I once tried a “low‑and‑slow” sear and ended up with rubbery skin—lesson learned. So crank that burner up and trust the sizzle.
Why Your Nose Knows Best
Your sense of smell is an underrated kitchen tool. When the glaze starts to caramelize, you’ll notice a faint buttery aroma that signals the sugars are hitting the perfect stage. If you smell a burnt odor, pull the pan away immediately. Trusting your nose can save you from a ruined batch and keep the flavor bright.
The 5‑Minute Rest That Changes Everything
Resting meat is often dismissed as “optional,” but those five minutes are a game‑changer. During rest, the muscle fibers relax and re‑absorb the juices that were pushed to the surface during cooking. Skipping this step results in a dry bite, especially with leaner chicken thighs. Cover the chicken loosely with foil to keep it warm while it rests.
Charred Scallion Timing
Char the scallions just before serving. If you let them sit too long, they become bitter. A quick 30‑second char on high heat gives them that smoky edge while preserving a slight crunch. A friend once left them on the counter for ten minutes and ended up with a charcoal taste—avoid that pitfall.
Glaze Thickness Control
If your glaze turns out too thin, whisk in a teaspoon of cornstarch diluted in cold water; simmer for another minute and watch it thicken instantly. Conversely, if it’s too thick, add a splash of water or more rice vinegar to loosen it. This flexibility ensures the glaze clings perfectly without becoming a soggy pool.
Creative Twists and Variations
This recipe is a playground. Here are some of my favorite ways to switch things up:
Spicy Sriracha Kick
Add a tablespoon of sriracha to the glaze for a heat‑infused version that still respects the apricot’s sweetness. The heat pairs beautifully with the charred scallions, creating a sweet‑heat balance that’s perfect for those who love a little fire.
Citrus Burst
Stir in the zest of one orange and a splash of fresh orange juice into the glaze. The citrus brightens the sauce, making it feel lighter and perfect for a summer dinner on the patio.
Herb‑Infused
Mix a tablespoon of chopped fresh thyme or rosemary into the glaze just before the final simmer. The herbaceous notes add depth and a fragrant aroma that complements the apricot’s fruitiness.
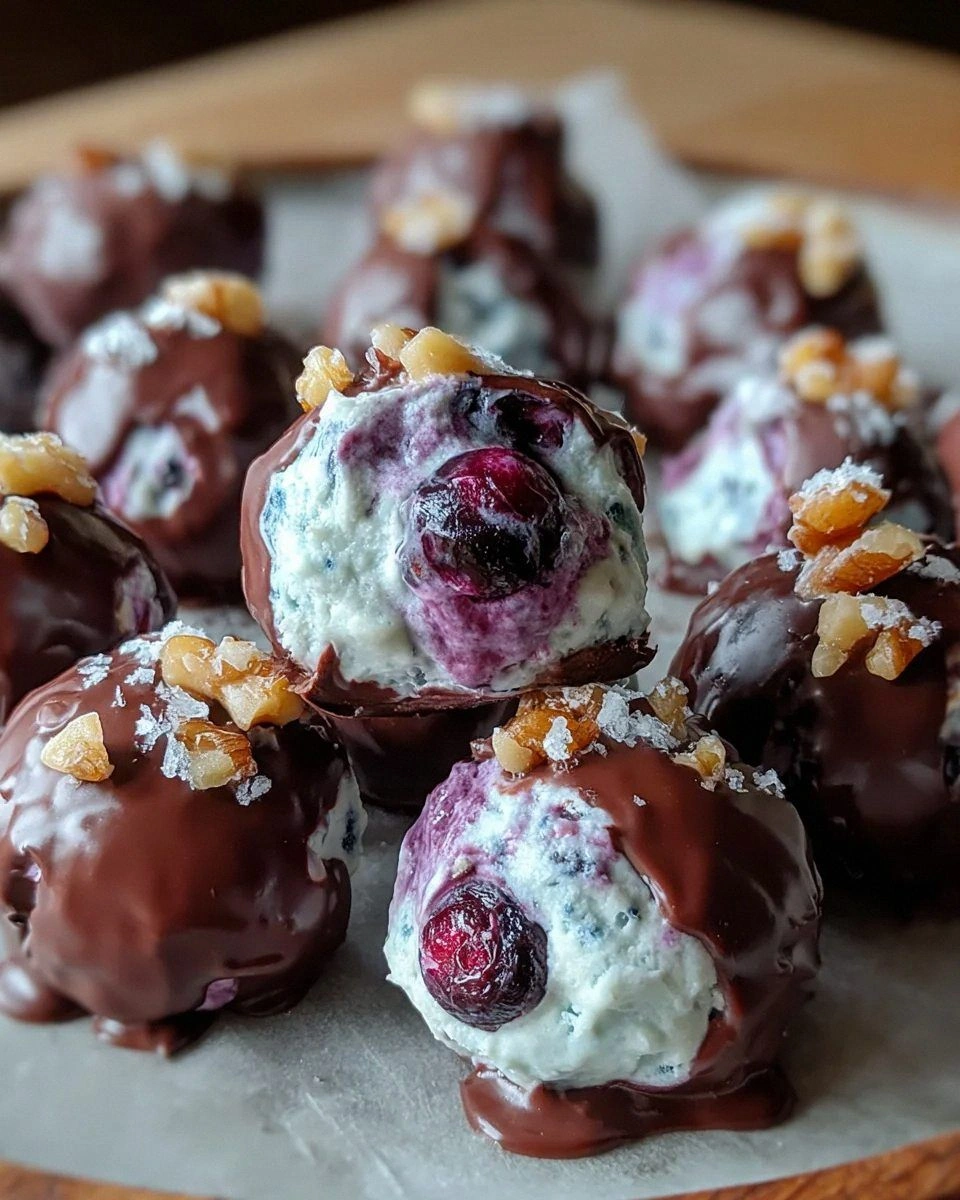
Nutty Crunch
Toast a handful of sliced almonds and sprinkle them over the finished dish. The nuts add an extra layer of crunch and a buttery flavor that makes each bite even more complex.
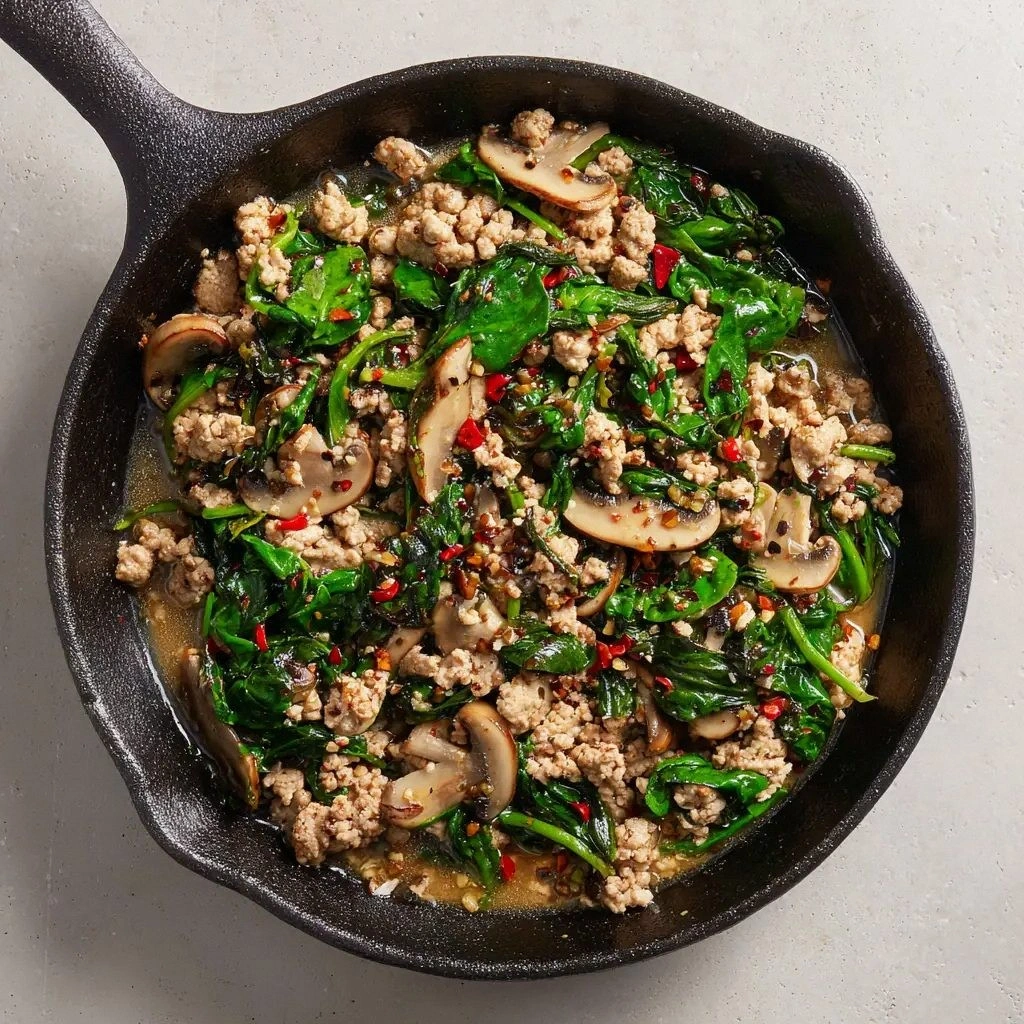
Veggie‑Boosted
Add thinly sliced carrots and bell peppers to the pan after searing the chicken, letting them caramelize alongside the glaze. The vegetables absorb the sweet‑savory sauce, turning the dish into a complete one‑pan meal.
Storing and Bringing It Back to Life
Fridge Storage
Allow the chicken to cool to room temperature, then place it in an airtight container with a drizzle of any remaining glaze. It will keep for up to 3 days, and the flavors actually meld together, becoming even more harmonious.
Freezer Friendly
Separate the chicken from the glaze before freezing. Store the pieces in a zip‑top bag and the glaze in a small freezer‑safe container. They’ll last for up to 2 months. When ready, thaw overnight, reheat the glaze, and toss the chicken through for a fresh‑as‑day‑one experience.
Best Reheating Method
Reheat in a preheated 350°F oven for 10‑12 minutes, covered with foil to prevent drying. Add a tiny splash (about a tablespoon) of water or extra glaze before covering; the steam revives the sauce and keeps the meat moist. Microwaving works in a pinch but will sacrifice the crisp skin.